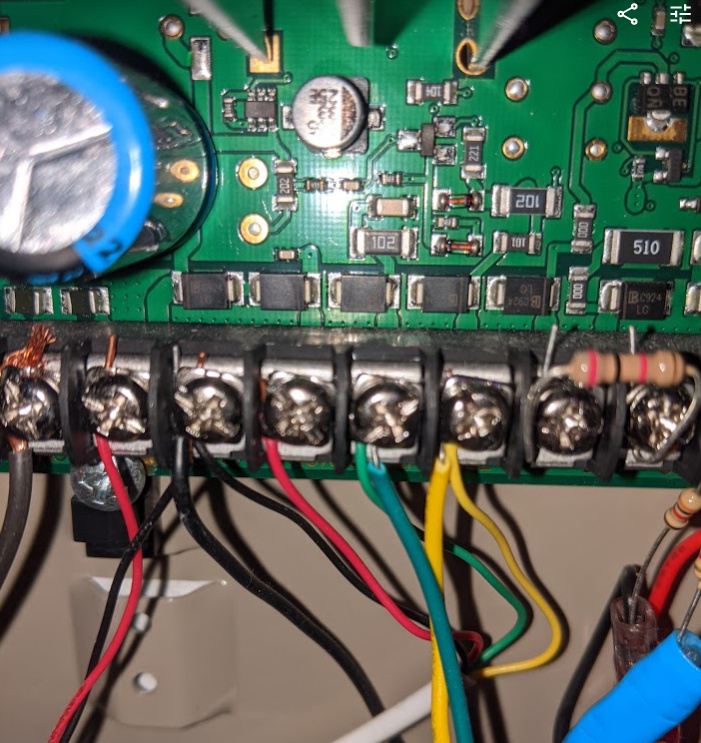
Yes, there are 4 wires that go from the Envisalink to the alarm panel.
This is the Envisalink board
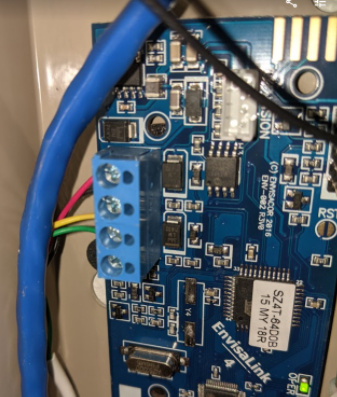
And this is where they screw into the alarm panel. (Black, Red, Green, Yellow)
The "Native option" is where the Envisalink connects directly to the Hubitat hub via a telnet connection using a driver that you add to the hub and the app. The process is best described in feed on @brianwilson Github link here: GitHub - bdwilson/hubitat_envisalink: Integration for Hubitat to Envisalink 3 or 4
The Envisalink sends a bunch of commands back and forth every second hence why I call it chatty and prefer to offload it to a raspberry pi to cut down on the amount of load on my production hub.
The Raspberry pi doesn't require any soldering, there are just a few screws to screw in when you put it in the case and plug in a memory card. I used my computer monitor and keyboard from another system to set everything up. There's a docker container that has most of the command line stuff done for you already if you want to use it but it was easier for me to just install the nodeproxy directly.
There are two main components you need to setup, Nodeproxy being the main one, and the Envisalink communication part being the second. There's a video and a guide that walks you through the process so I wouldn't classify this as easy but definitely doable by non-tech people if they just follow along. I had my 11-year-old daughter, 10 at the time, setup the Raspberry PI as a learning moment for her. I wanted to give her some exposure to the techy side. She has almost no computer experience at all and was able to get it up and running in about an hour or so. Most power users around here could easily fiddle their way through getting it set up and running well.

