HE-driven colored lights, scrolling signs, other kinds of indicators?

I just put together some code using async web server library for arduino. I am going to see if I can put a write up for it here tomorrow. Allows you to hook a ESP2866 to a set of WS2812s and call Http://IP/led?LED=1&R=255&B=255&G=255

That would set the number 1 led to full white.

Not the prettiest but I didnt feel like parsing JSON.

Can probably setup a hacky looking demo as well. My idea is to build an enclosure the segments each led into its own compartment and then make an overlay with labels for each one.

1 Like

That was just the basic type of thing I was thinking for mine, just send it the color for which LED. Although my plan was colors first, then LED because I figured if I add LED x to y it would be easier to have at the end in case it was not needed.

Because these are HTTP parameters the order doesn't matter and they are setup in such a way that if they are omitted the corlor is set to 0 and the led is set to the led beyond your last led. So just calling an led by itself will turn it off

OK, here is the short and sweet build write-up. The assumption here is that you have some basic Arduino knowledge.

Starting with a Strip of WS2812b’s that I had and an ESP8266 that has a voltage regulator and serial adapter already attached. https://www.amazon.com/dp/B01N3P763C/ is the exact one I have.

This chip uses a CH340 serial adapter. Instructions for installing drivers can be found below

https://learn.sparkfun.com/tutorials/how-to-install-ch340-drivers/all

Once the drivers are installed, the Board needs to be added to IDE.

Start Arduino and open Preferences window. And Enter http://arduino.esp8266.com/stable/package_esp8266com_index.json into Additional Boards Manager URLs field. You can add multiple URLs, separating them with commas.

Open Tools Board Boards Manager and install esp8266 by ESP8266 Community

Then you will need to install the following libraries

then install and code below.

The LEDs need to be hooked up to 5v Ground and the pad labeled D2.

// Load libraries
#include <ESP8266WiFi.h>
#include <Adafruit_NeoPixel.h>
#include <ESPAsyncTCP.h>
#include <ESPAsyncWebServer.h>

// Replace with your network credentials
const char* ssid     = "WifiName";
const char* password = "PASSWORD";

// Set web server port number to 80
AsyncWebServer server(80);


//Setup for Strand
#define PIN 4
#define NUMPIXELS 30
Adafruit_NeoPixel pixels(NUMPIXELS, PIN, NEO_GRB + NEO_KHZ800);

void notFound(AsyncWebServerRequest *request) {
    request->send(404, "text/plain", "Not found");
}
void setup() {
  Serial.begin(115200);
  // Connect to Wi-Fi network with SSID and password
  Serial.print("Connecting to ");
  Serial.println(ssid);
  WiFi.begin(ssid, password);
  while (WiFi.status() != WL_CONNECTED) {
    delay(500);
    Serial.print(".");
  }
  // Print local IP address and start web server
  Serial.println("");
  Serial.println("WiFi connected.");
  Serial.println("IP address: ");
  Serial.println(WiFi.localIP());
  server.on("/", HTTP_GET, [](AsyncWebServerRequest *request){
    request->send(200, "text/plain", "Hello, world");
  });
  
  pixels.begin();
  pixels.clear();
  pixels.setBrightness(50);
  pixels.show();
  
  server.on("/clear", HTTP_GET, [] (AsyncWebServerRequest *request) {
    request->send(200, "text/plain", "clear");
    pixels.clear();
    pixels.show();
  });
  server.on("/led", HTTP_GET, [] (AsyncWebServerRequest *request) {
    String getled;
    String getr;
    String getg;
    String getb;
    if (request->hasParam("LED")) {
      getled = request->getParam("LED")->value();
    } else {
      getled = NUMPIXELS + 1;
    }
    if (request->hasParam("R")) {
      getr = request->getParam("R")->value();
    } else {
      getr = "0";
    }
    if (request->hasParam("G")) {
      getg = request->getParam("G")->value();
    } else {
      getg = "0";
    }
    if (request->hasParam("B")) {
      getb = request->getParam("B")->value();
    } else {
      getb = "0";
    }
    request->send(200, "text/plain", "set " + getled + getr + getg + getb);
    pixels.setPixelColor(getled.toInt(), pixels.Color(getr.toInt(), getg.toInt(), getb.toInt()));
    pixels.show();
  });
  server.onNotFound(notFound);
  server.begin();
}

void loop(){
}
1 Like

Amazing, thanks. I did some reading and I really need WLED in my life.

I was thinking about something like that too, could look very nice!

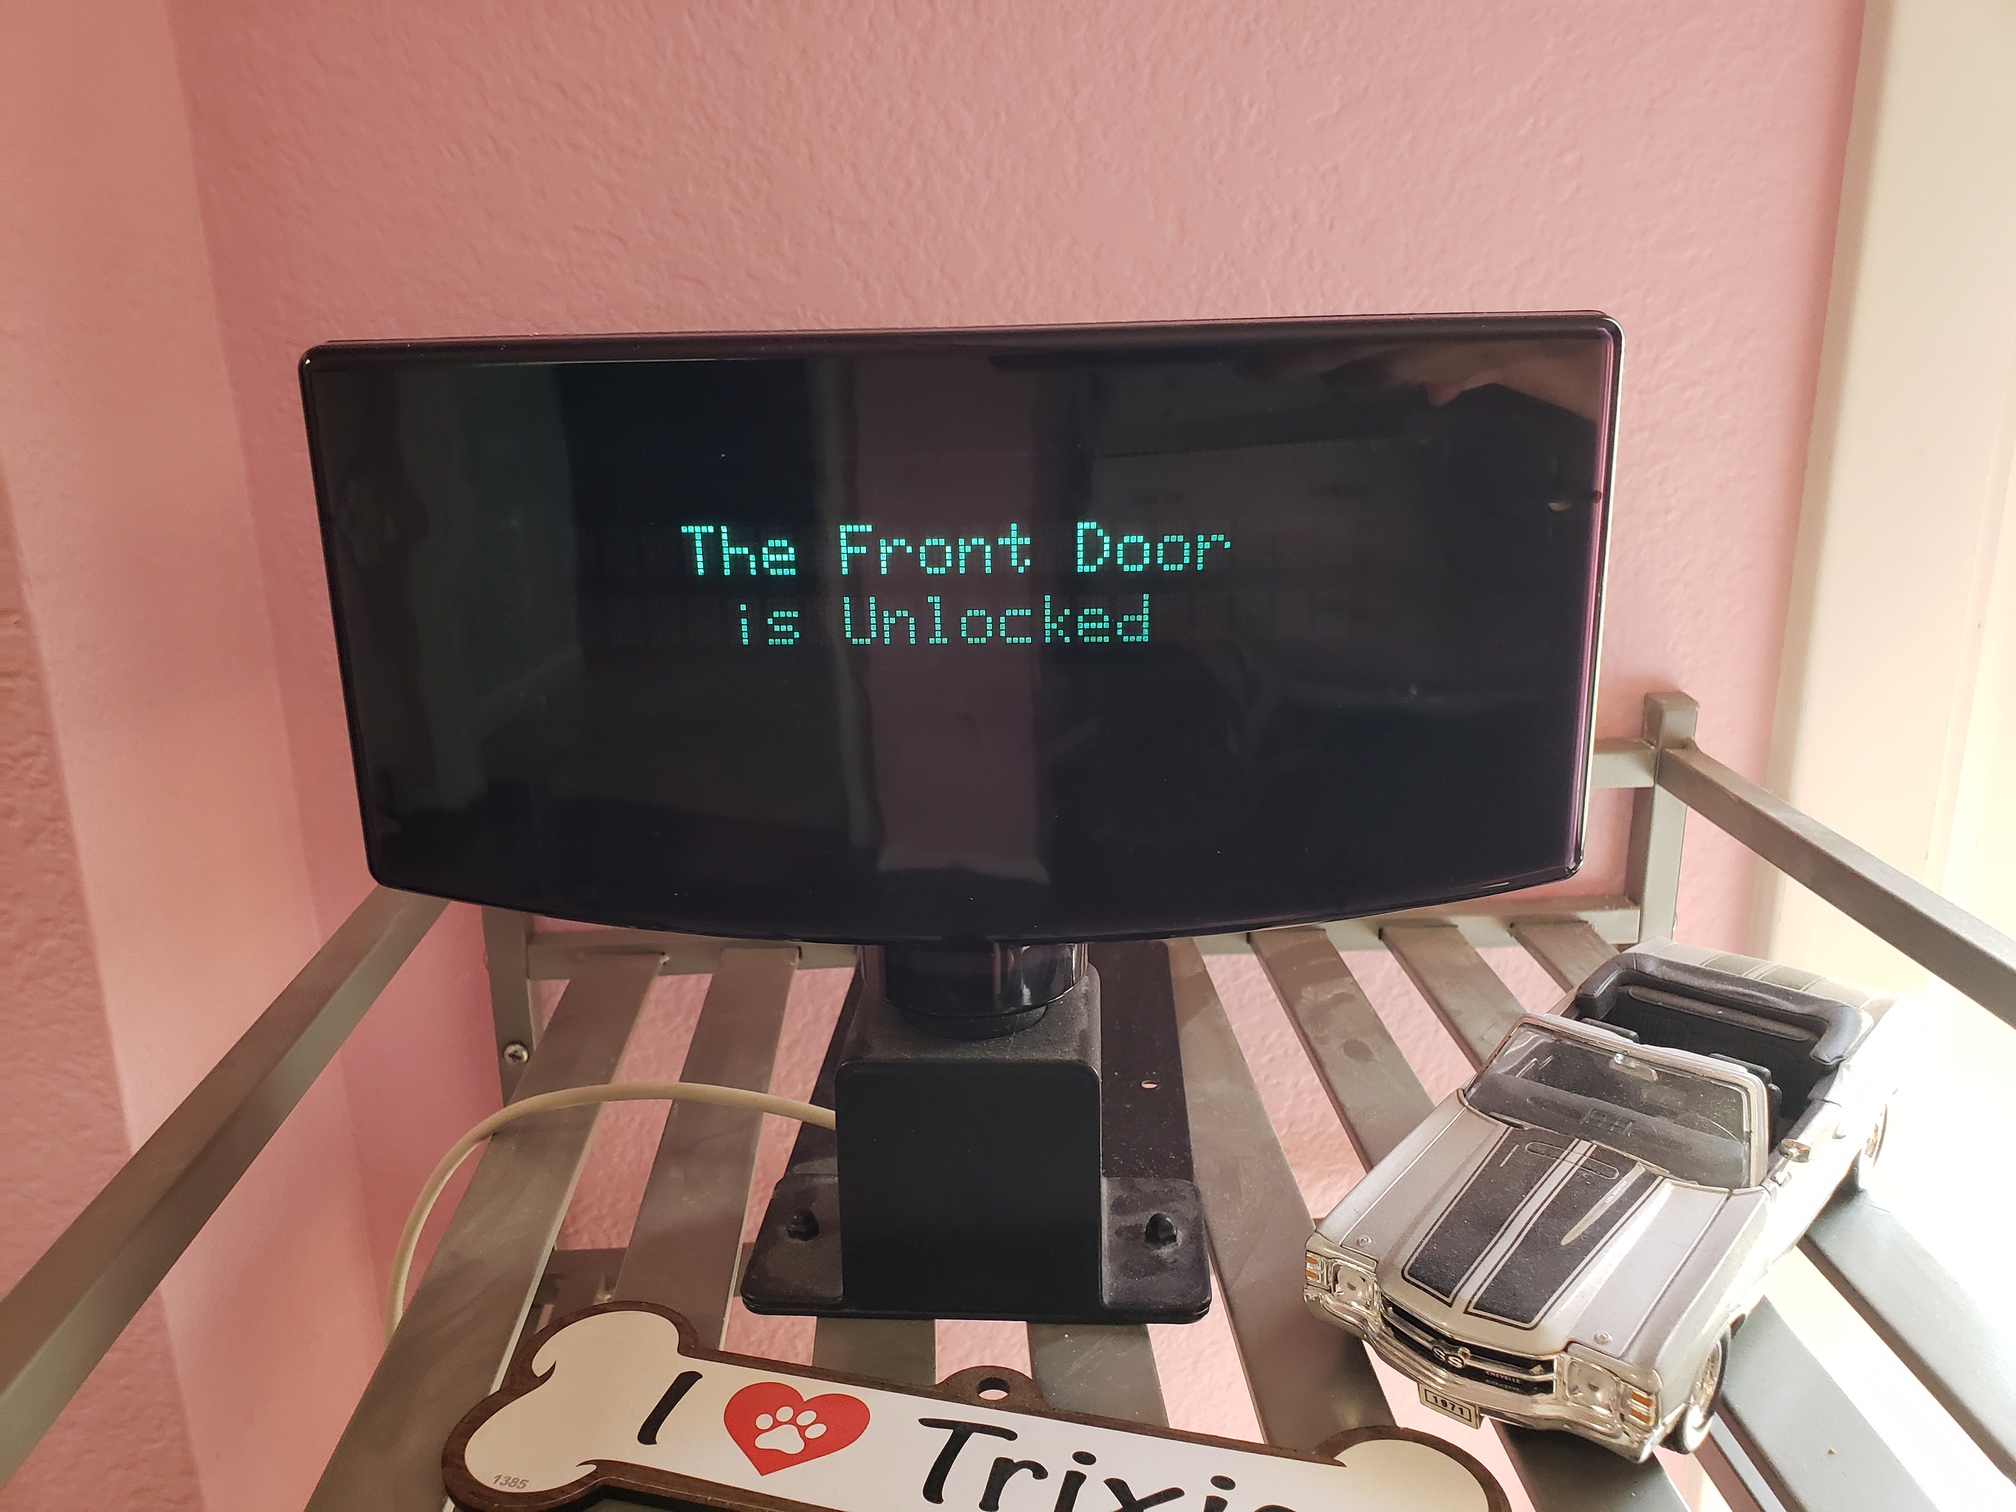
I have been doing notifications for several years with serial POS displays. You can usually get them cheap on eBay ($20-$30), and they provide a nice 40 character VDF display. For my latest upgrade, I have been wifi-enabling them with a Wemos D1 and a TTL-RS232 module. They run an ESP8266 web server and I supply them with messages via an HTTP command from a Hubitat driver which is classified as a Notification device.

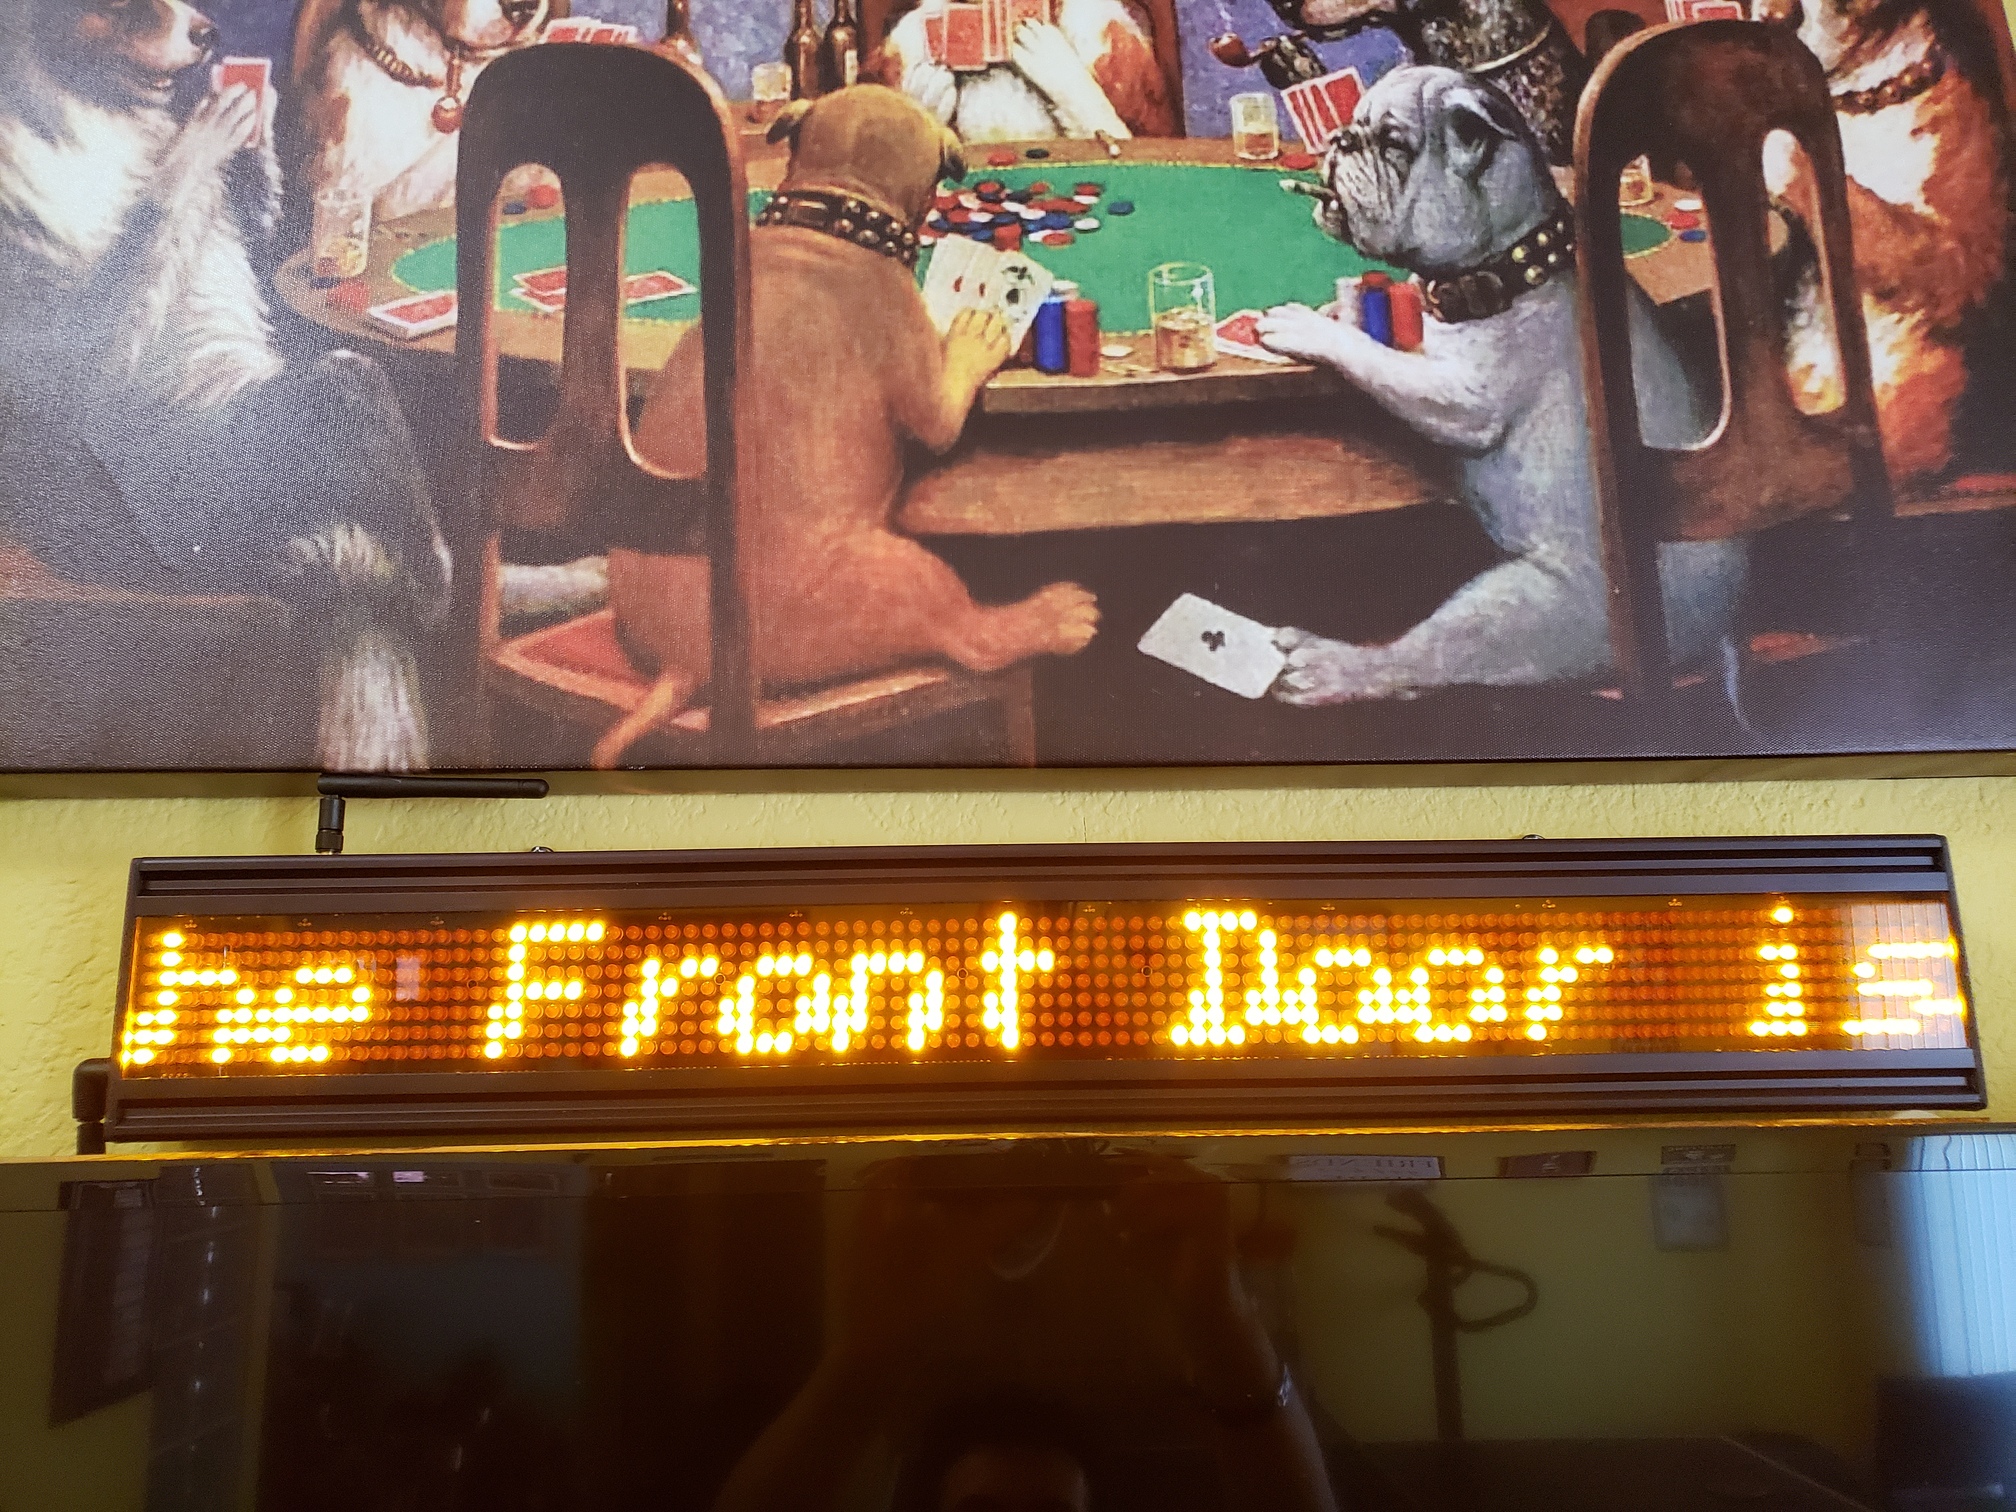
Recently, I picked up (for $27 via eBay) an LED bus destination sign which I also wifi-enabled (note the external antenna because the sign casing is metal. This is an RS-485 device, so I just use a TTL-RS-485 module.


The key to using these devices is to understand the text formatting commands and add them to the display text in the Arduino code.

3 Likes

Awesome!

I have a 2 line 3 color led marquee I used to use to display status for things at my work. Too large for the house!

I bought IR Led from Amazon. It was $10 when I got this a couple days ago.

https://www.amazon.com/gp/product/B07JP5375R

I made Environment Sensor that double up as Arduino shield. I made a demo for it using IR as an example. It end up to be a fit for this.

This is really a compressed video of what it can do. You can use the Arduino to control what you want to display.

Thanks
Iman

How big is it? If it can handle the outdoors you could use it as a holiday greeting sign.

40 x 6in I used to display instructions for my cheer lights on it. #cheerlights

I need to write a cheerlights app for Hubitat

That sounds pretty awesome. If you get it running again I would love to see a picture!

Here is my super simple demo of my led strip. Complete with Rustic Handwritten labels.

@snell Here is a pick of the LED screen running on top of a TV at one of my old offices.

2 Likes

Nice, thanks for the pictures! That display looks like it does RG (and generally orange then) so that gives more options also. If it is one of the ones that allows custom pixel design uploads you could make it have all sorts of fun things.

For anyone interested this is the "finished" LED dashboard. I have 3 in the house. One gets the status via HTTP post and the others are updated using esp-now

They are about 2 inches tall

1 Like

That is super cool, exactly the kind of thing I was hoping to find. Inspirational, thanks.

If you want details or a parts list I can get you some!

Anything you want to take time to write up would be appreciated. You already had a great post earlier... Time to start your own build thread IMHO!

Here is my parts list for building these and making them look nice.
The project boxes I ordered are no longer available. They were Zulkit 5Pcs Project Boxes ABS Plastic Electrical Project Case Power Junction Box Black 2.36 x 1.42 x 0.67 inch (60 x 36 x 17 mm)

https://www.amazon.com/gp/product/B081PX9YFV
https://www.amazon.com/gp/product/B06Y4716V7
https://www.amazon.com/gp/product/B081BBF4R3

LED Master

// Load libraries
#include <ESP8266WiFi.h>
#include <Adafruit_NeoPixel.h>
#include <ESPAsyncTCP.h>
#include <ESPAsyncWebServer.h>
#include <ArduinoOTA.h>
#include <espnow.h>

// Replace with your network credentials
const char* ssid     = "wifi";
const char* password = "pass";

// Set web server port number to 80
AsyncWebServer server(80);

// ESP Now Clients
uint8_t broadcastAddress1[] = {0x48, 0x3F, 0xDA, 0x54, 0x64, 0xCB};

//Structure
typedef struct leddata {
    int led;
    int r;
    int g;
    int b;
} leddata;

leddata sendled;

//Setup for Strand
#define PIN 4
#define NUMPIXELS 30
String brightness = "10";
Adafruit_NeoPixel pixels(NUMPIXELS, PIN, NEO_GRB + NEO_KHZ800);

void notFound(AsyncWebServerRequest *request) {
    request->send(404, "text/plain", "Not found");
}
// Callback when data is sent
void OnDataSent(uint8_t *mac_addr, uint8_t sendStatus) {
  char macStr[18];
  Serial.print("Packet to:");
  snprintf(macStr, sizeof(macStr), "%02x:%02x:%02x:%02x:%02x:%02x",
         mac_addr[0], mac_addr[1], mac_addr[2], mac_addr[3], mac_addr[4], mac_addr[5]);
  Serial.print(macStr);
  Serial.print(" send status: ");
  if (sendStatus == 0){
    Serial.println("Delivery success");
  }
  else{
    Serial.println("Delivery fail");
  }
}
void setup() {
  Serial.begin(115200);
  // Connect to Wi-Fi network with SSID and password
  Serial.print("Connecting to ");
  Serial.println(ssid);
  WiFi.mode(WIFI_STA);
  WiFi.begin(ssid, password);
  while (WiFi.status() != WL_CONNECTED) {
    delay(500);
    Serial.print(".");
  }
  // Print local IP address and start web server
  Serial.println("");
  Serial.println("WiFi connected.");
  Serial.println("IP address: ");
  Serial.println(WiFi.localIP());

  if (esp_now_init() != 0) {
    Serial.println("Error initializing ESP-NOW");
    return;
  }

  pixels.begin();
  pixels.clear();
  pixels.setBrightness(brightness.toInt());
  pixels.show();

  esp_now_set_self_role(ESP_NOW_ROLE_CONTROLLER);
  esp_now_register_send_cb(OnDataSent);
  esp_now_add_peer(broadcastAddress1, ESP_NOW_ROLE_SLAVE, 1, NULL, 0);
  

  server.on("/", HTTP_GET, [](AsyncWebServerRequest *request){
    request->send(200, "text/plain", "Hello, world");
  });
  server.on("/clear", HTTP_GET, [] (AsyncWebServerRequest *request) {
    request->send(200, "text/plain", "clear");
    pixels.clear();
    pixels.show();
  });
  server.on("/bright", HTTP_GET, [] (AsyncWebServerRequest *request) {
    request->send(200, "text/plain", "Bright");
    if (request->hasParam("LEVEL")) {
      brightness = request->getParam("LEVEL")->value();
    } else {
      brightness = "50";
    }
    pixels.setBrightness(brightness.toInt());
    pixels.show();
  });  
  server.on("/led", HTTP_GET, [] (AsyncWebServerRequest *request) {
    String getled;
    String getr;
    String getg;
    String getb;
    if (request->hasParam("LED")) {
      getled = request->getParam("LED")->value();
    } else {
      getled = NUMPIXELS + 1;
    }
    if (request->hasParam("R")) {
      getr = request->getParam("R")->value();
    } else {
      getr = "0";
    }
    if (request->hasParam("G")) {
      getg = request->getParam("G")->value();
    } else {
      getg = "0";
    }
    if (request->hasParam("B")) {
      getb = request->getParam("B")->value();
    } else {
      getb = "0";
    }
    request->send(200, "text/plain", "set " + getled + getr + getg + getb);
    pixels.setPixelColor(getled.toInt(), pixels.Color(getr.toInt(), getg.toInt(), getb.toInt()));
    pixels.show();
    sendled.led = getled.toInt();
    sendled.r = getr.toInt();
    sendled.g = getg.toInt();
    sendled.b = getb.toInt();
    esp_now_send(0, (uint8_t *) &sendled, sizeof(sendled));
  });
  server.onNotFound(notFound);
  server.begin();

  // Port defaults to 8266
  // ArduinoOTA.setPort(8266);

  // Hostname defaults to esp8266-[ChipID]
  // ArduinoOTA.setHostname("myesp8266");

  // No authentication by default
  // ArduinoOTA.setPassword((const char *)"123");

  ArduinoOTA.onStart([]() {
    Serial.println("Start");
  });
  ArduinoOTA.onEnd([]() {
    Serial.println("\nEnd");
  });
  ArduinoOTA.onProgress([](unsigned int progress, unsigned int total) {
    Serial.printf("Progress: %u%%\r", (progress / (total / 100)));
  });
  ArduinoOTA.onError([](ota_error_t error) {
    Serial.printf("Error[%u]: ", error);
    if (error == OTA_AUTH_ERROR) Serial.println("Auth Failed");
    else if (error == OTA_BEGIN_ERROR) Serial.println("Begin Failed");
    else if (error == OTA_CONNECT_ERROR) Serial.println("Connect Failed");
    else if (error == OTA_RECEIVE_ERROR) Serial.println("Receive Failed");
    else if (error == OTA_END_ERROR) Serial.println("End Failed");
  });
  ArduinoOTA.begin();


}

void loop(){
  ArduinoOTA.handle();
}

LED Slave

#include <ESP8266WiFi.h>
#include <espnow.h>
#include <Adafruit_NeoPixel.h>

//Setup for Strand
#define PIN 4
#define NUMPIXELS 30
String brightness = "10";
Adafruit_NeoPixel pixels(NUMPIXELS, PIN, NEO_GRB + NEO_KHZ800);


//Structure
typedef struct leddata {
    int led;
    int r;
    int g;
    int b;
} leddata;

leddata sentled;

// Callback function that will be executed when data is received
void OnDataRecv(uint8_t * mac, uint8_t *incomingData, uint8_t len) {
  memcpy(&sentled, incomingData, sizeof(sentled));
  pixels.setPixelColor(sentled.led, pixels.Color(sentled.r, sentled.g, sentled.b));
  pixels.show();
}
 
void setup() {
   Serial.begin(115200);
  
  // Set device as a Wi-Fi Station
  WiFi.mode(WIFI_STA);
  WiFi.disconnect();

  // Init ESP-NOW
  if (esp_now_init() != 0) {
    Serial.println("Error initializing ESP-NOW");
    return;
  }
  
  // Set device as a Wi-Fi Station
  WiFi.mode(WIFI_STA);
  WiFi.disconnect();

  pixels.begin();
  pixels.clear();
  pixels.setBrightness(brightness.toInt());
  pixels.show();
  
  // Once ESPNow is successfully Init, we will register for recv CB to
  // get recv packer info
  esp_now_set_self_role(ESP_NOW_ROLE_SLAVE);
  esp_now_register_recv_cb(OnDataRecv);
}

void loop() {
  
}
1 Like

The above is to hookup a nodemcu with a LCD , which opens so many display types to be connected. But not ws2812. With simple post, you can send messages.