All right, this took me a hot minute to fully comprehend and parse through hundreds of posts to get to the full solution, so I wanted to capture what I did to get this to successfully work.
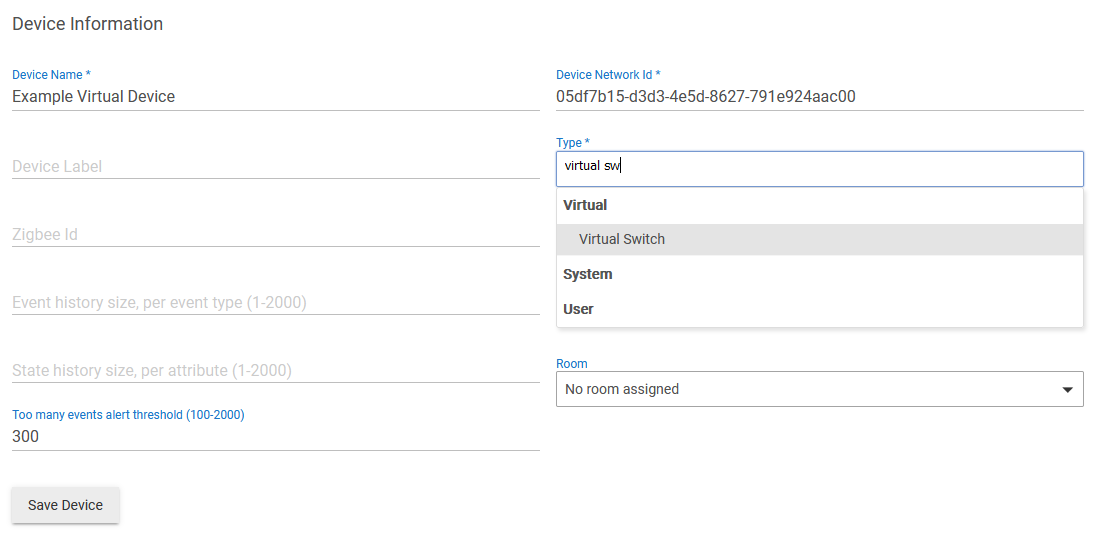
(1) Create a new Device, select Virtual, and select the Type as Virtual Switch.
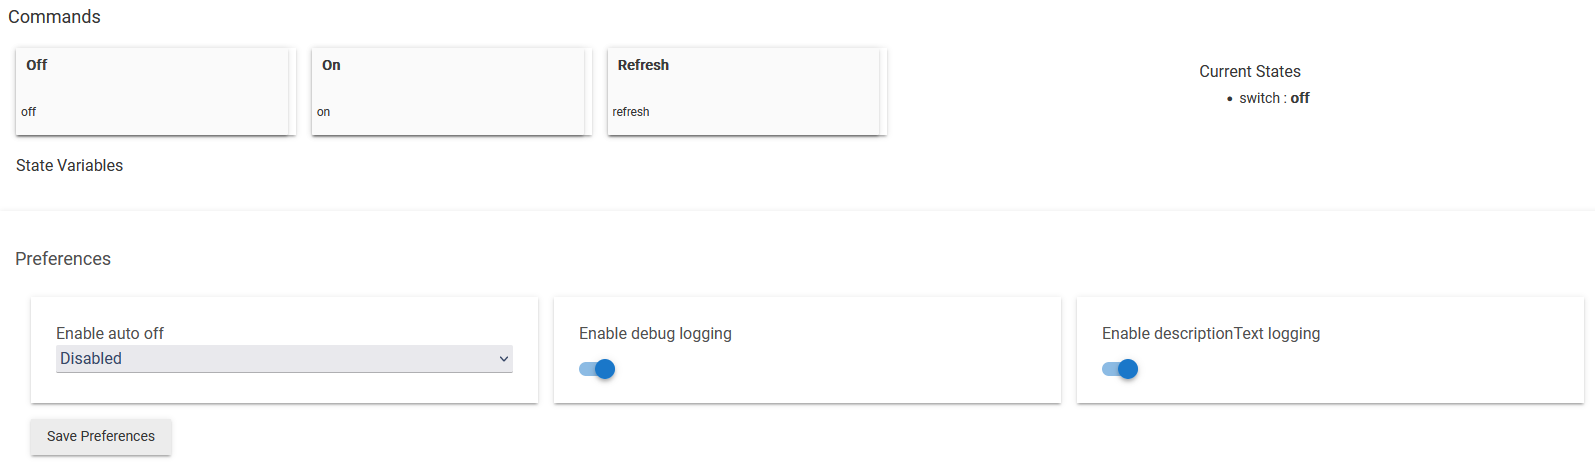
(2) Click Save Device to make new options appear in Preferences.
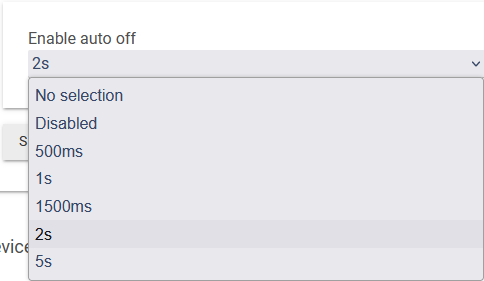
(3) Make sure Enable debug logging is set to on (should be by default). If this is a function that turns on and off (i.e., an air conditioner), do not change anything else. If this is a function that only turns "on" (i.e., changing the input of a television), then change Enable auto off to something like 2 seconds. This will make it so you can always "turn on" the function.
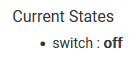
(4) If you have made this change, click Save Preferences. You can also test to make sure it is working by clicking the On button and making sure the Current States of the "switch" turns back to "off".
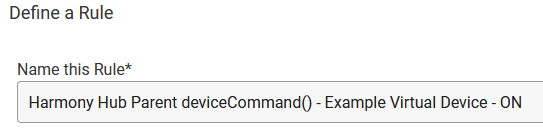
(5) Go to Apps, select Rule Machine, and Create a New Rule. Give the Rule a name. I like 'WHAT - DEVICE- ACTION':
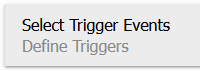
(6) Click on Select Trigger Events.
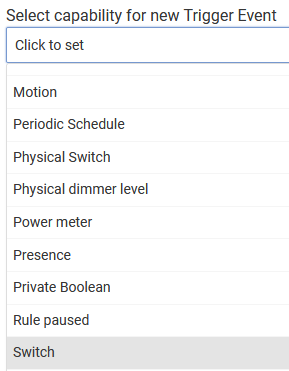
(7) Under Select capability for new Trigger Event select Switch.
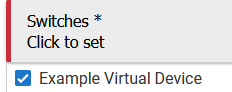
(8) Select the new Virtual Switch that was created above.
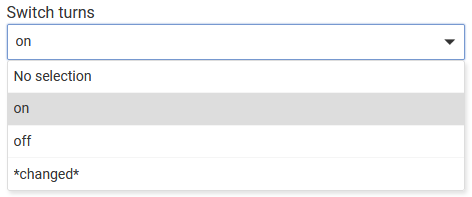
(9) Click Update and a new option called Switch turns will appear. The default option will be "On", so you should leave it as-is for now.
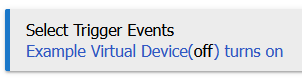
(10) Click Done with this Trigger Event and then Done with Trigger Events so upon returning to the main screen you should have something like this:
(11) Click on Select Actions to Run...

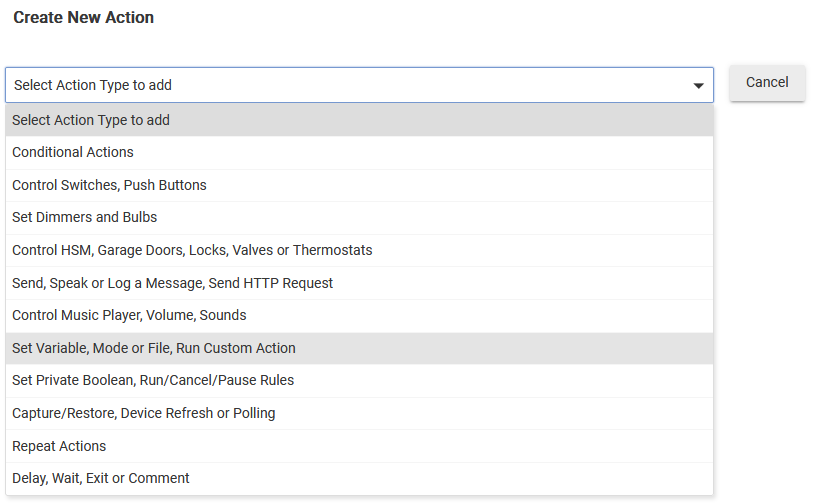
(12) Click to Create New Action.
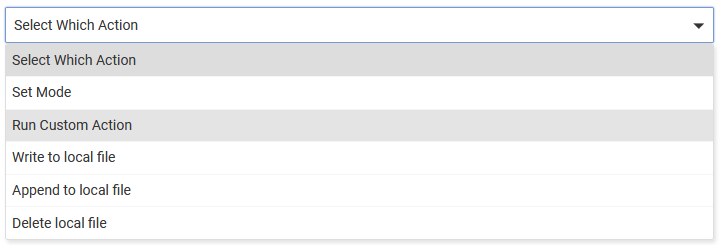
(13) Under the Select Action Type to add dropdown, select Set Variable, Mode or File, Run Custom Action.
(14) A new dropdown for Select Which Action will appear. Select Run Custom Action.
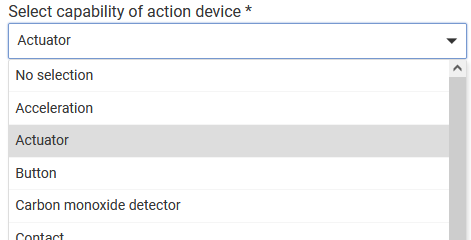
(15) A new dropdown for Select capability of action device will appear. Here, you can either select Actuator, Button, Presence, Switch, or anything else that the Harmony Hub will appear under. I just went with Actuator because it was alphabetically first.
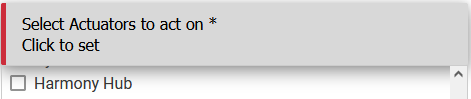
(16) Click on the newly appeared Select *** to act on, scroll down, and select Harmony Hub.
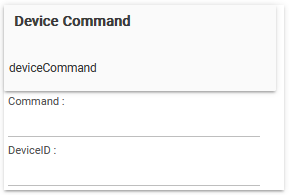
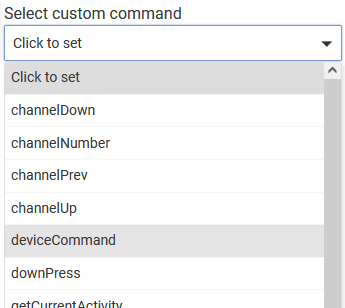
(17) Click Update and the Select custom command dropdown will appear. Select deviceCommand.
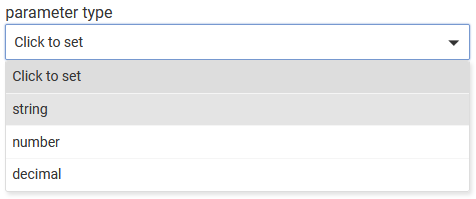
(18) A new dropdown for parameter type will appear. Select string.
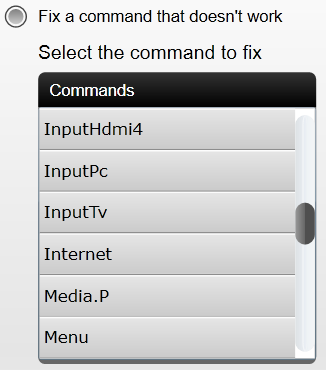
(19) The first parameter is for the Harmony Device function you want to run. An easy way to get this value is to to open the MyHarmony desktop or mobile app, edit the Device, and click on Add or Fix a Command.

(20) This will give a list of Commands. Note the one you want exactly as it is written.
(21) Enter that Command into the string value field that appeared before.

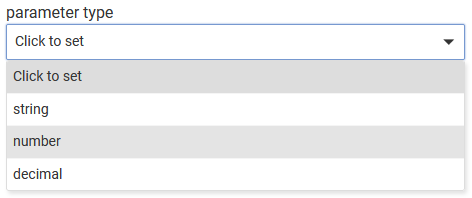
(22) Click Add another parameter and this time select number.
(23) The number is the Device ID. You can easily get this from the State Variables in the Harmony Hub parent device. Enter this number into the field that appeared.

(24) You should now have Parameters that look like this:

(25) Click Done with Action. You should have an action that looks like this:
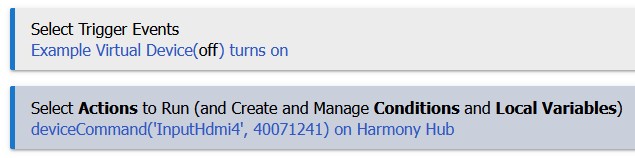
(26) Click Done with Actions. You should now have Trigger Events and Actions that look like this:
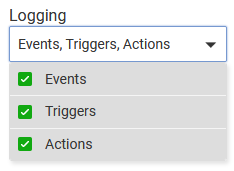
(27) Under the Logging dropdown, select everything.
(28) Click Install Rule and then Done. The Rule is now complete. Return to the Device and test that it does the action as expected. The Virtual Switch can also be picked up by voice assistants, so you can say, "Voice Assistant, turn on Example Virtual Device" in order to perform the action.
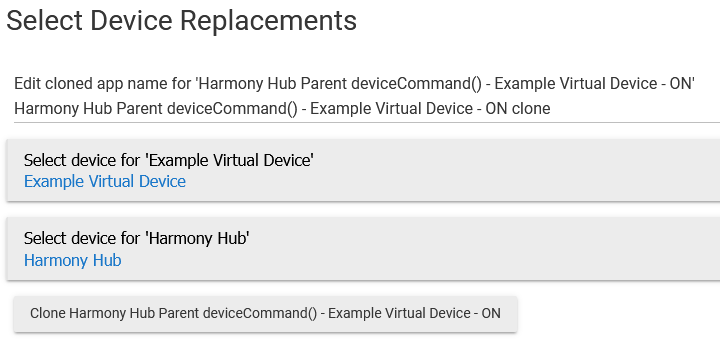
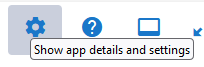
(29) The good news is that now that you have one of these, the rest can be more easily created with cloning. For instance, if there should be an "Off" selection, you can reopen the Rule and click the Show app details and settings button.
(30) Select Export/Import/Clone, then Clone [Rule Name], and then Clone .... This will give you a screen where you can rename the Rule to what you want it do or change out the virtual switch that is being used.
(31) After it is created, you can then go into that Rule and just edit the fields that are needed to be modified. Notably this is the Hubitat device, the Harmony Hub Device ID, and the Harmony Hub Command.
(32) That's it!
So thanks, @ogiewon, I can now retire my old Harmony Hub API. I did try a few different approaches like writing my own custom switch to skip the Rule Machine part, but at the end of the day you have already done enough of the hard work that this methodology works perfectly well. I was also able to just to take my existing custom http switches and convert them to this method, so my switchover was relatively painless.