The stars aligned and I had some spare time to play around with setting this up - a project that has been in the making for quite some time. I scoured the available information and even though I found reference to this setup, I found no definitive guide on doing it. I started with a YouTube video by DrZzs here but he uses Home Assistant so after the hardware setup, not a lot of the software config was useful. I recommend you watch his video to understand how we set up the hardware and wired it to his garage door controller and door contact, which I have replicated. I clipped some images from his video for this guide, so full attribution and thanks to DrZzs for the images of the Sonoff SV wiring from his video. Check out his channel. He's got lots of cool stuff.
I was able to get the Sonoff to control my garage easily enough but getting the door contact status was a complete mystery. I then re-read a guide by @jchurch here who set up a Wemos D1 to do the same thing. Reading his guide and scrutinising the T4HE driver, it looked like the same setup should work for the Sonoff SV and lo and behold, I was right. So the following is a bit of a consolidated guide of what I did. It assumes that you know how to install drivers and apps and you are familiar with Tasmota. It also assumes you are familiar with T4HE and how to add devices using the Tasmota Device Manager. All this information is available in other threads.
Sonoff Setup
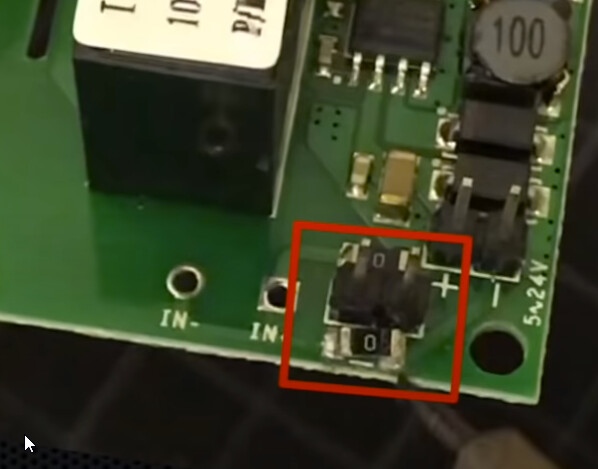
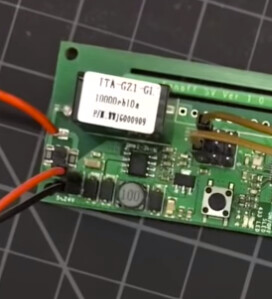
Remove the resistors (marked with 0) using a screwdriver to twist them off. This isolates the power from the relay, I believe.
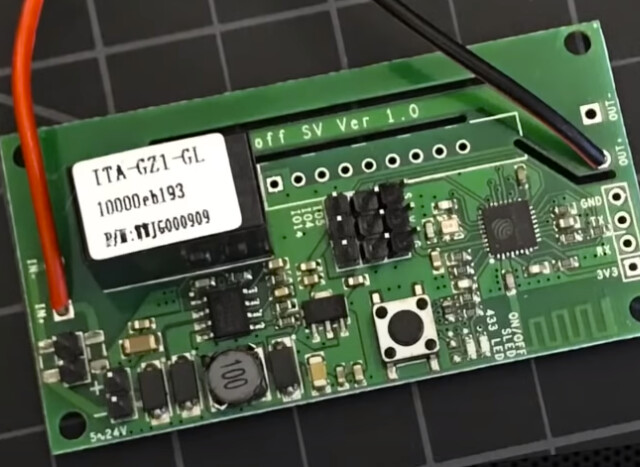
Solder two wires to IN+ and OUT+ like follows for the garage door control relay.

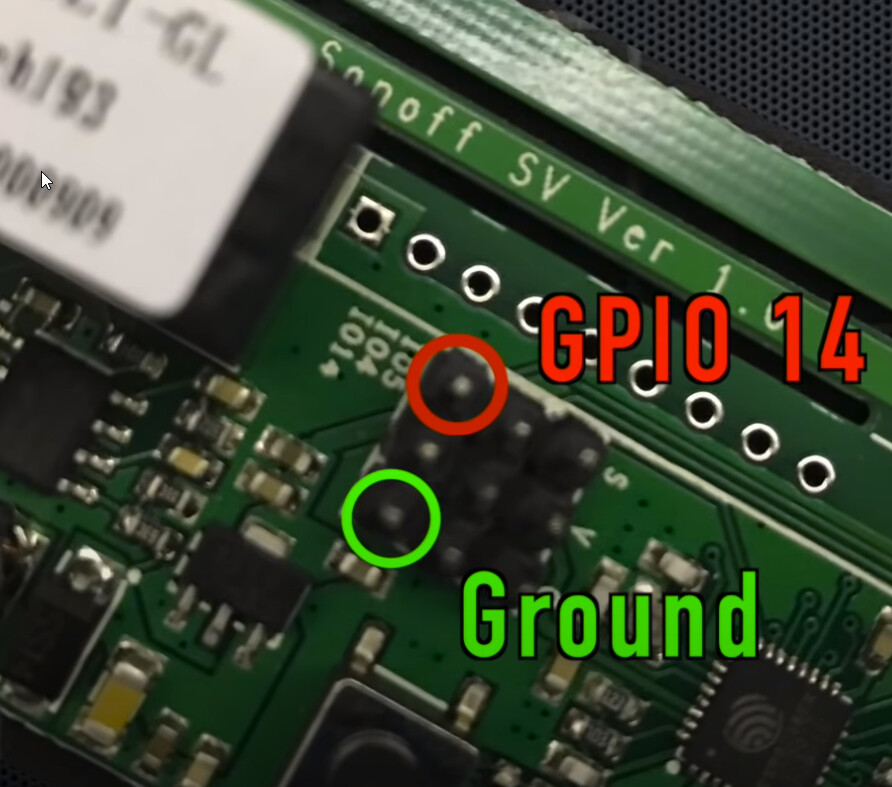
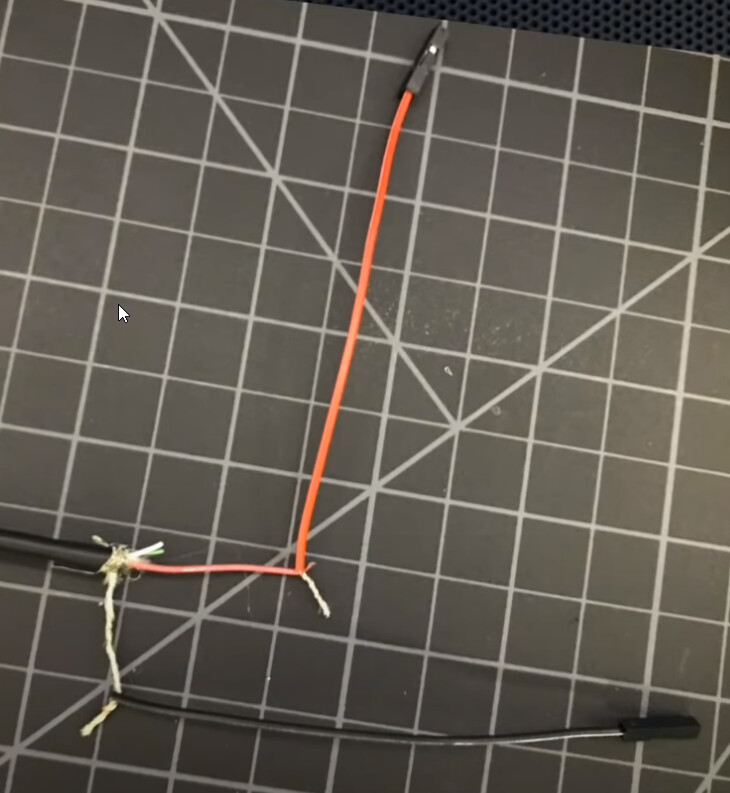
Wire GPIO14 as follows for the door contact (reed switch). I used some Dupont jumper wires for this.
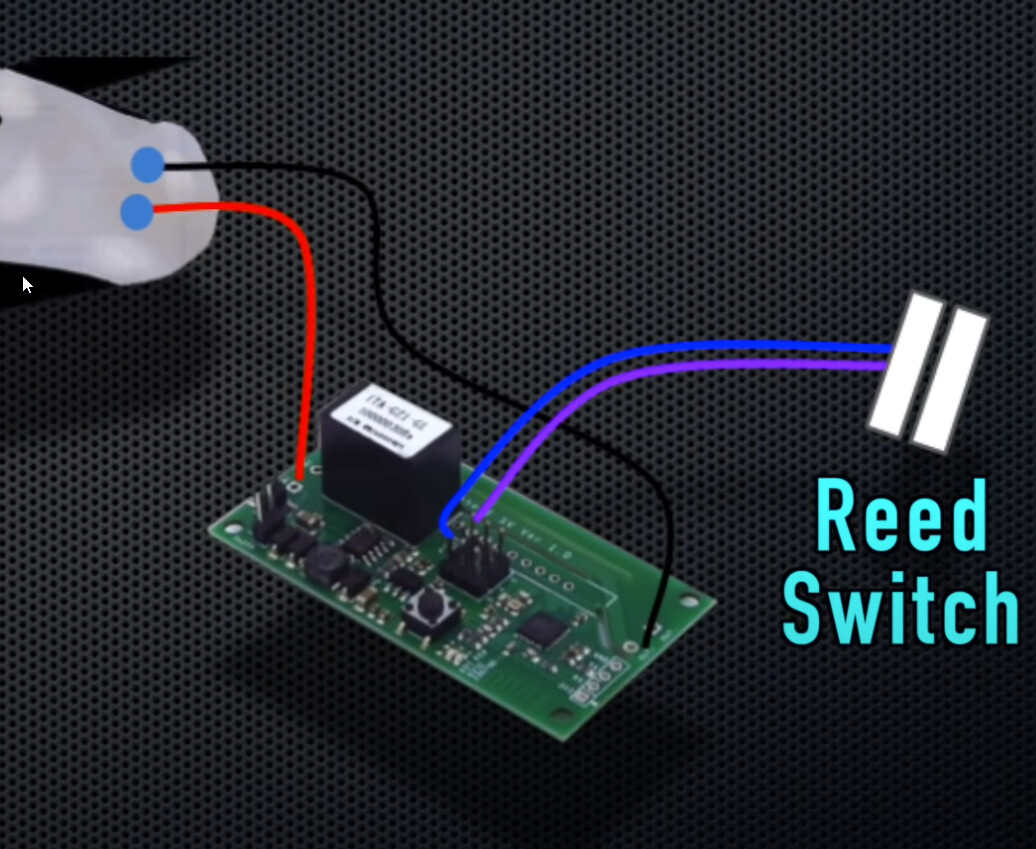
To power the Sonoff SV, I used an old USB cable like DrZzs describes and lobbed off the broken microUSB connector. Wire the red wire to positive and the black wire (your cable may just have the sheath and an unshielded wire like DrZzs - just wind these together for the ground) is the ground. Connect Dupont jumper wires with female ends to connect to the Sonoff SV.
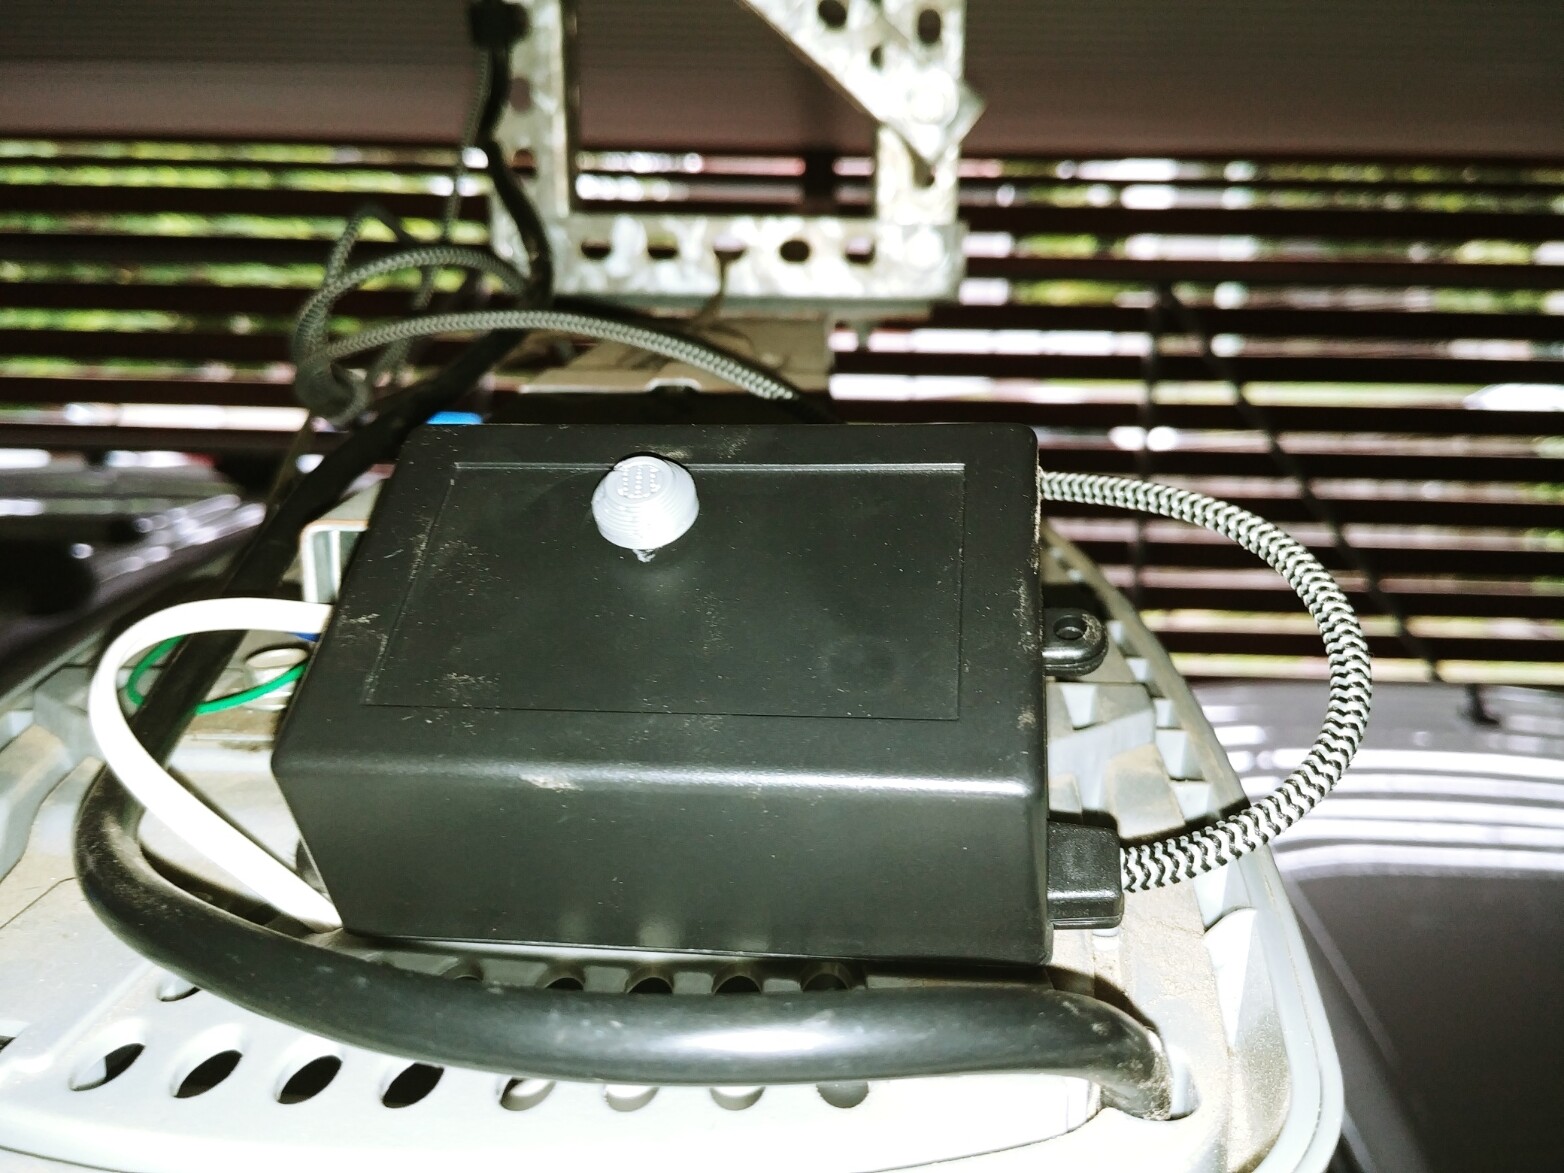
I put the whole lot in a Jiffy box and drilled a 6mm hole for a button. I 3D printed a button and a button guide that I super glued to the inside of the box to guide the button. A 3D printed retainer on the end of the button stops the button from falling out. Here's a very unexciting photo of the finished product installed. The grey thing on top in the button. It extends down to the button on the Sonoff and depresses it when pushed. Works well and I find it handy. I should have taken some inside photos before I assembled it but was too eager to get it installed.
Software Setup
Prerequisites:
- Sonoff SV flashed with T4HE
- Tasmota Device Manager user app installed
- Necessary T4HE drivers installed. You will need 'Tasmota - Universal Parent' and 'Tasmota - Universal Switch as Garage Door (Child)' from here (Hubitat/drivers/expanded at release · markus-li/Hubitat · GitHub)
- Door contact set up as NC (i.e. reed switch is closed when door is closed)
Steps:
- Type the IP address of your Sonoff SV into a browser to bring up the Sonoff web interface.
- Click on Configuration -> Configure Module. Set up your Sonoff as follows and hit save.

- Go back to the Main Menu and click on Console.
In the command field, type the following commands, hitting enter after each command line.
SwitchMode1 0
SwitchMode2 1
PulseTime1 10
NOTE: If your reed switch is OPEN when the door is CLOSED, you might need to change the second command to:
SwitchMode2 2
That completes the Tasmota configuration.
Configuring HE
-
Open the Tasmota Device Manager app and discover devices. Once your Sonoff SV is discovered, add it. This should create a new device with a universal parent and two child devices. POWER1 is your reed switch and POWER2 is your garage door relay.
-
Click on the first child (POWER1) and configure the driver as 'Generic Component Switch' then save.
-
Click on the second child (POWER2) and configure the driver as 'Tasmota - Universal Switch as Garage Door (Child)', which you should have already installed earlier.
You should now be able to use the second child (POWER2) to control your door and under 'Current States', you should see your door contact show either 'open' or 'closed'.
I hope this guide helps someone and spares them the hours of mucking about I spent to get this far. One caveat is that I wrote this up after I'd spent a LOT of time using trial and error, so I'm pretty sure I captured the final process. I apologise if I may have missed something. I will amend the guide if it is unclear or incorrect in any way.

