@neonturbo thank you very much for posting this! I got into mountain biking last year and purchased a QuikrStuff Mach2 hitch based bike rack and I was constantly worried I didn't pull into the garage far enough when I had it on the back of my SUV. I just finished the final touches on this project and wanted to share my results.
Parts:
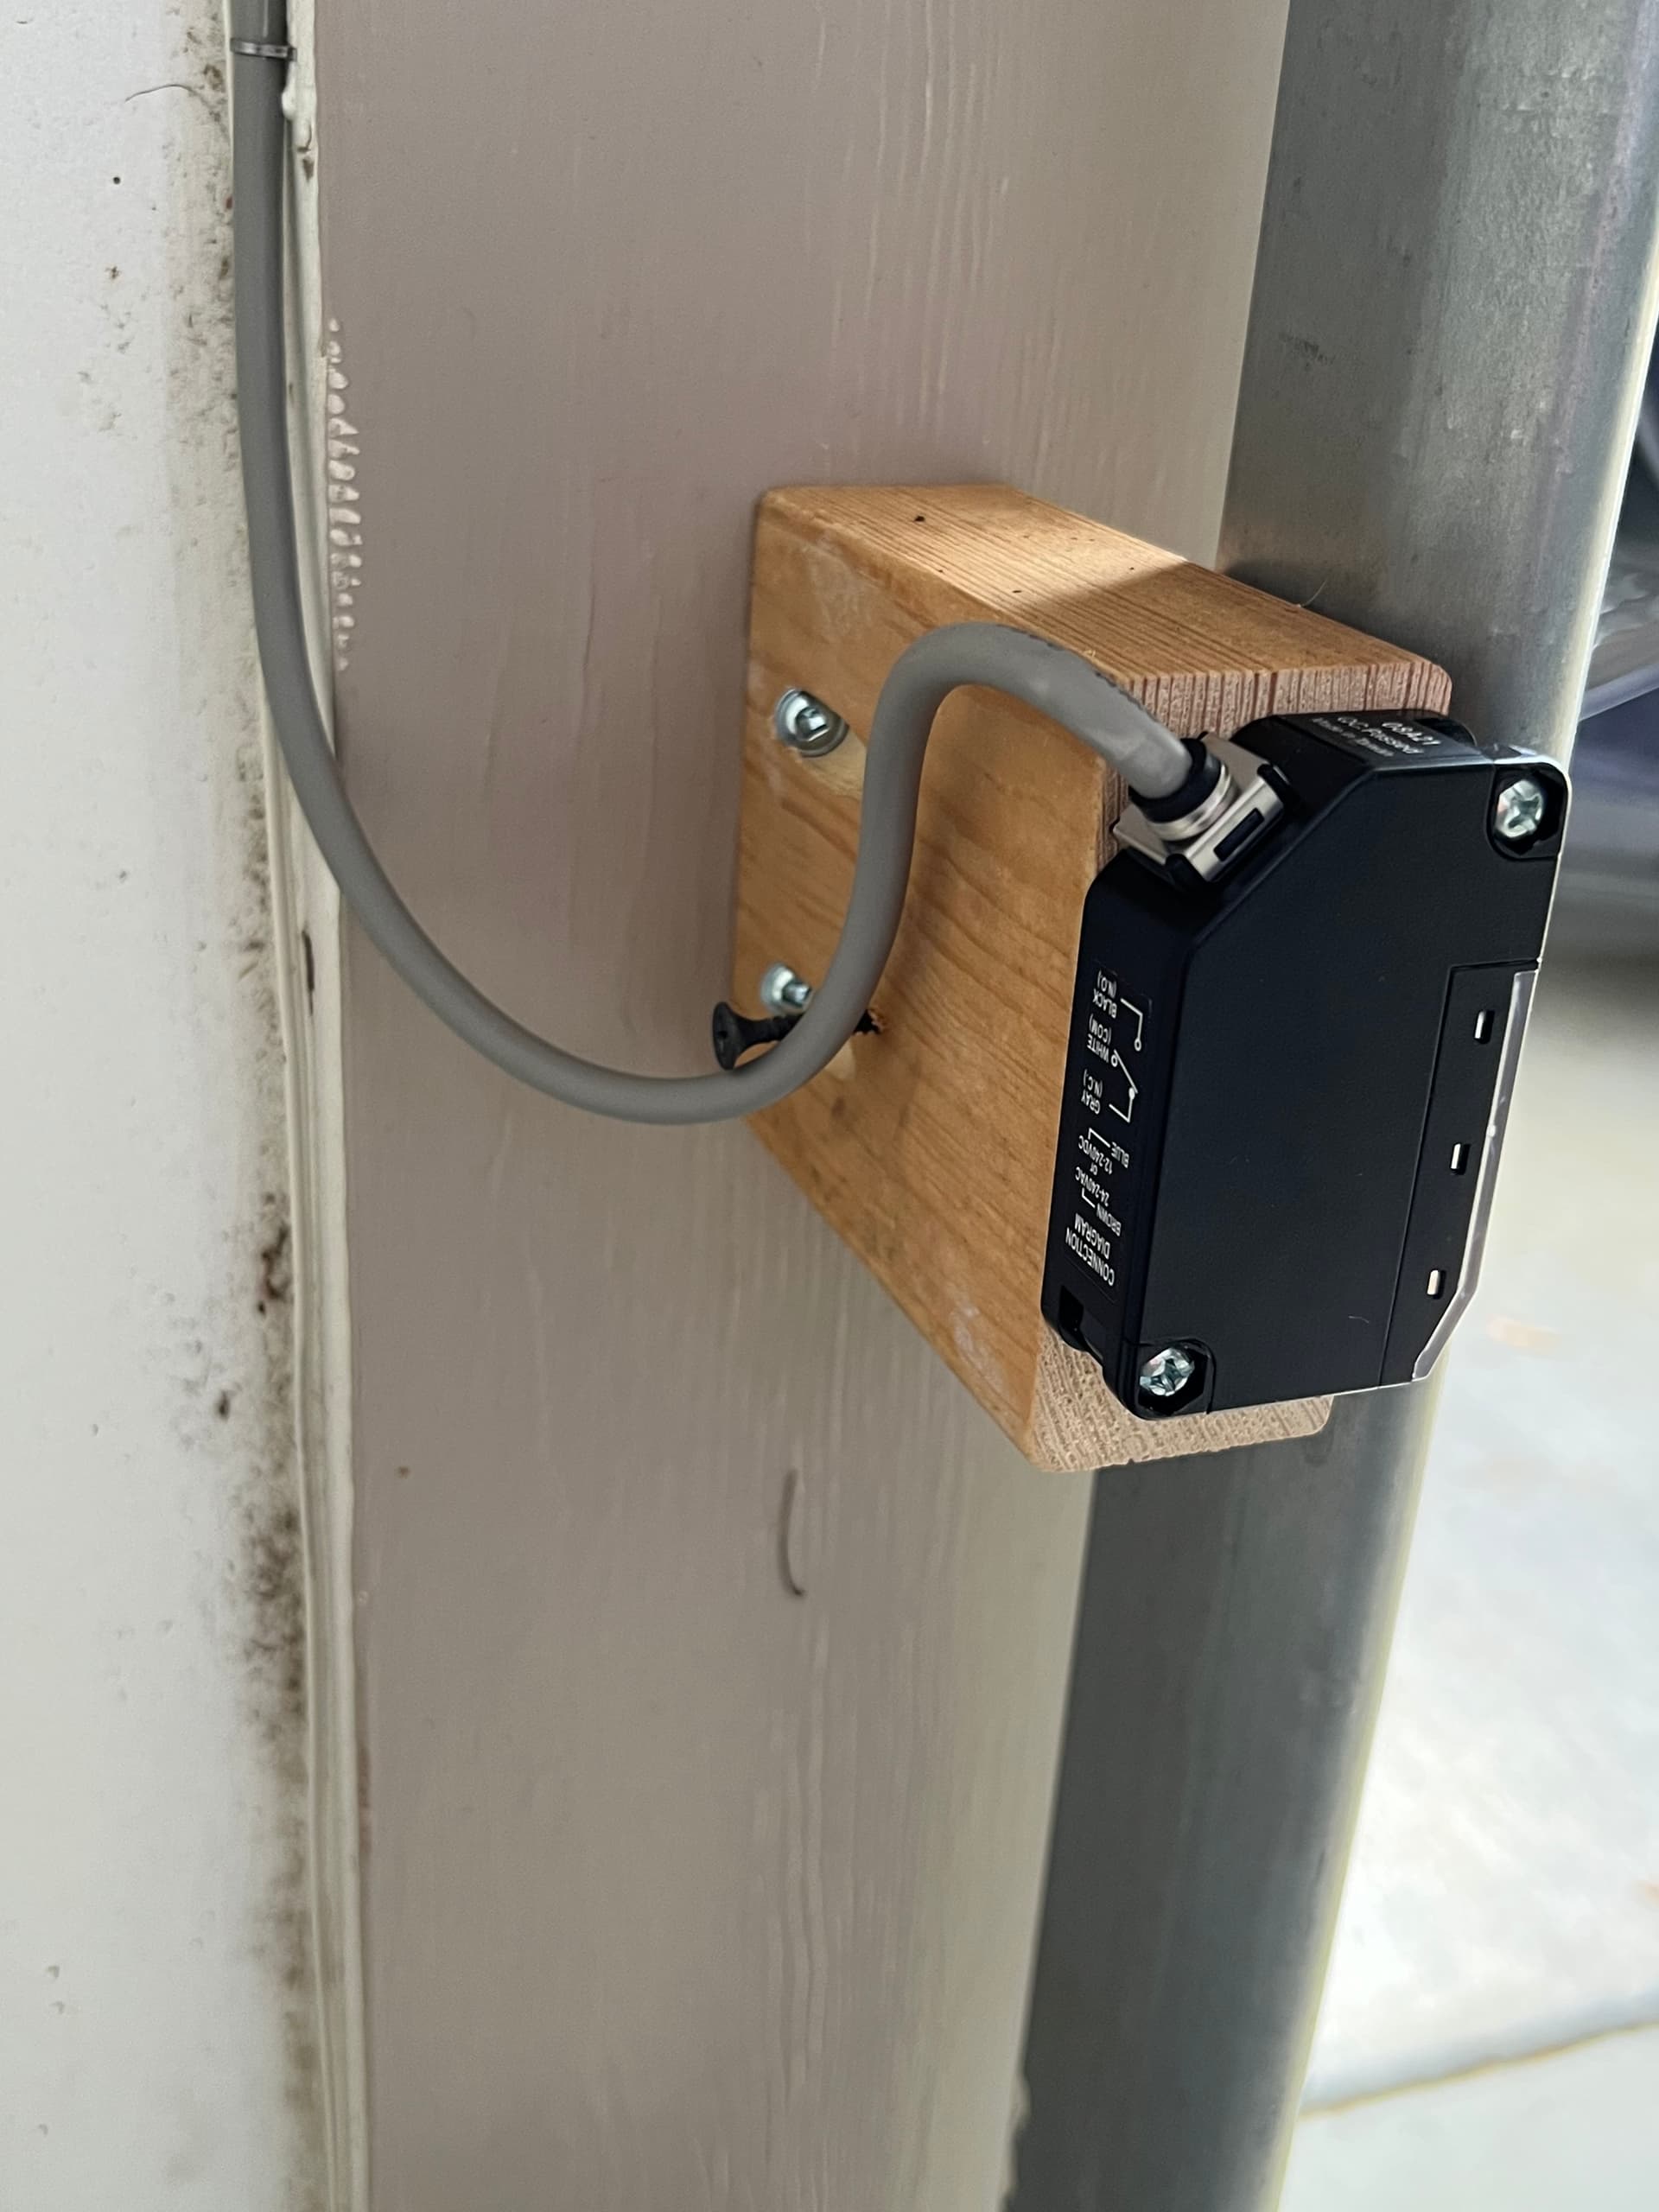
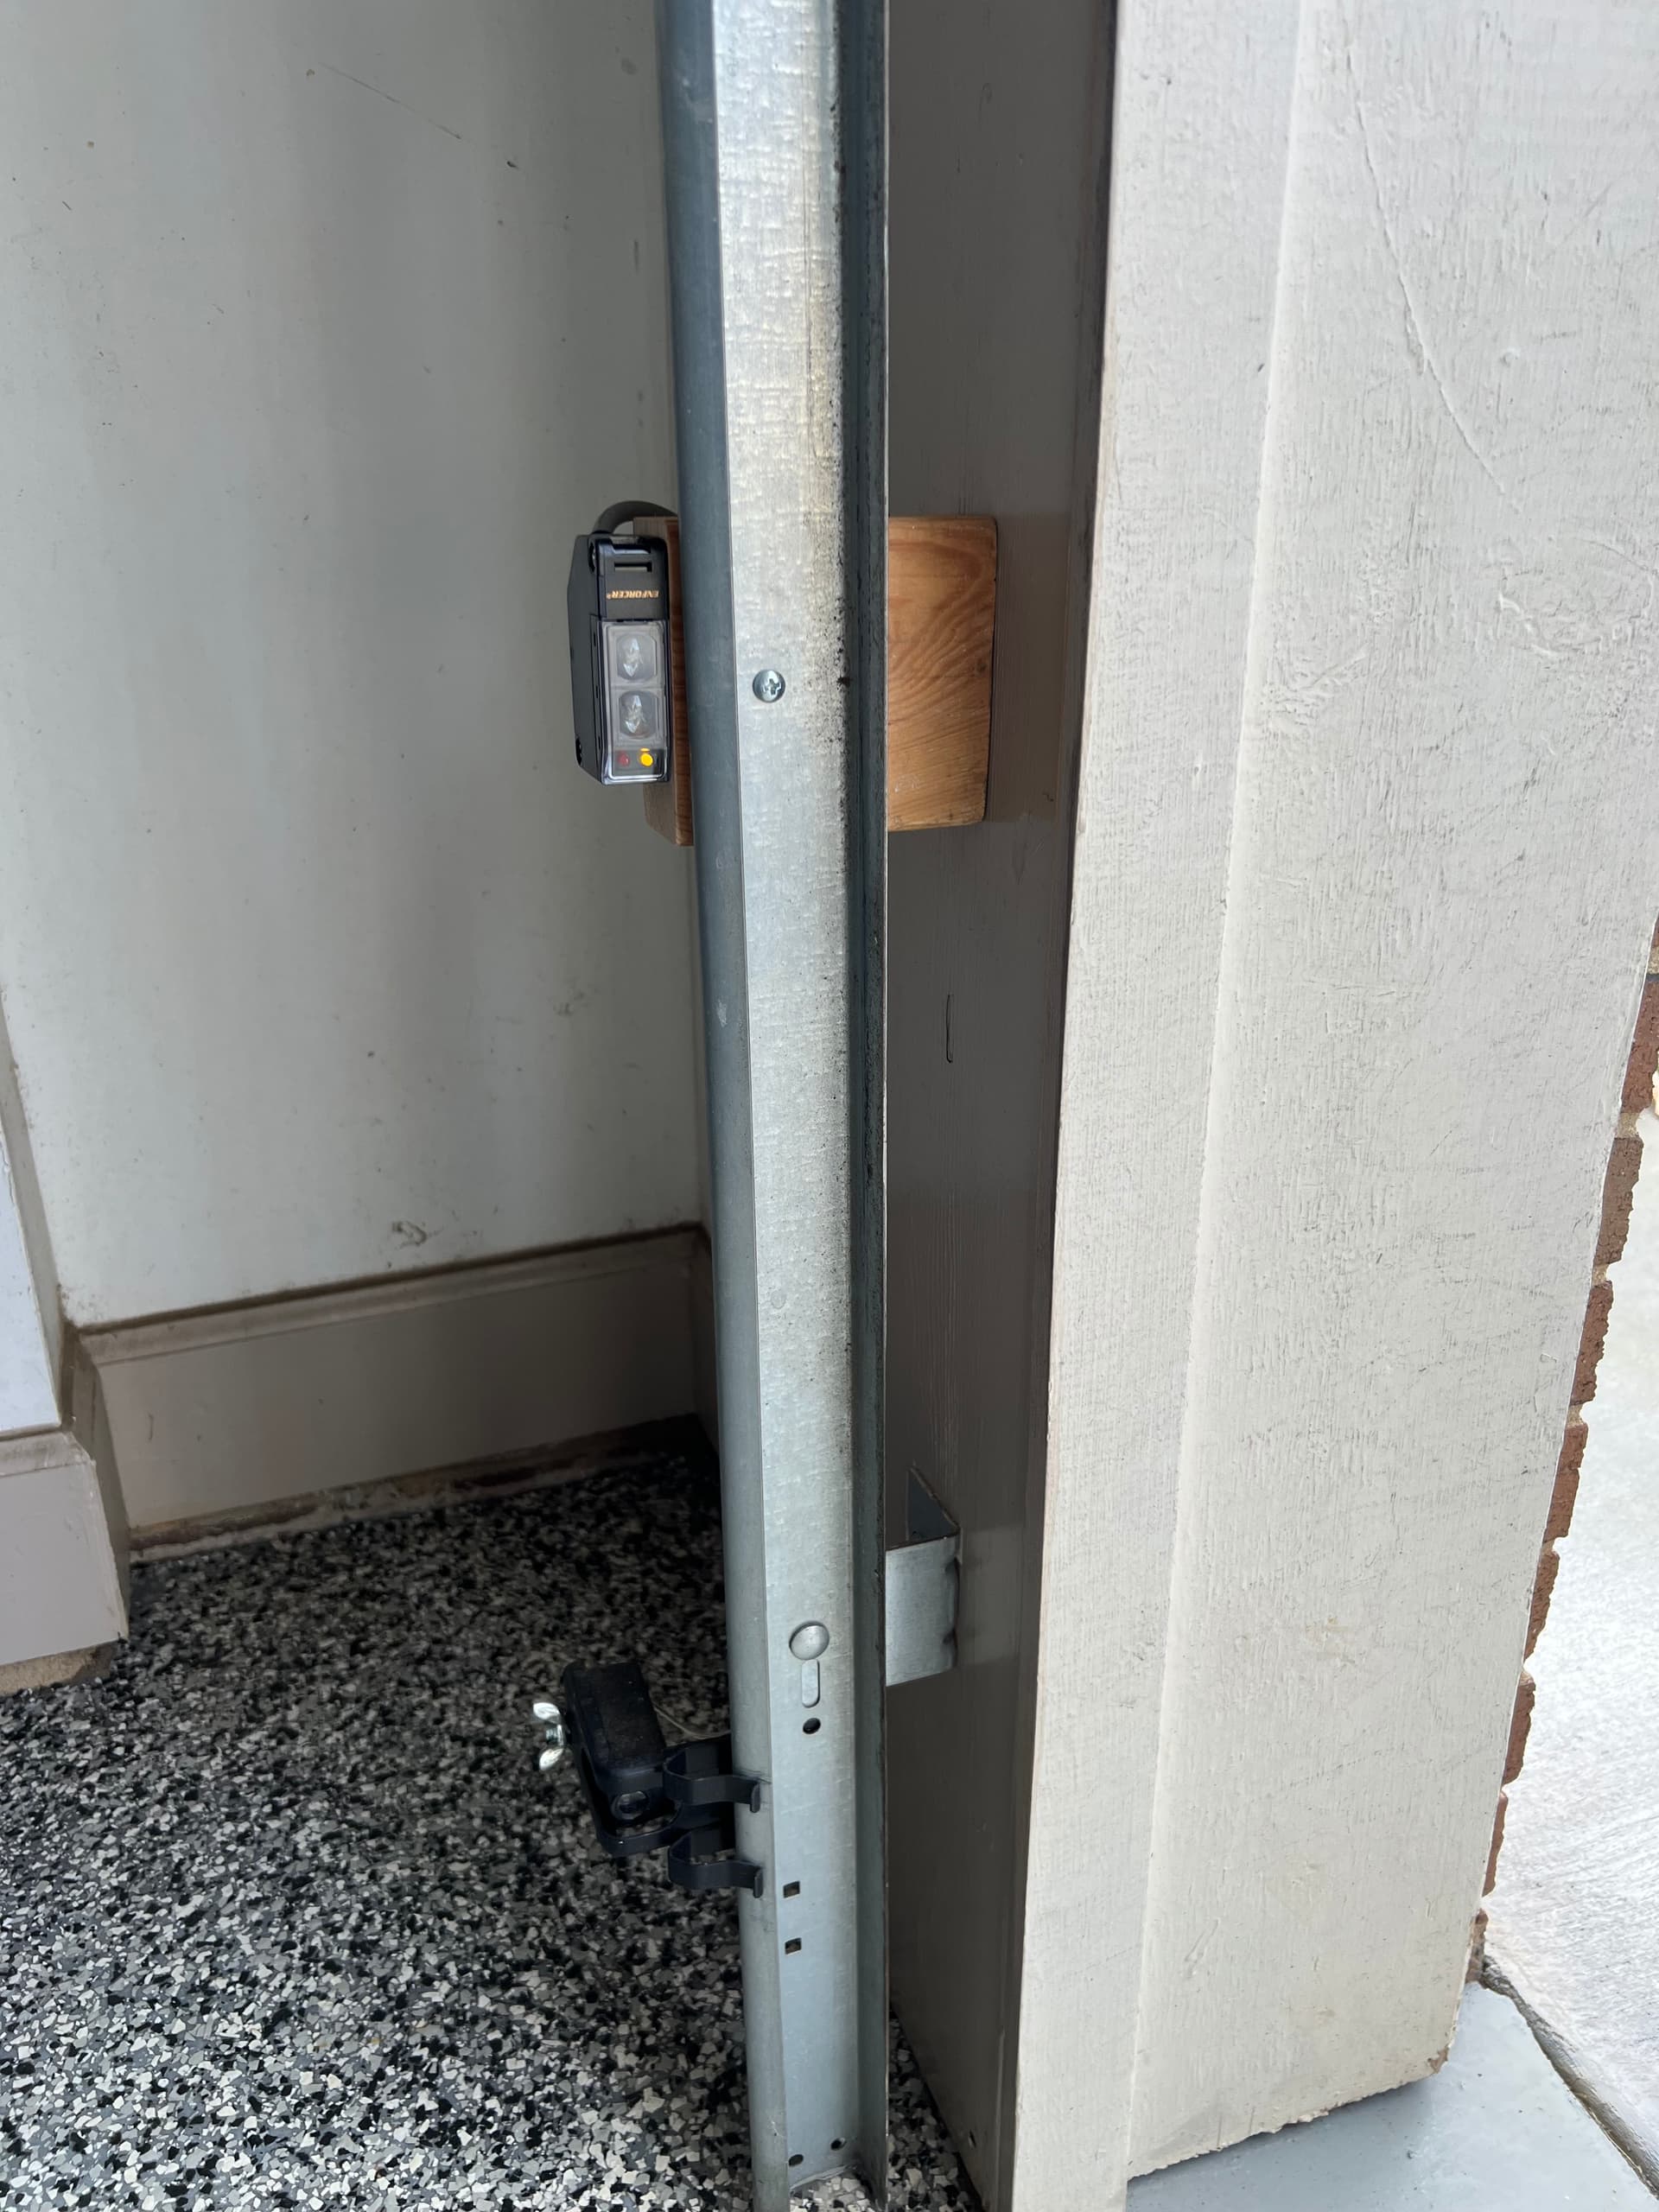
- Seco-Larm E-931-S35RRQ Enforcer Indoor/Outdoor Wall Mounted Photoelectric Beam Sensor
- Striveday 22 AWG 5 conductor wire
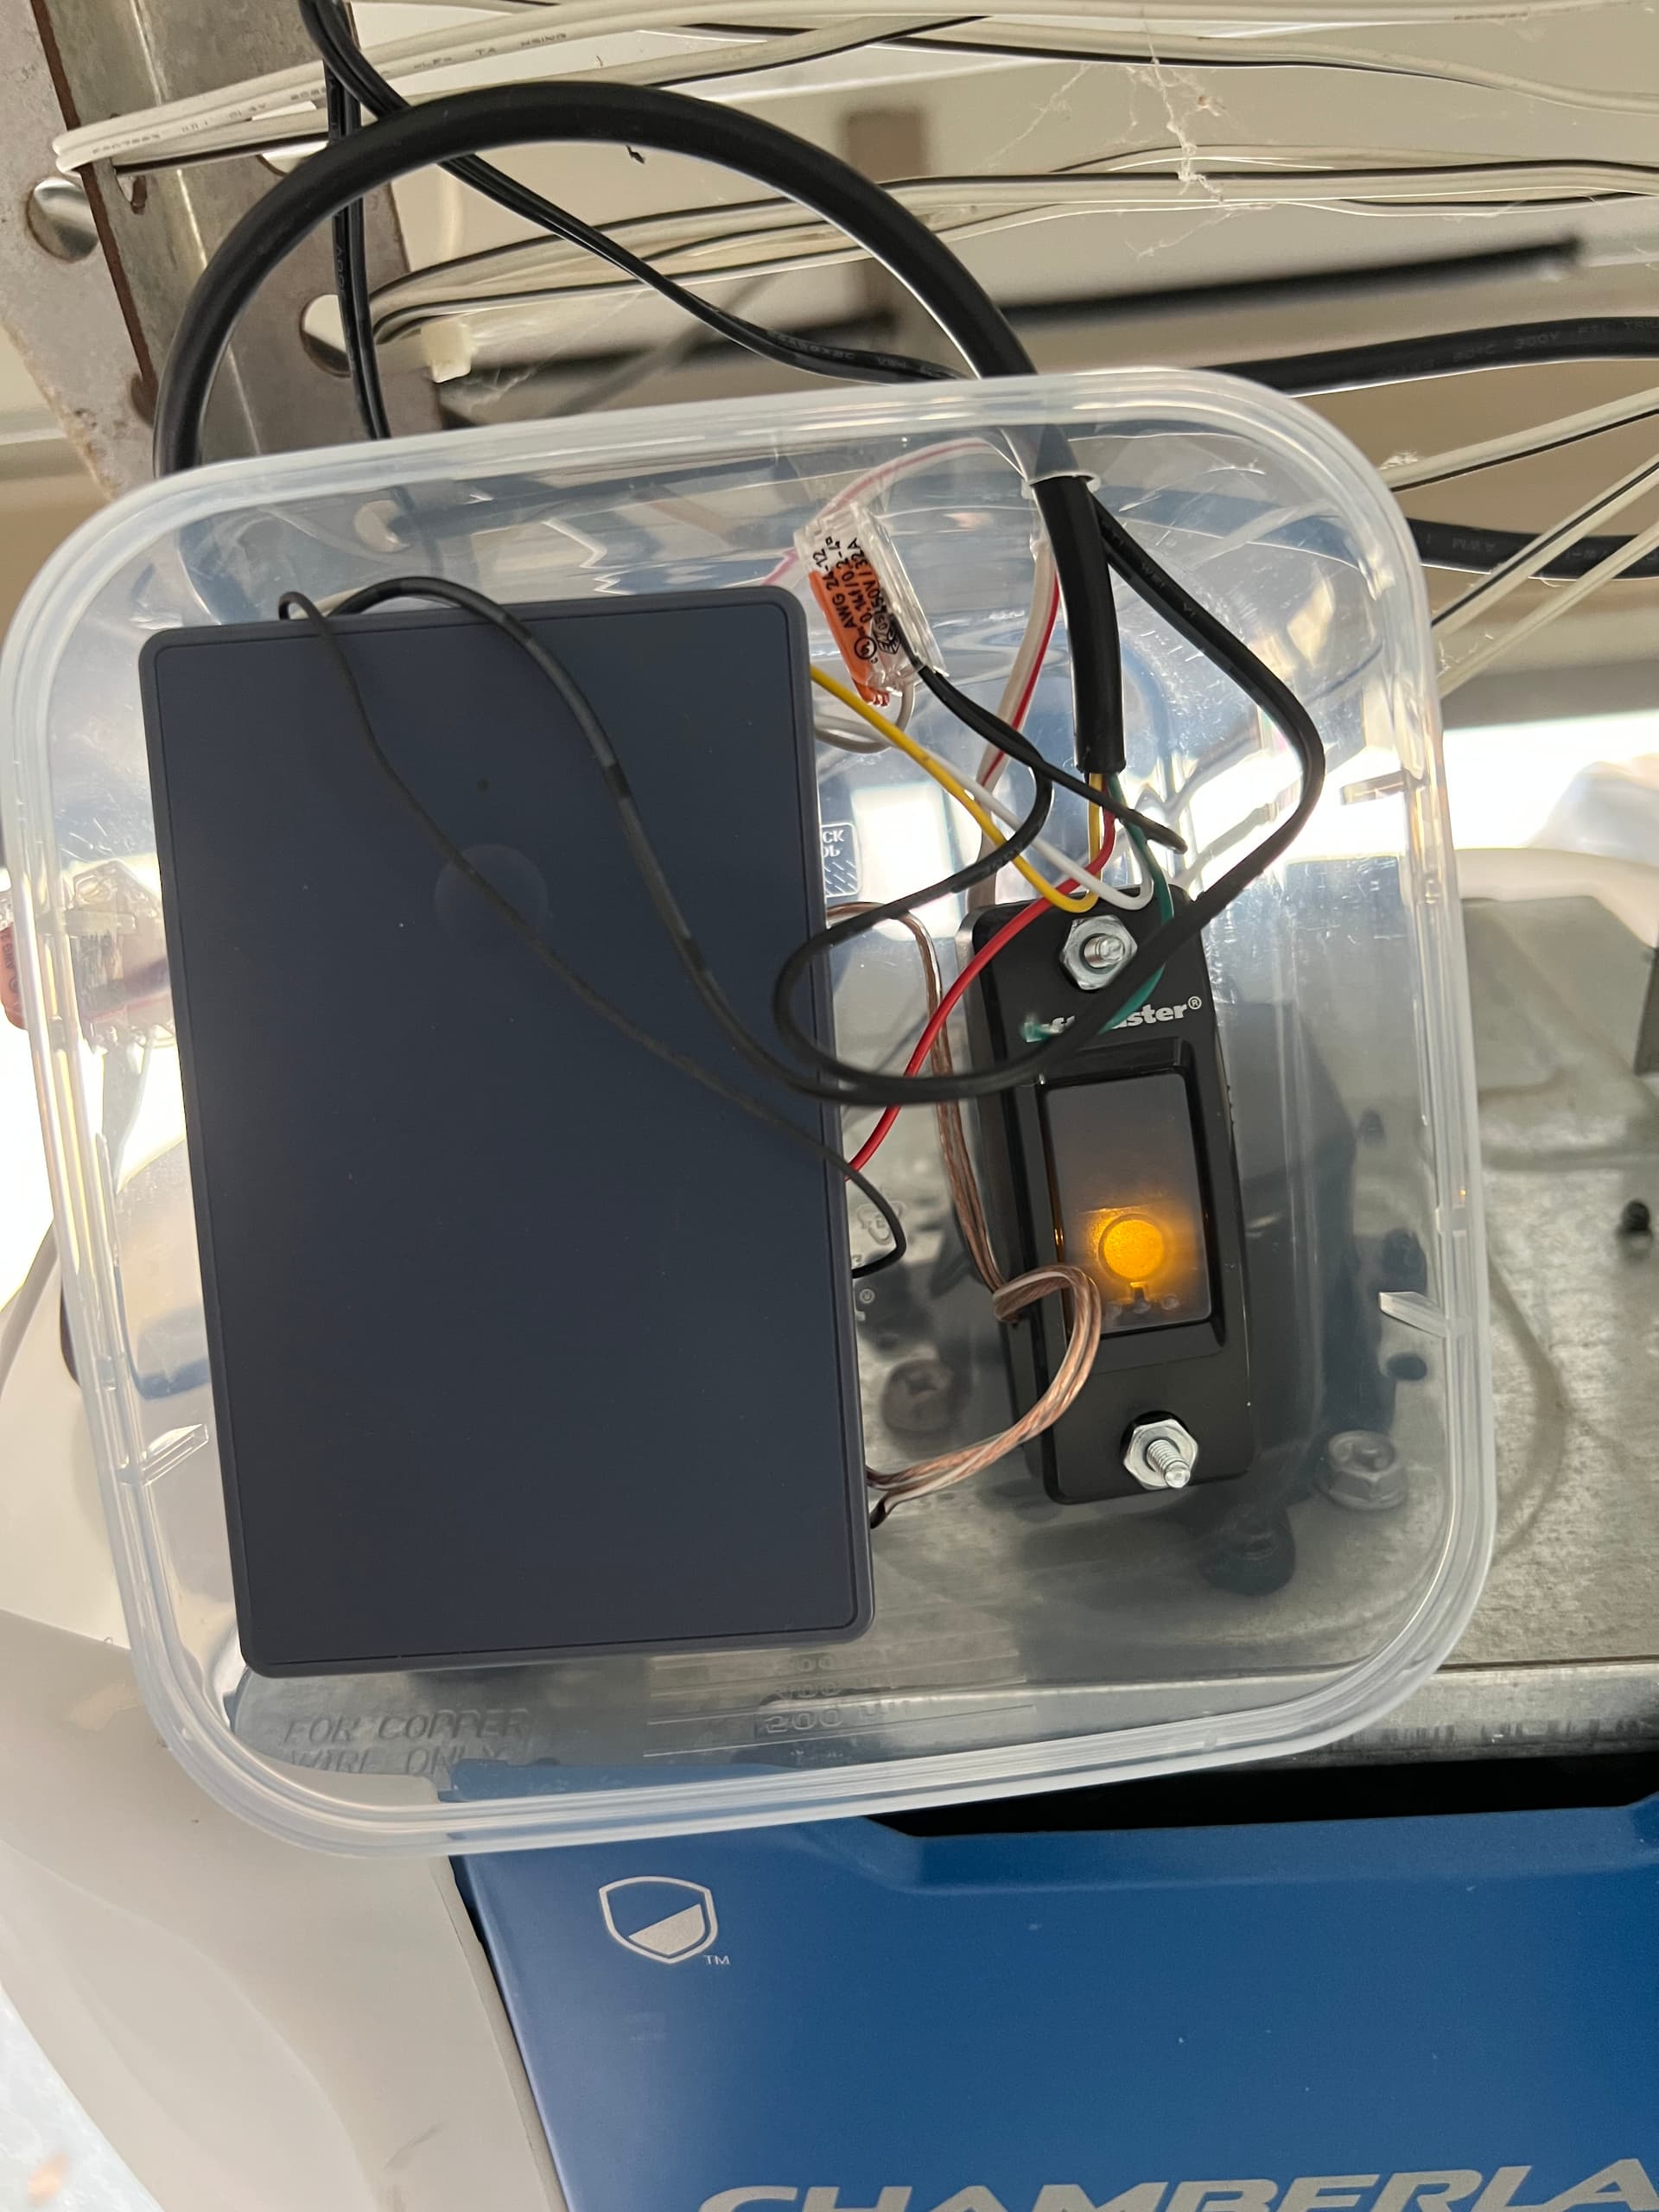
- Zooz Zen17 Universal Relay
- GIDERWEL Smart ZigBee USB LED Strip Light RGBWW Kit
Zooz Zen17 Universal Relay:
While I own the Ecolink tilt sensors you used, I have the worst luck with Ecolink products in general (including their contact sensor) and I couldn't get it to sense anything with the external contacts connected to the beam sensor. I had a spare Zen17 that I bought on sale years ago and decided to try it instead. It worked out great for many reasons as I was able to combine multiple automations with this one relay.
- Beam Sensor's Sensor: Using the S1 and C inputs I am able to detect the beam sensor's status. I am using the NO wire and "motion sensor" in the Zen17 driver because I added this "motion" sensor to my existing Garage Room Lighting app so the overhead lights will come on if someone walks into the garage before the ceiling motion sensors fault.
- Beam Sensor's Power: When the garage door is closed I decided it makes no sense to have the beam sensor powered so I am using Relay 1 to control the power of the beam sensor.
- Garage Door Dry Contact Relay: I was already using a MHCOZY Zigbee Relay for my garage door opener but have read @aaiyar's warning that these failed on him so was a bit concerned about continued use of it and am now using Relay 2 to control my garage door opener.
I installed the beam sensor 24" off the floor so it will detect bumpers of our SUVs or my bike rack. I used a piece of 2x4 wood block to install it against the garage door rail above the GDO sensor. I often store things in the corners of my garage so screwing the beam sensor into the walls wouldn't work.
Given my multiple uses of the Zen17, I wanted to install it above my GDO. I bought some 22 AWG 5 Conductor wire off Amazon (same gauge as the beam sensor) and extended the 6 foot wire that came with the beam sensor so it would reach my GDO. I bought a sandwich container from my local Container Store and placed the Zen17 relay in it along with the GDO button that automates my garage door. Living in NC we get tons of pollen so the container protects the relay from pollen and dust.
Years ago I installed Gladiator cabinets on the back wall of my garage (highly recommend Gladiator products, expensive but well worth it!) which limits where I could install a light to indicate whether the beam sensor is tripped or not. I chose to go with Zigbee LED strip lighting that I taped down the side of one of the cabinets in the middle of the garage.

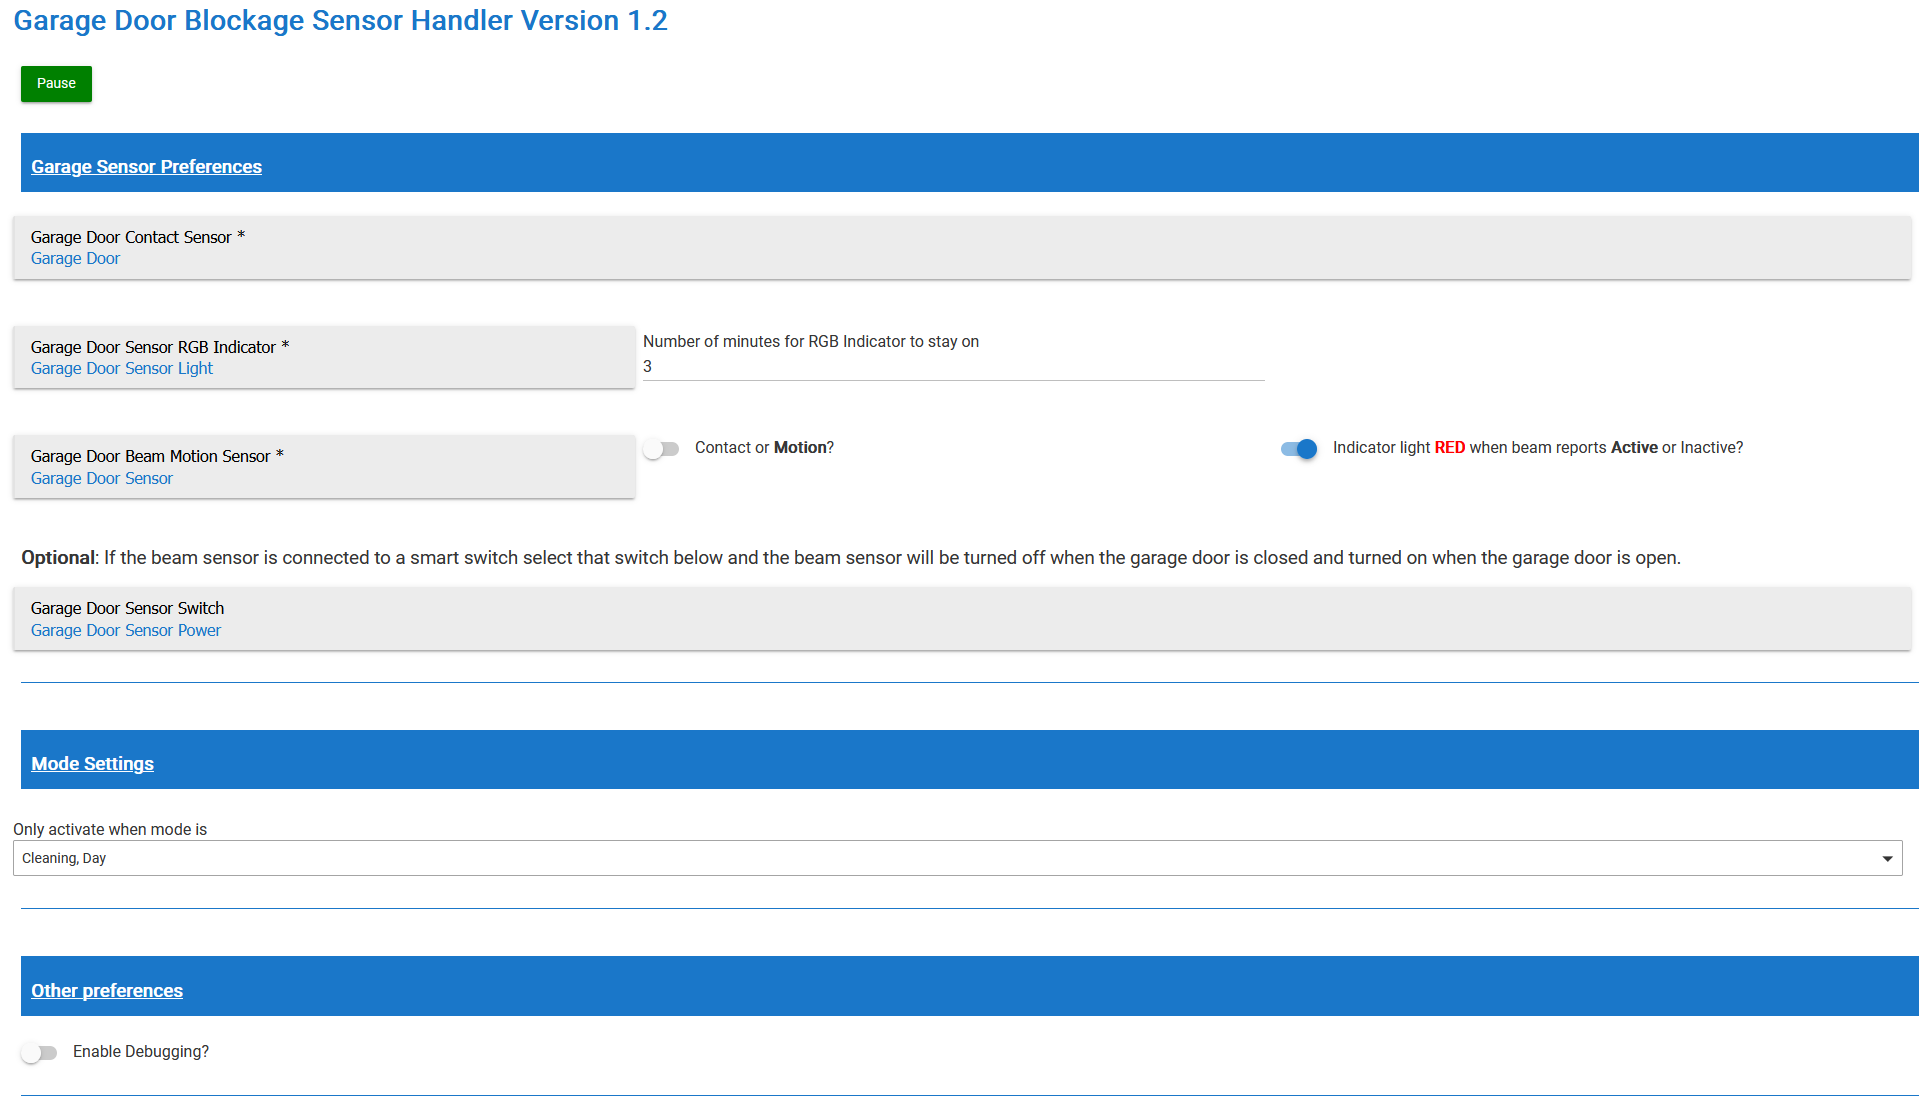
Originally I was using RM to control the light but ran into issues with multiple rules instances firing at the same time. I created a custom app to manage the indicator light to set it to red when tripped and green when not and then turn off the LED after 3 minutes of no activity. You can download this app on Github.
Again thank you for posting your project and giving me the idea and motivation to solve my challenge!

