I recently posted about how one of my Samsung buttons has decided to eat through a coin cell battery within 3 weeks. I tried several things to troubleshoot, even moving the button to a different hub. In the end, I replaced it.
But not being one to toss aside an otherwise funcational device, I decided to modify it to use AAA batteries and give it a new life in my basement workshop. I've been wanting a button to override motion lighting near my toolbox for a while but the cheapskate in me couldn't justify even $13 for a button that might get used 1-2 times a month. But now that I had one in the junk drawer, opportunity struck.... it's time to get out the soldering iron!
Here's what you'll need:
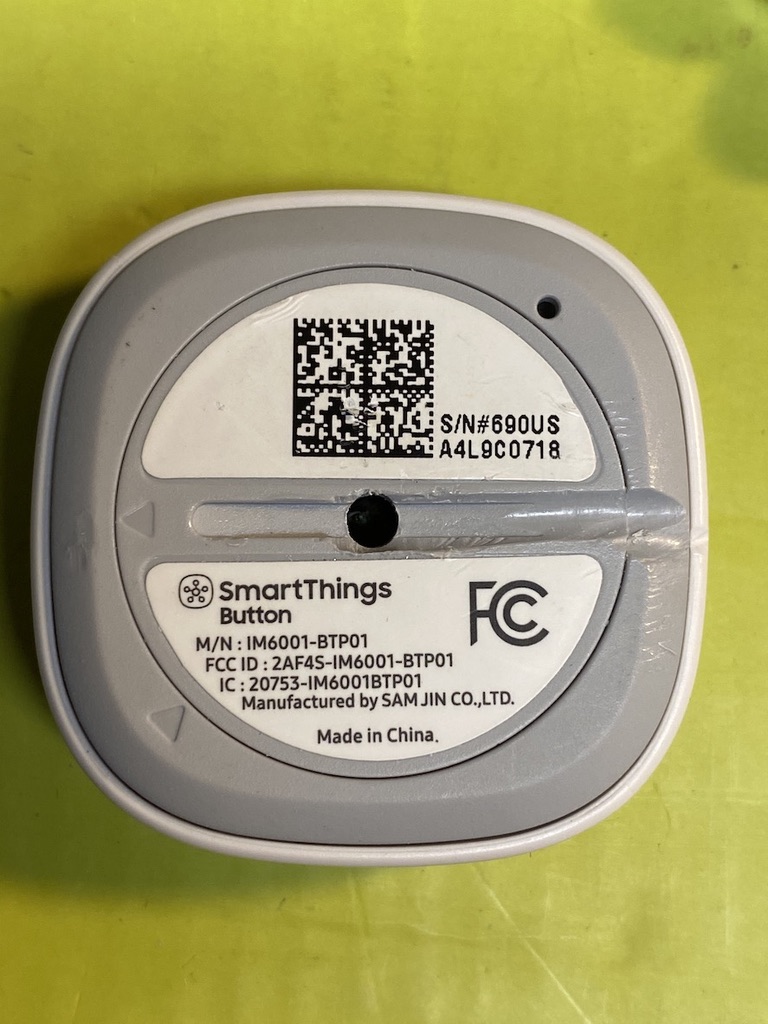
- Samsung Button
- 2x AAA Battery Holder (or 2X AA)
- Soldering Iron
- Solder
- 5/32" Drill Bit
- Drill
Let's build it!
- Remove the battery from the button and re-install the back.
- Drill a 5/32" hole in the center of the button, being careful not to drill in too far and damage the PCB.
- Drill out the channel in one direction to feed the wires. I found it easy just to hold the drill perpendicular to the button and let the bit slowly route out the channel.
- Remove the button back.
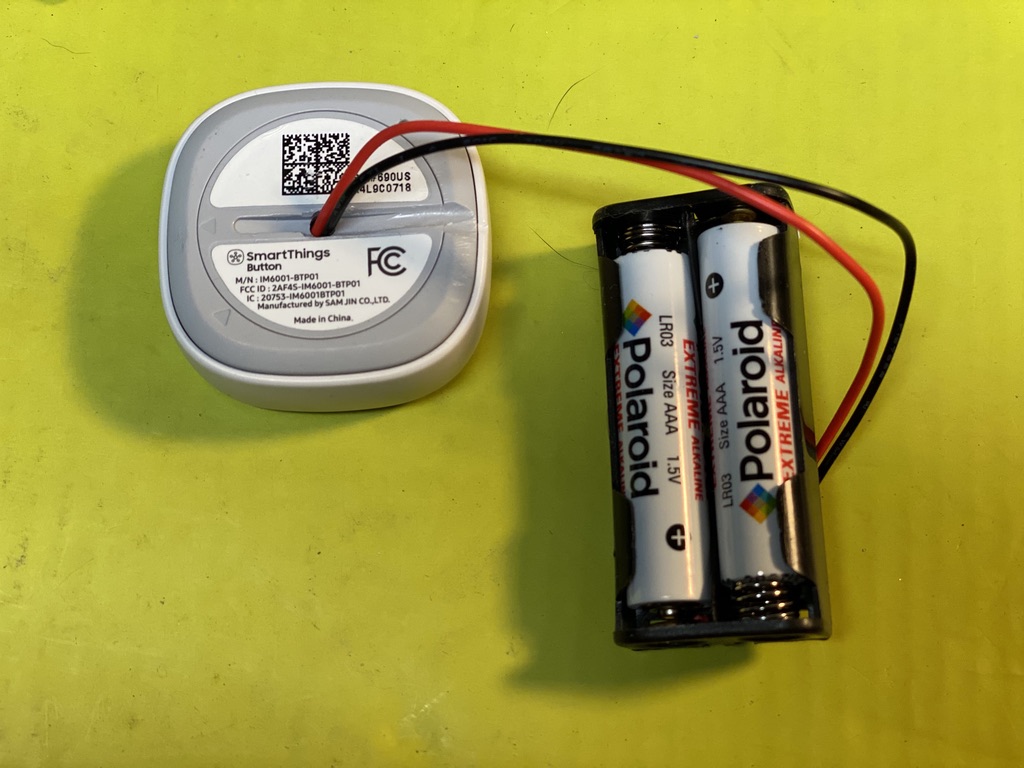
- Feed the wires through the hole, making sure the battery pack is on the outside.
- Take the black wire and wrap it around the metal tab in the center and solder it.
- Take the red wire and wrap it around the metal tab on the side and solder it.

- Insert batteries and observe if button powers on by the green LED.
- Re-install the cover.
- Make any further adjustments in the channel depth if the wires do not sit flush.
- Install your button!

I did a similar modification to a SmartThings 2nd generation motion sensor that used the coin cell batteries. At the time I was seeing 3-4 months of battery life. It has been over a year and that sensor is still using the original batteries!
Good luck!

