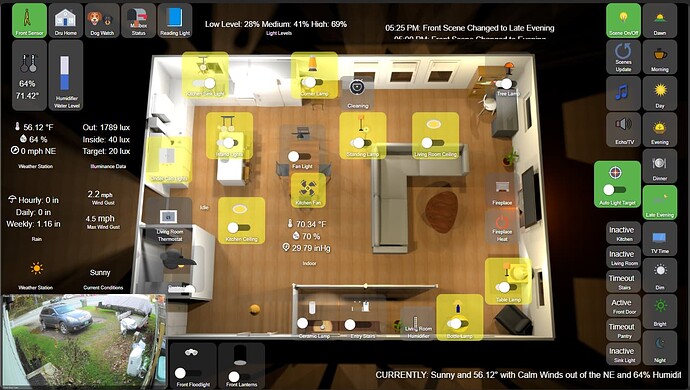
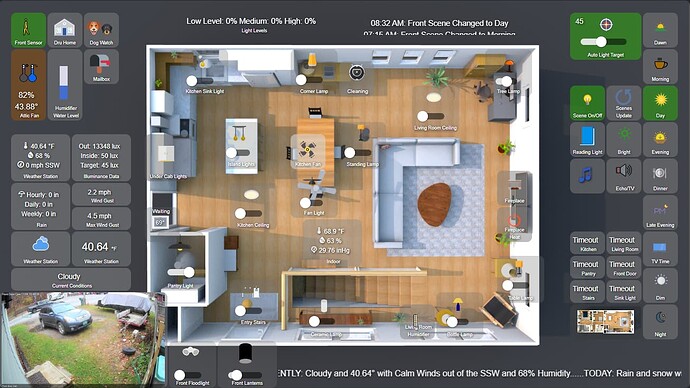
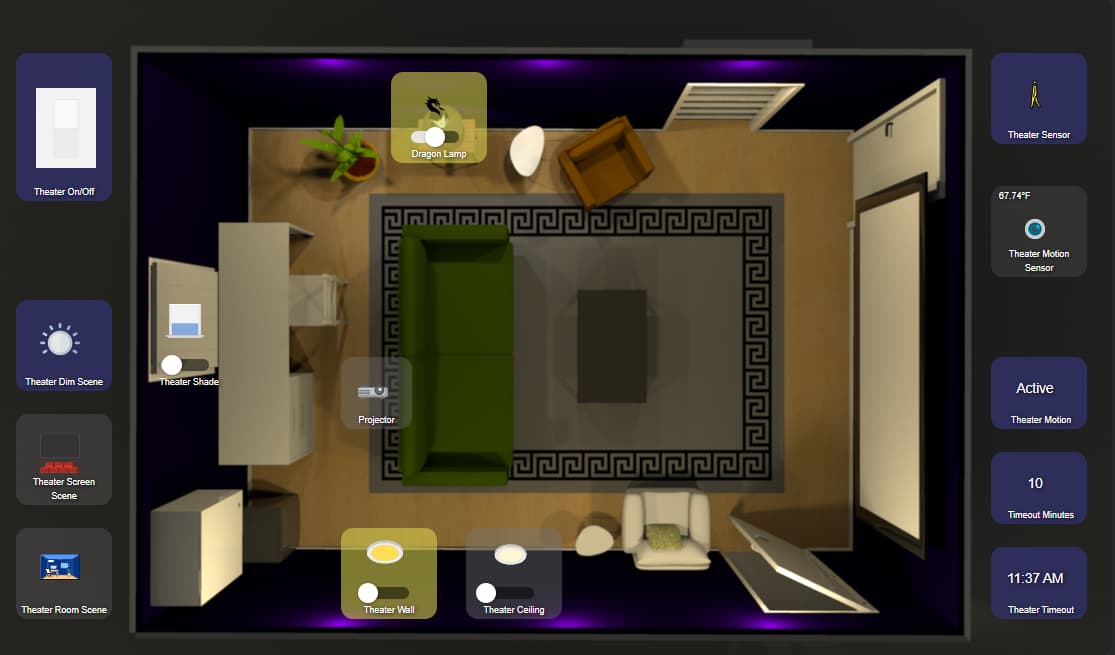
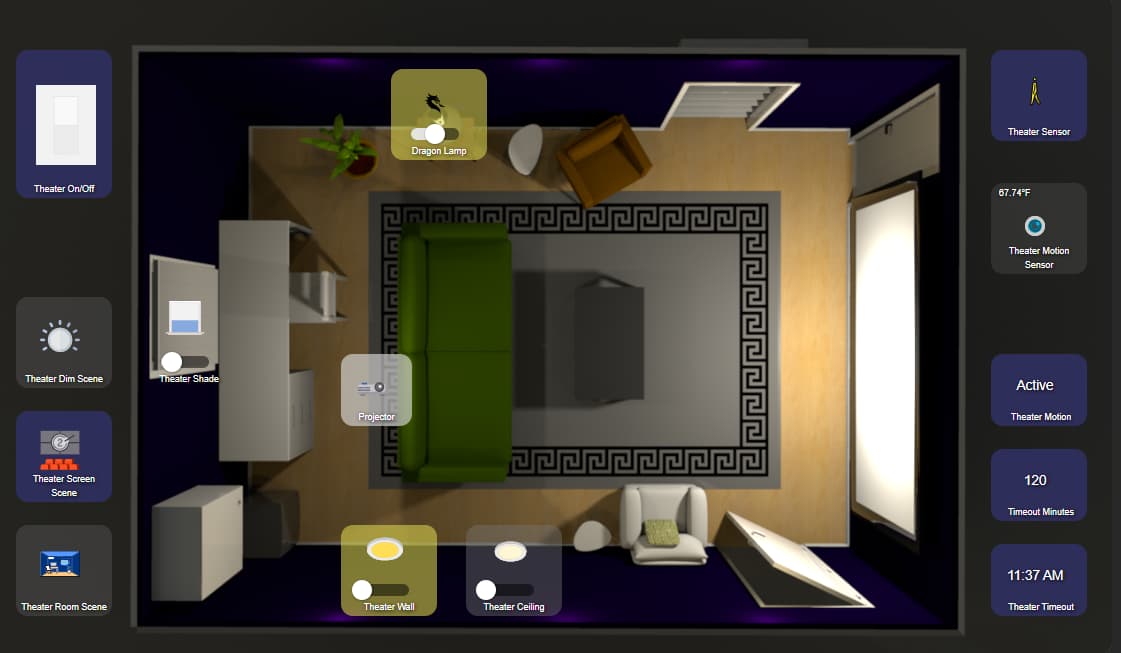
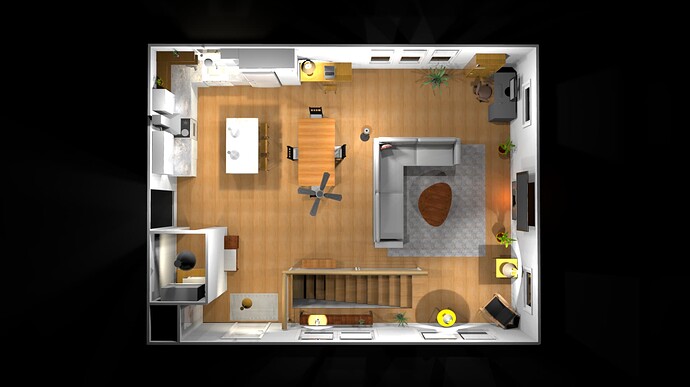
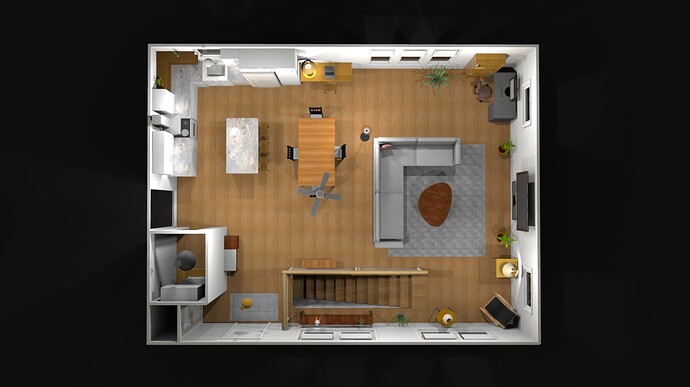
I saw some posts in the HA subreddit where people are making 3D Dashboards using the free Sweet Home 3D model software. It got me interested if this could be done in Hubitat. I did find a way, all local to the hub. So I thought I would share what I did.
Now, the way they have been doing it with HA, is to make a 3D model of a room, and add all the lights in the right places. They then set time to 4pm, render an image with all lights off, and then one with all lights on. They then chop up the picture with editing software so each light gets its own section of the dashboard image as a separate image, and when lights go on and off, they use some integration to update that portion of the image on the dashboard to show the light in that area is on or off when it is switched. This can be done with Hubitat as well, if the grid gap is set to zero, and all the pieces can be seen as one image.
However, what I found was I have lights too close together to do that, as it would make for some confusing shading and lighting effects that don't make sense and it would really look bad. It also doesn't show ambient lighting from the sun in the windows for the correct time of day.
What I used instead is the nine scenes that I use, that change through the day, instead of basing it on individual lights. I have the scenes set so that it is pretty rare for me to ever adjust a light manually, so chopping it all up by light areas to show individual lights being turned on and off isn't something I need. All I want is for the lights to be accurate to the scene, and also for the time of day to be accurate to when the scene runs normally. You could do it the HA way and chop it all up, and still use the update method described below to update all the individual tiles based on device status changes, instead up just updating the whole dashboard image as a scene.
So, I rendered my room in Sweet Home 3D, as the base image. I then turned on the lights to the levels they use in each scene, and for the time of day of the scenes, and rendered an image for each one. I also rendered an image of each scene with all lights off, but with the correct time of day set for each scene.
Now, when my scenes change, the dashboard background changes to the correct image for the scene with lights on or off at correct dim levels, and it uses the proper background image based on if the scene is on or off from the presence sensor.
In Dashboards, you cannot auto refresh Backgrounds or Tile Backgrounds. What you can refresh is an Image tile (refresh is a setting for the tile). So, you have to use an Image tile as your dynamic background. This can be done by making one large tile for the image, and setting the z-index with CSS to a negative value so all other tiles will lay on top of it.
Use the tile ID of your image tile:
/* Make Image as background */
#tile-114 {
z-index: -10 !important;
}
I created a dashboard with column and row widths of 20. This creates quite a big grid for the dashboard, but it will give you more precise tile placements for where you want tiles on the image, and allow for different sized tiles depending how much you expand them. Create the background image tile first, and expand it to cover the whole area of your dashboard. Set the CSS z-index for the tile number. You can leave the image Url blank for now.
Now use Sweet Home software to build your room in 3D. When rendering (save photo), you can choose the time of day. Also go into the compass settings to set North based on how your room is positioned, so the sun will come in at the right angles. Choose the time of day for the scene, and render each scene with lights off.
Then, based on the dim levels and what lights are on for each scene, turn on the lights in Sweet 3D to match your scene, and render it again with the lights on at the same time of day as each scene's lights off image. Be sure to save a Sweet Home 3D file for each scene, so you can load it again to go back and change things if needed without having to set up each light again.
There is a checkbox for overhead lights on the render page. I don't see where it does much and I did not use it. I added overhead lights with a light source, and set elevation to be 8 feet. I added eight lights since I have recessed lights spread out over the room. They are not visible on the 3D room image. Note that the lighting is only applied with rendering, so you will not see the lights come on until it is rendered. Use one step down on quality to check how it look, then render in full quality and save.
When rendering the files, give them a name that includes the room name and the scene name, and if the scene is on or off. So something like KitchenMorningOn.png, KitchenDayOff.png, etc. You want a format for the files that lets you build the filename based on presence and scene.
Once you have all your files rendered, go to Settings -> File Manager and upload them all to the hub. Copy one of the files and name it what you want to use in the image tile, like room.png. Upload that file to the hub as well, and use it for the background image tile url.
To access the file, you need to use https://hub ip:8080/local/*room.*png in the image tile file path.
You should see the image now showing as the background. Now you can add all of your devices as tiles that are near the lights in the room. I went into Templates in the dashboard settings and made the "on" colors for the device types 1/2 transparent using the slider for custom template color.
Now you have a dashboard with a static image, but you want it to be dynamic to the scene and time of day.
For this, I used File Manager Driver. You can copy the code into the driver code, or use HPM to get it.
Once you have the driver installed, what you want to use is the Upload Image function:
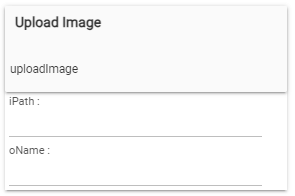
You will use this function in an automation to change the background. It is changed by deciding what file you need based on the current conditions, and then building the filename so that you can copy that file over to the static file set in the image tile. I set this up in Webcore. Use the Webcore app settings page to include the File Manager Device in Webcore, as well as your presence/motion sensor.
In Webcore, make a piston that triggers with presence changing OR scene changing. Your scenes may be using Modes. When it triggers, one of those things has changed. Then build a filename based on the current values of room presence and scene.
If you have spaces in mode/scene names, you may want to strip them out for the filenames.
I strip out spaces from my scenes with:

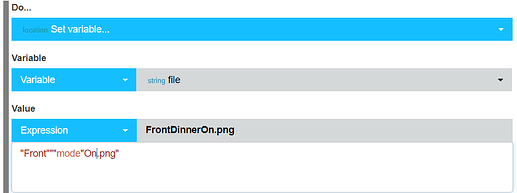
Build a filename to match how you named you images. You might want to name your images so that you can use presence directly. Create a local variable in the Piston for fileName(String). Set filename by using Set Variable and an expression value,
I use "On" and "Off" based on active status. If active I make a filename with On, and if inactive I make a filename with Off. You could put active or inactive in the filename as well, or however you want to do it. It just needs to match how you named your files.
Then you want to copy that file over to a file named what you used for the filename in the image tile url. This is where you use File Manager Driver to do the copy from Webcore. I use a local variable to set Url first from the filename with an expression, then use that in the uploadImage command for File Manager Driver.

Note that I am using an expression here again to build the Url that includes the file in the call to File Manager Device.
Once the file is copied, within the refresh time set in the image tile, it will change on the dashboard.
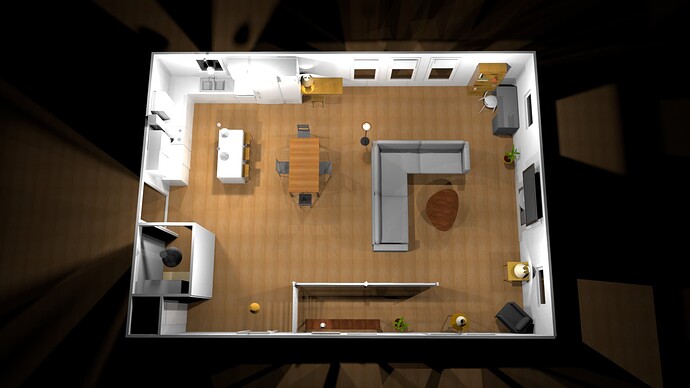
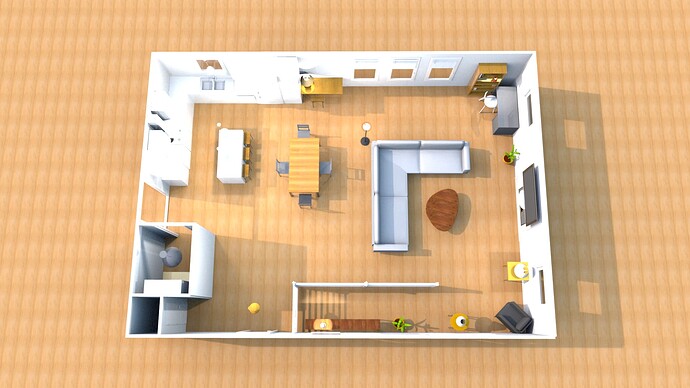
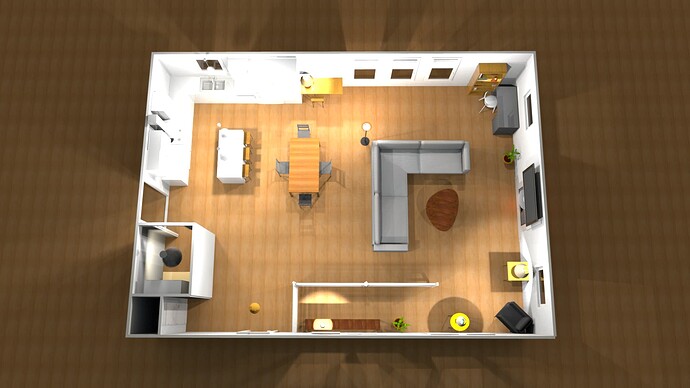
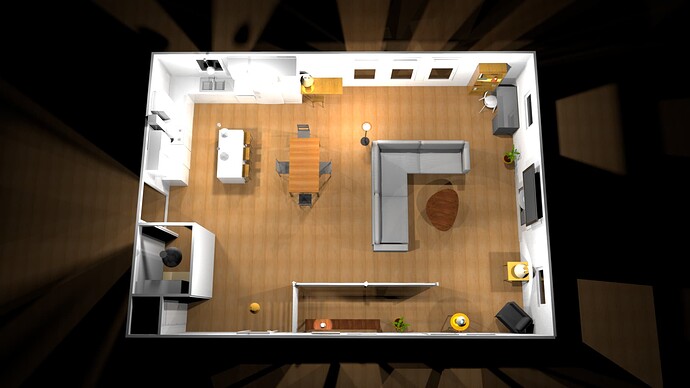
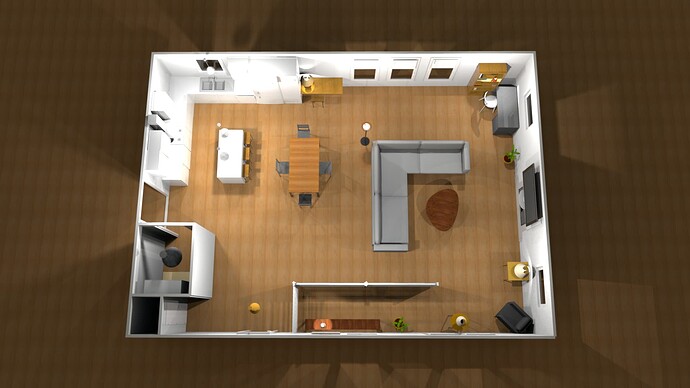
Lastly, here are a few of my dynamic scene images:
Good for some weekend where you have nothing better to do, as it takes some time to create the room in 3D, and time to generate the images and to add your devices to the dashboard.
