3D Printing info/links for Hubitat hub, Hue, Lutron & other hubs, and devices

Thanks for adding my Yagusmart 4 button desk mount, if you think it’s relevant you might also want to list my 3D printer monitoring and control for Klipper based 3D printers:

1 Like

Absolutely, yes! Thanks for pointing that out, I hadn't found it.

1 Like

I guess it’s worth adding the octoprint driver too (not mine)

1 Like

Thank you for posting the the ThirdReality corner mount 2 link. I like that it can hold the sensor without tape so it can be removed easily for the eventual battery changes. I will be able to relocate the 3rd Reality sensor to the corner where I wanted to put it now.

1 Like

That was my reasoning for designing that variation; I didn't want to put tape, etc. directly on the sensor.

1 Like

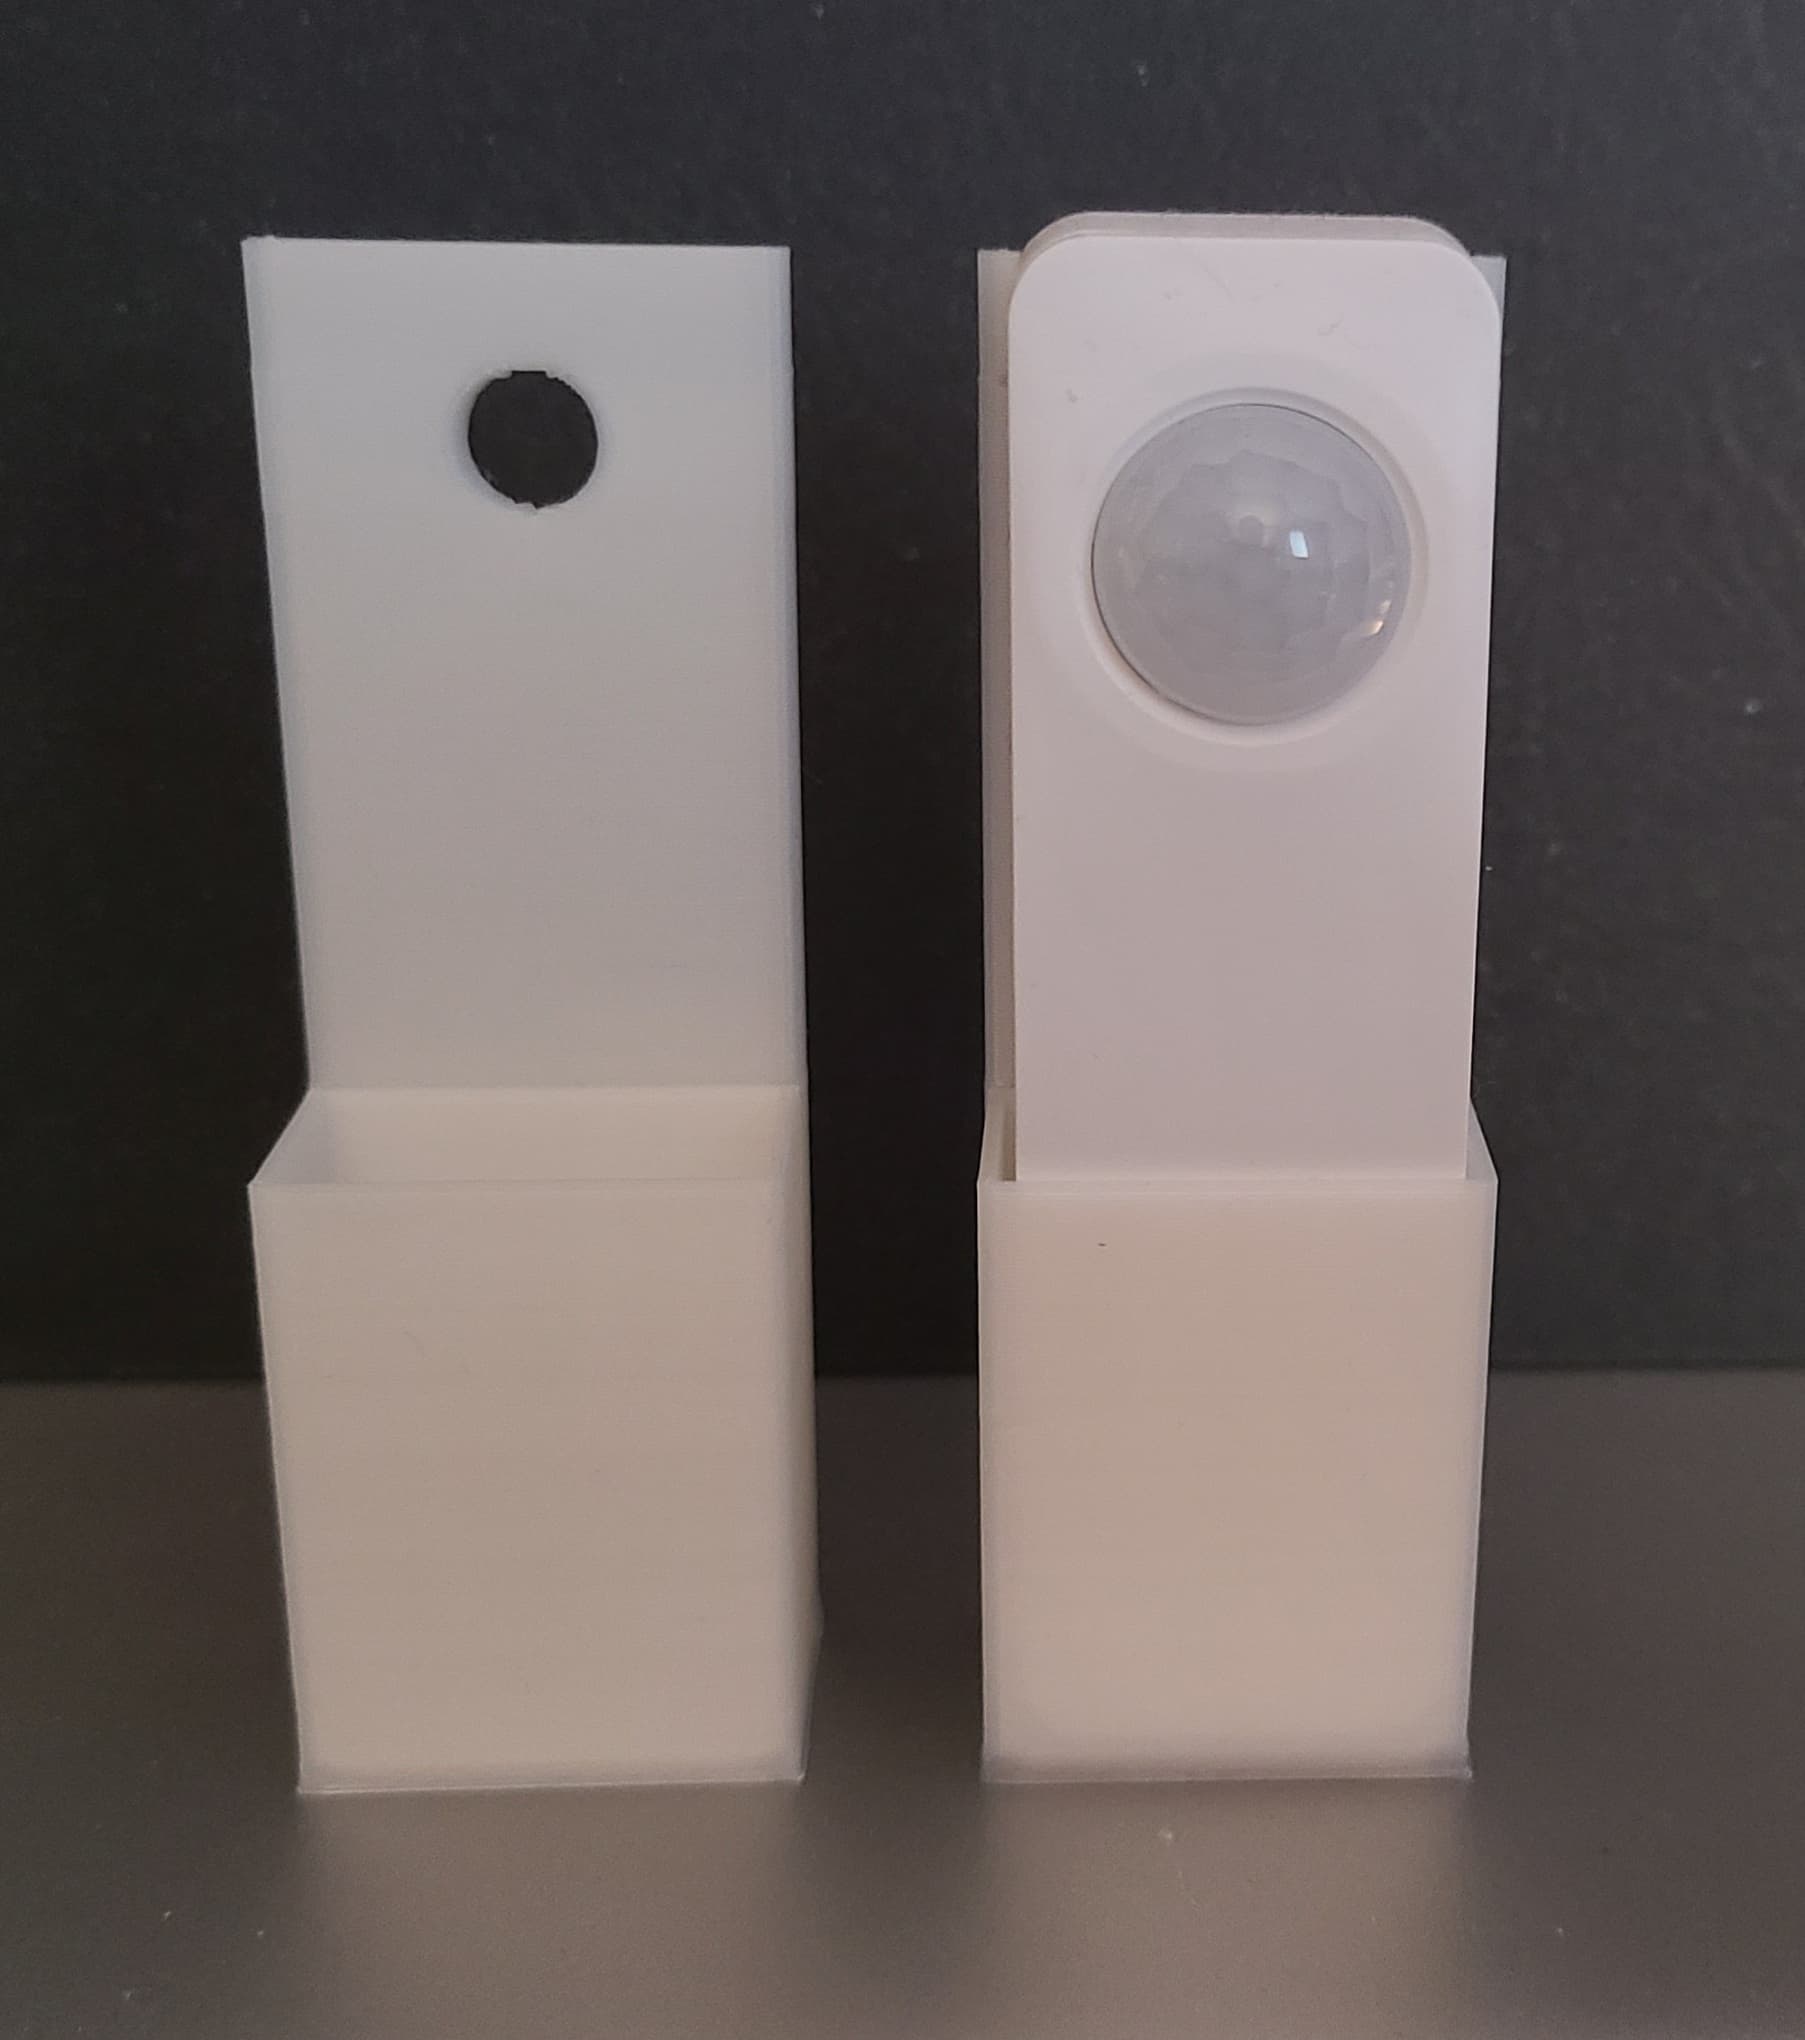
Two more options for mounting the ThirdReality Motion Sensors or Smart Buttons.

Both of these are for flat surface mounting, one with 3M VHB tape or Command Strips, the other with a small screw.

Tape Mount:


https://www.printables.com/model/377327-thirdreality-motion-sensor-or-smart-button-flat-su

Screw Mount:


https://www.printables.com/model/377341-thirdreality-motion-sensor-or-smart-button-flat-su

1 Like

I just use this stuff to stick the sensor directly to the wall:
https://www.amazon.com/gp/product/B09RN8JS7W/

1 Like

Wall mounts for tablets:
Samsung Galaxy Tab A8 (2021)
Samsung Tab A7 (T-500)

Amazon Fire Tab
Edit: More Fire tab mounts
HD 10 2021
HD 10 2021
HD 10 2019

Untested by me (yet).

1 Like

Entending/swiveling spice racks...a 3D printer WAF win. :slight_smile:

Sliding spice rack from Thingaverse. I only used the bottom part of the design, leaving out the steel rods and the top, as our spces are in a short space in the cabinet and the metal rods and top in the original design would just get in the way for us. Nice side-effect is access is easier w/the rods omitted.

This was a big win...wife wants more. :slight_smile:

Modifications: Making the sliding rail 2% smaller than the track allows it to slide easily. I increased the width of the base track by 2%, left the sliding rail at its original width, and increased the bottom (the part the spices sit in) by 2% to match the track. That additional 2% in space allows wider/square spice jars to fit easily.

During "construction." Tracks the units slide in are held in place by two legths of strong velcro:

Slide out to view/access:

Rotate in mid-air... :exploding_head: Mind blown: :slight_smile:

7 Likes

I printed the Fire tablet mount. It's not terrible but it does add quite a bit of bulk.

Yup, this one looks nicer, but of course it's for a newer version (2021) than what I have (2019).

Fire 10 2021

1 Like

Ah...see, I need the extra space behind the tablet since I ran my power cables through the wall.

1 Like

Thanks for posting the spice rack link. My wife likes them. I can see me printing up a bunch for the camping trailer as well as the house.

1 Like

What post/bolt combo are you using?

Something like this that I got at local Ace HW store.

https://a.co/d/bTVuCaL

I think it was 15mm size. Called book binding screws I think.

I warn you, once she gets her hands on them you've lost use of your printer for a while... :slightly_smiling_face:

Philips Hue Hub stand.

Didn't know I wanted one until I saw it. :smiley:

Hue stand


Here are a couple lutron pico remote holders I made. They're designed to install over top of a decora light switch and prevent it from being turned off. You can still pop the remote out to access the switch. Just need longer screws to install over top of existing switch and face plate.

The other is just a little universal holder for a pico remote.

1 Like

Absolutely, I get it! :slightly_smiling_face:

1 Like

Zigbee Rain Gauge

I haven't built this but it looks interesting.
Since I've got several Sonoff sensors sitting here (bulk buying is the way) one of these days.... :neutral_face:

Summary from T'verse

I wanted a rain gauge to plug into my Home Assistant for use with an irrigation system and found this guide: ☔ DIY Zigbee rain gauge - #25 by parrel - Share your Projects! - Home Assistant Community

I didn't want to wait for the gauge body being delivered so I remixed the following to fit a Sonoff SNZB-04 door contact sensor: LTB Weather Station by RobWLakes - Thingiverse

This model replaces 32RainBase.stl.

To modify the SNZB-04

Remove circuit board from the case
Make holes in the case for the wires to pass through
Unsolder the reed switch
Solder wire between reed switch and the pads the reed switch was originally attached to. Remember to pass the wires through the case before you finish the soldering

Calibrate the gauge:

Use a pipette to fill the tipper making sure to note how many milliliters it takes to tip.
Repeat 10 times
Calculate the average by adding up all of your readings and dividing by 10 (mine was 9.5ml)
Calculate the area of the funnel opening.
Put the figures into this equation:

1 / ((area / 10) / tip average)

Use this figure as the mm_per_pulse value in the Home Assistant config linked above.

1 Like