I've been using LightwaveRF devices integrated into ST via a Ras Pi to the Lightwave (LW) hub.
I've got it working with Hubitat Elevation.
I didn't the process but have just been a grateful recipient.
Here is the ST thread which shows you how to set it all up, followed by the DH code which I have amended to work with HE.
Dimmer.
/**
* Lightwave Lights
*
* Copyright 2015 Adam Clark
* For any information or help please contact ad@mclark.co
*
* Licensed under the Apache License, Version 2.0 (the "License"); you may not use this file except
* in compliance with the License. You may obtain a copy of the License at:
*
* http://www.apache.org/licenses/LICENSE-2.0
*
* Unless required by applicable law or agreed to in writing, software distributed under the License is distributed
* on an "AS IS" BASIS, WITHOUT WARRANTIES OR CONDITIONS OF ANY KIND, either express or implied. See the License
* for the specific language governing permissions and limitations under the License.
*
*/
import java.security.MessageDigest
preferences {
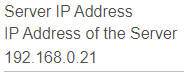
input("serverIP", "text", title: "Server IP Address", description: "IP Address of the Server")
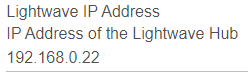
input("lightwaveIP", "text", title: "Lightwave IP Address", description: "IP Address of the Lightwave Hub")
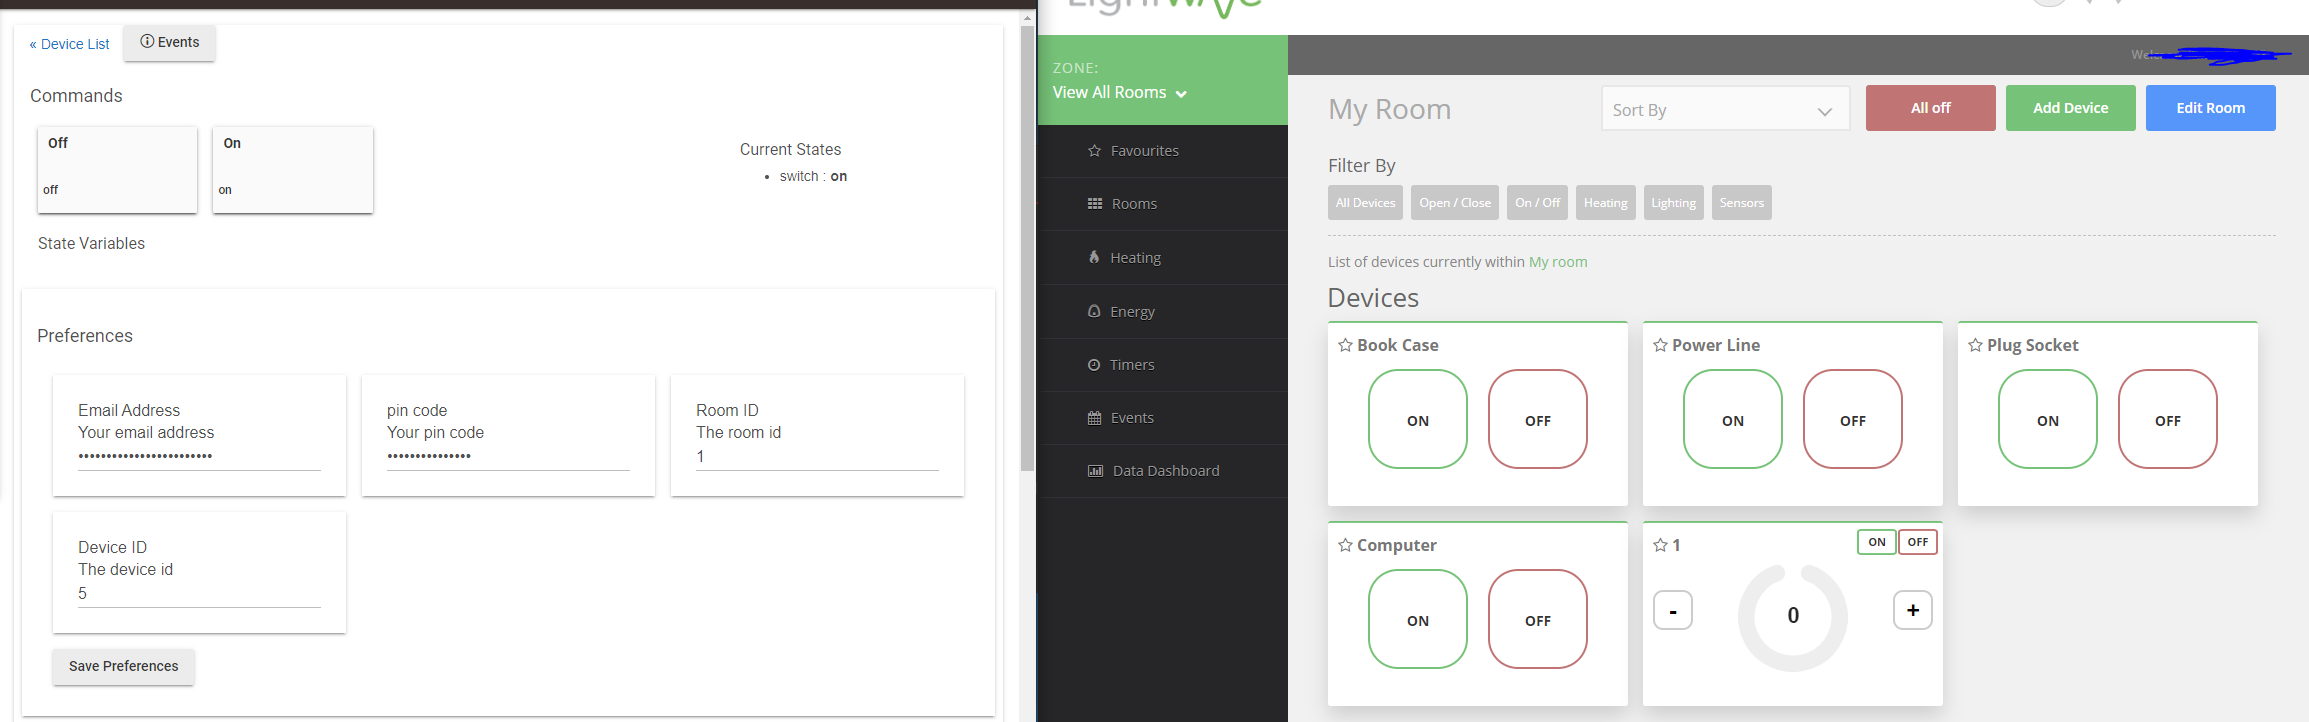
input("roomID", "text", title: "Room ID", description: "The room id")
input("deviceID", "text", title: "Device ID", description: "The device id")
}
metadata {
definition (name: "Lightwave Dimmer Switch", namespace: "smartthings-users", author: "Adam Clark") {
capability "Switch"
capability "Switch Level"
capability "Refresh"
command "register"
}
simulator {}
tiles(scale: 2) {
multiAttributeTile(name:"switch", type: "lighting", width: 6, height: 4, canChangeIcon: true){
tileAttribute ("device.switch", key: "PRIMARY_CONTROL") {
attributeState "on", label:'${name}', action:"switch.off", icon:"st.switches.switch.on", backgroundColor:"#79b821", nextState:"off"
attributeState "off", label:'${name}', action:"switch.on", icon:"st.switches.switch.off", backgroundColor:"#ffffff", nextState:"On"
}
tileAttribute ("device.level", key: "SLIDER_CONTROL") {
attributeState "level", action:"switch level.setLevel", range:"(5..100)"
}
}
standardTile("register", "device.status", inactiveLabel:false, decoration:"flat",height: 2, width: 2) {
state "default", label:"Register", icon:"http://www.mocet.com/pic/link-icon.png", action:"register"
}
main "switch"
details(["switch", "level","register"])
}
}
// parse events into attributes
def parse(String description) {
log.debug "Parsing '${description}'"
// TODO: handle 'switch' attribute
}
// handle commands
def on() {
sendEvent(name: "switch", value: 'on')
apiGet('/on', 0)
}
def off() {
sendEvent(name: "switch", value: 'off')
apiGet('/off', 0)
}
def setLevel(value) {
if (value == 0) {
sendEvent(name: "switch", value: 'off')
sendEvent(name: "level", value: '0')
apiGet('/off', 0)
} else {
sendEvent(name: "switch", value: 'on')
sendEvent(name: "level", value: value)
apiGet('/on', value)
}
}
def register() {
apiGet('/register', 0)
}
private apiGet(path, level) {
log.debug settings.serverIP + ':8000'
def httpRequest = [
method: 'GET',
path: path,
headers: [
HOST: settings.serverIP + ':8000',
Accept: "*/*"
],
query: [
ip: settings.lightwaveIP,
room: settings.roomID,
device: settings.deviceID,
level: level
]
]
log.debug httpRequest.query
return new hubitat.device.HubAction(httpRequest)
}
Outlet.
/**
 *  Lightwave Lights
 *
 *  Copyright 2015 Adam Clark
 *  For any information or help please contact ad@mclark.co
 *
 *  Licensed under the Apache License, Version 2.0 (the "License"); you may not use this file except
 *  in compliance with the License. You may obtain a copy of the License at:
 *
 *      http://www.apache.org/licenses/LICENSE-2.0
 *
 *  Unless required by applicable law or agreed to in writing, software distributed under the License is distributed
 *  on an "AS IS" BASIS, WITHOUT WARRANTIES OR CONDITIONS OF ANY KIND, either express or implied. See the License
 *  for the specific language governing permissions and limitations under the License.
 *
 */

import java.security.MessageDigest

preferences {
    input("serverIP", "text", title: "Server IP Address", description: "IP Address of the Server")
    input("lightwaveIP", "text", title: "Lightwave IP Address", description: "IP Address of the Lightwave Hub")
	input("roomID", "text", title: "Room ID", description: "The room id")
    input("deviceID", "text", title: "Device ID", description: "The device id")
}

metadata {
	definition (name: "Lightwave Switch", namespace: "smartthings-users", author: "Adam Clark") {
		capability "Switch"
        capability "Refresh"
        command "register"
	}

	simulator {}

    tiles(scale: 2) {
		multiAttributeTile(name:"switch", type: "outlet", width: 6, height: 4, canChangeIcon: true){
			tileAttribute ("device.switch", key: "PRIMARY_CONTROL") {
				attributeState "on", label:'${name}', action:"switch.off", icon:"st.switches.switch.on", backgroundColor:"#79b821", nextState:"off"
				attributeState "off", label:'${name}', action:"switch.on", icon:"st.switches.switch.off", backgroundColor:"#ffffff", nextState:"On"
			}
			tileAttribute ("device.level", key: "SLIDER_CONTROL") {
				attributeState "level", action:"switch level.setLevel", range:"(100)"
			}
		}

        standardTile("register", "device.status", inactiveLabel:false, decoration:"flat",height: 2, width: 2) {
            state "default", label:"Register", icon:"http://www.mocet.com/pic/link-icon.png", action:"register"
        }

		main "switch"
		details(["switch","register"])
	}

}

// parse events into attributes
def parse(String description) {
	log.debug "Parsing '${description}'"
	// TODO: handle 'switch' attribute

}

// handle commands
def on() {
	sendEvent(name: "switch", value: 'on')
	apiGet('/on', 0)
}

def off() {
	sendEvent(name: "switch", value: 'off')
	apiGet('/off', 0)
}

def setLevel(value) {
	if (value == 0) {
		sendEvent(name: "switch", value: 'off')
		sendEvent(name: "level", value: '0')
		apiGet('/off', 0)
	} else {
		sendEvent(name: "switch", value: 'on')
		sendEvent(name: "level", value: value)
		apiGet('/on', value)
    	}
}

def register() {
	apiGet('/register', 0)
}

private apiGet(path, level) {

	log.debug settings.serverIP + ':8000'

    def httpRequest = [
        method:     'GET',
        path:       path,
        headers:    [
            HOST:       settings.serverIP + ':8000',
            Accept:     "*/*"
        ],
        query: [
        	ip: settings.lightwaveIP,
        	room: settings.roomID,
            device: settings.deviceID,
            level: level
        ]
    ]

	log.debug httpRequest.query

    return new hubitat.device.HubAction(httpRequest)
}