Looks like the Switch and Power Meter templates should work…
1 Like
thanks . i found it by adding new tile holding same device name and choose contact sensor (tamplate).
am new to Hubitat ,so iam learning ,and this group is really great and helpful.
thank you again for your help and time spent.  thebearmay
1 Like
it work perfectly,thanks a lot for your help.much aoppreciated.
I have another question please :
is there a way that i can add time delay to the refresh ,that refresh start after 5 second after action time done?
I added i3 support into my driver package, here: Vote for Shelly UNI - #16 by tomw . Note that I only supported the momentary type, not toggle. But that could be added if it is needed.
I don't have any i3 devices, but @nuno.licapinto did some testing with his. If anyone runs into issues with these please let me know.
2 Likes
@jihadd76 how did you get the Hubitat to recognize the external sensor?
I also copy pasted the Driver code over, and it has a lot more information than the built-in drivers, but I cannot seem to get it to show on HE.
I have the Shelly1 connected to Shelly Cloud, and the app shows the Open/Closed state of the sensor, I just can't get it out from the app.
1 Like
ok there is two Handlers, both written by Scott ( with many thanks for him for the great handlers he wrote) .
the second one diondp added the external switch only.
please go on this page scroll up till you find diondp. read the conversation please.
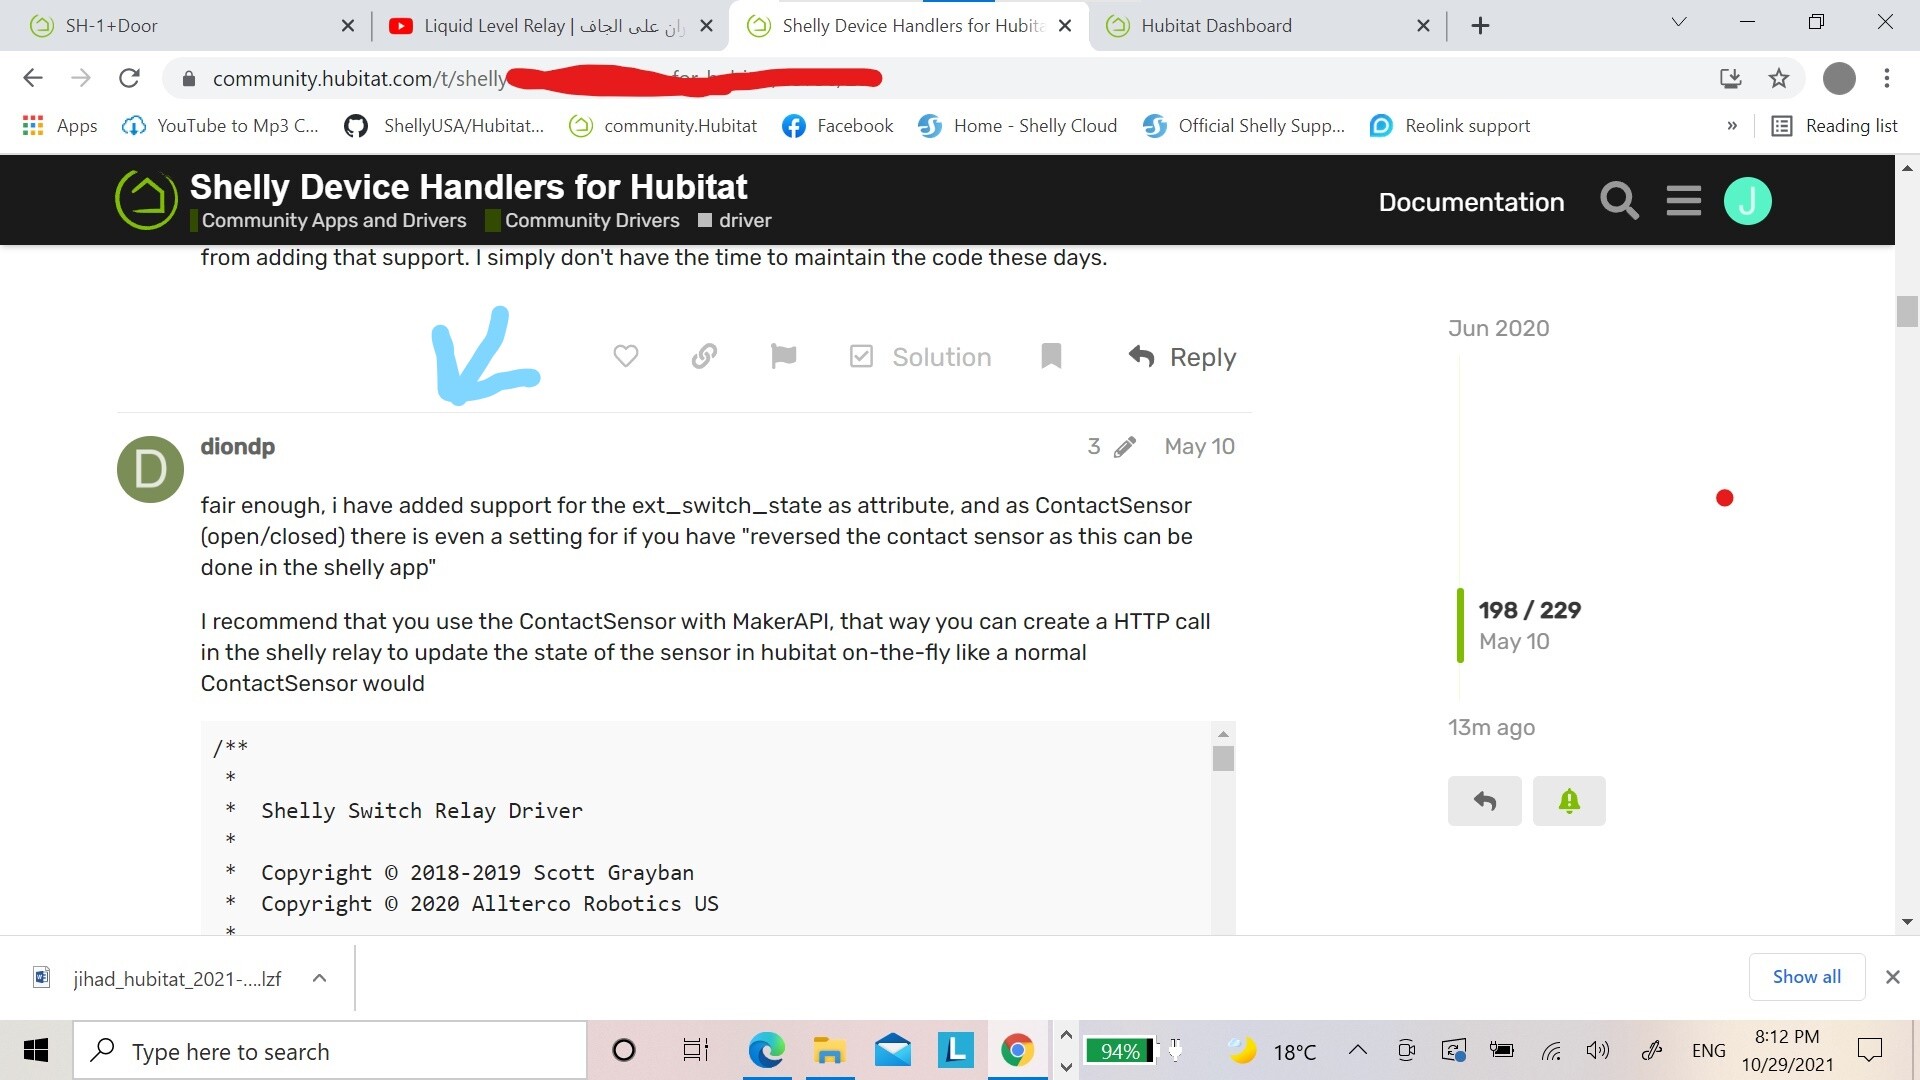
he added the external switch to Scott handler (which work as door on Shelly)
so "copy this driver "and paste in your driver code.
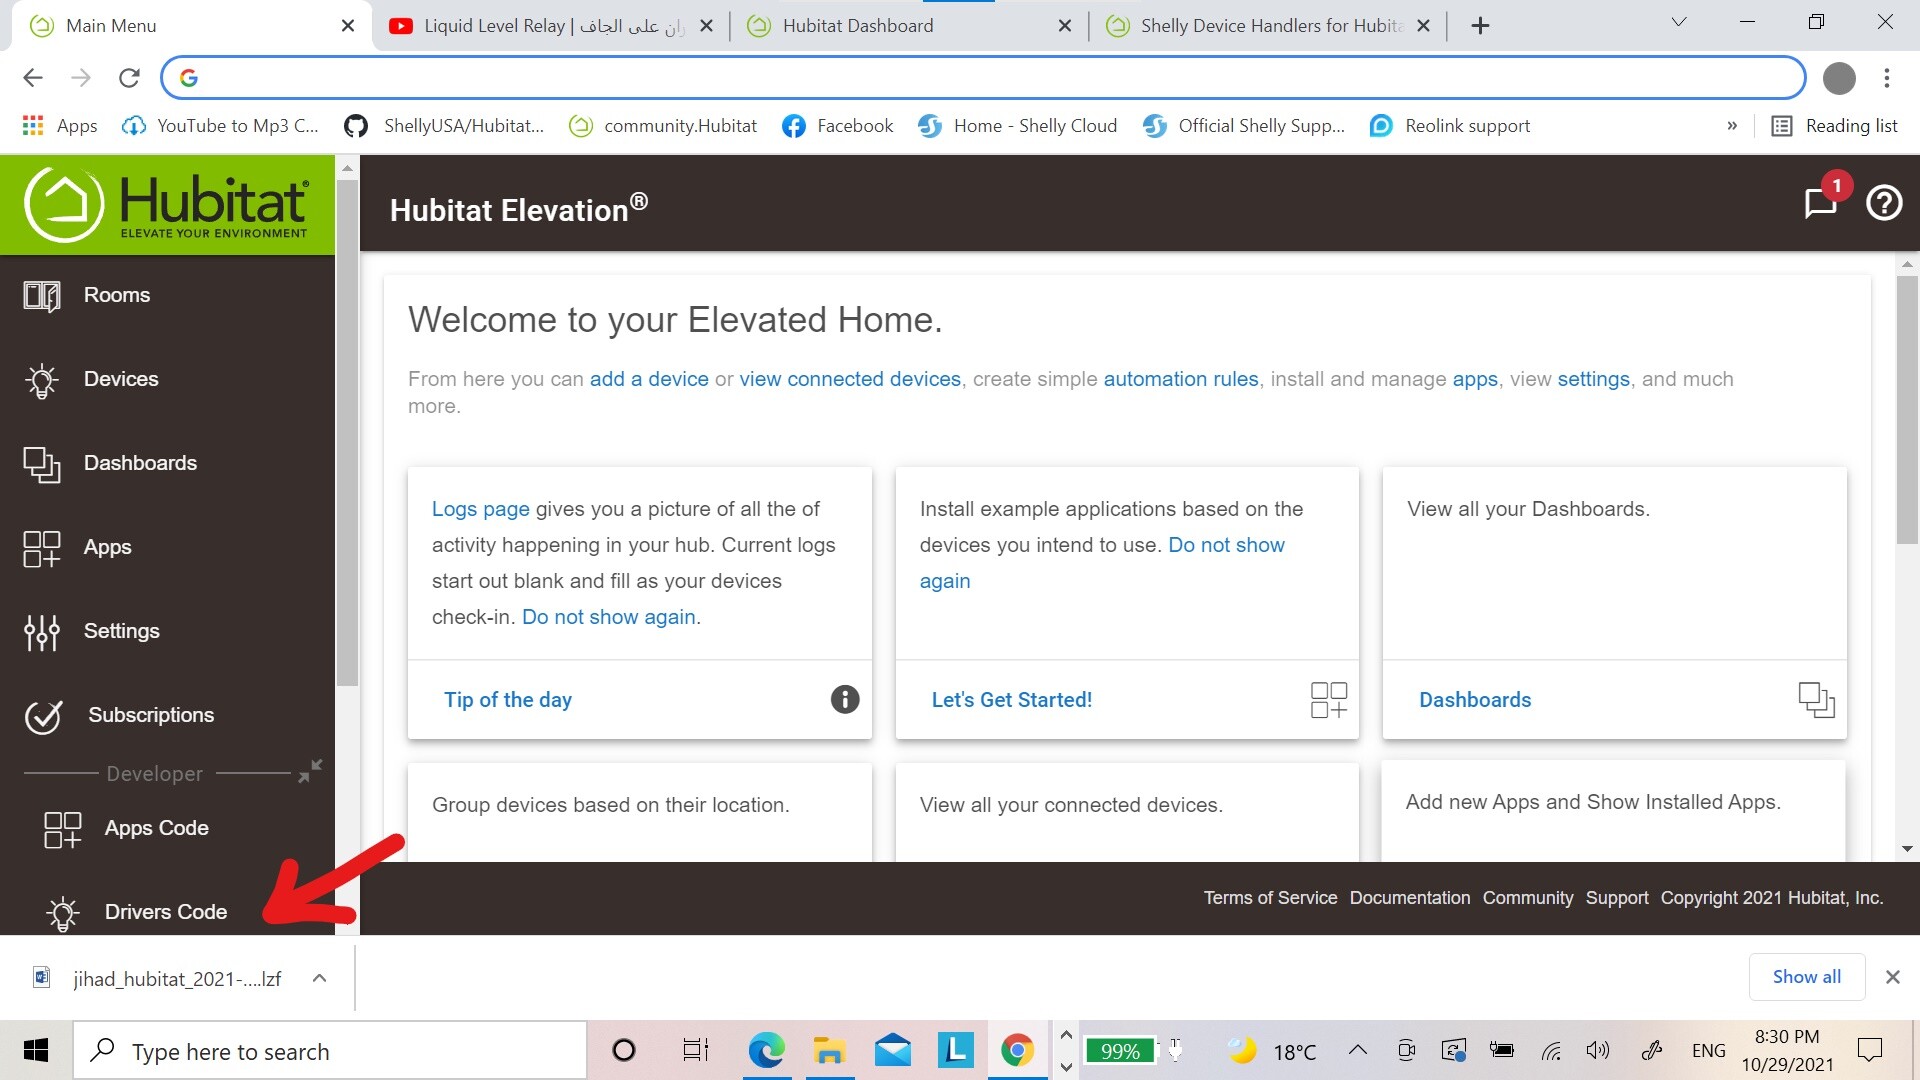
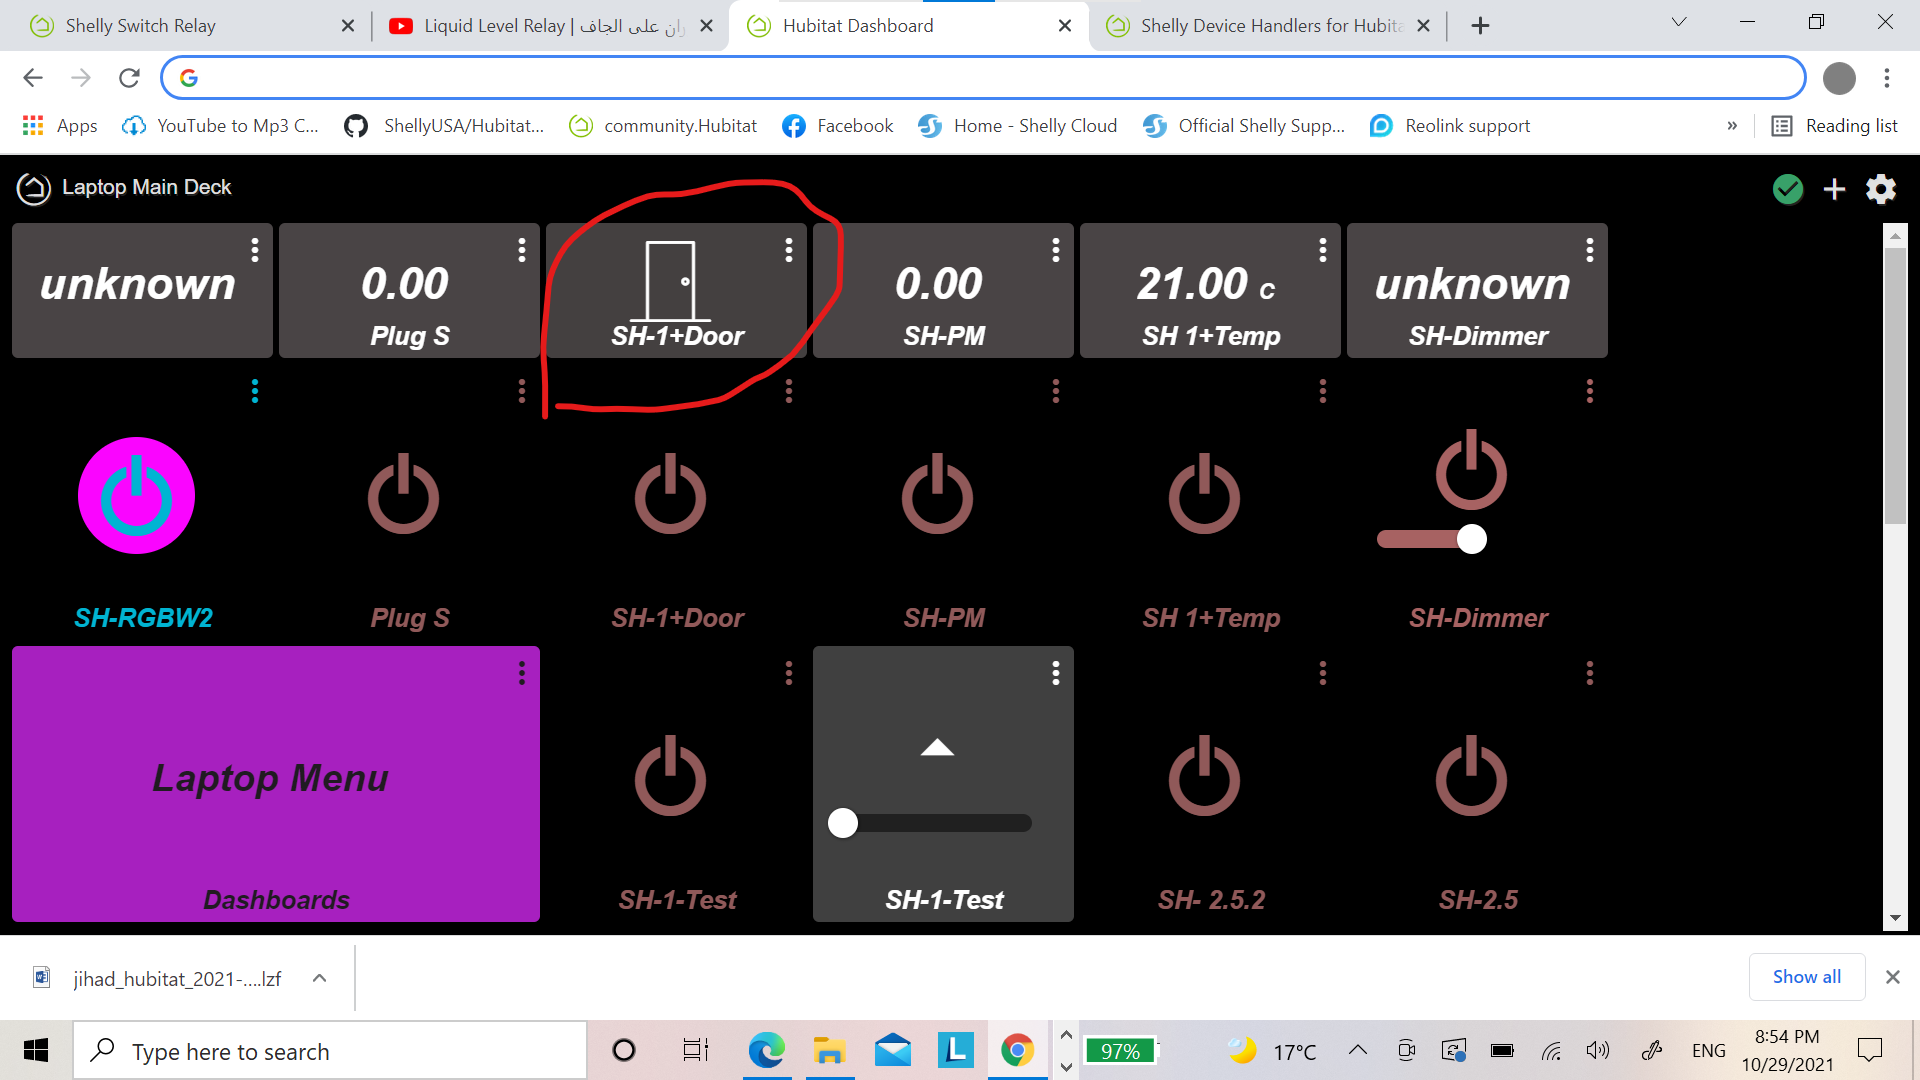
you should see in your new driver this : Line 144 attribute "ext_switch_state", "number"as shown in photo below
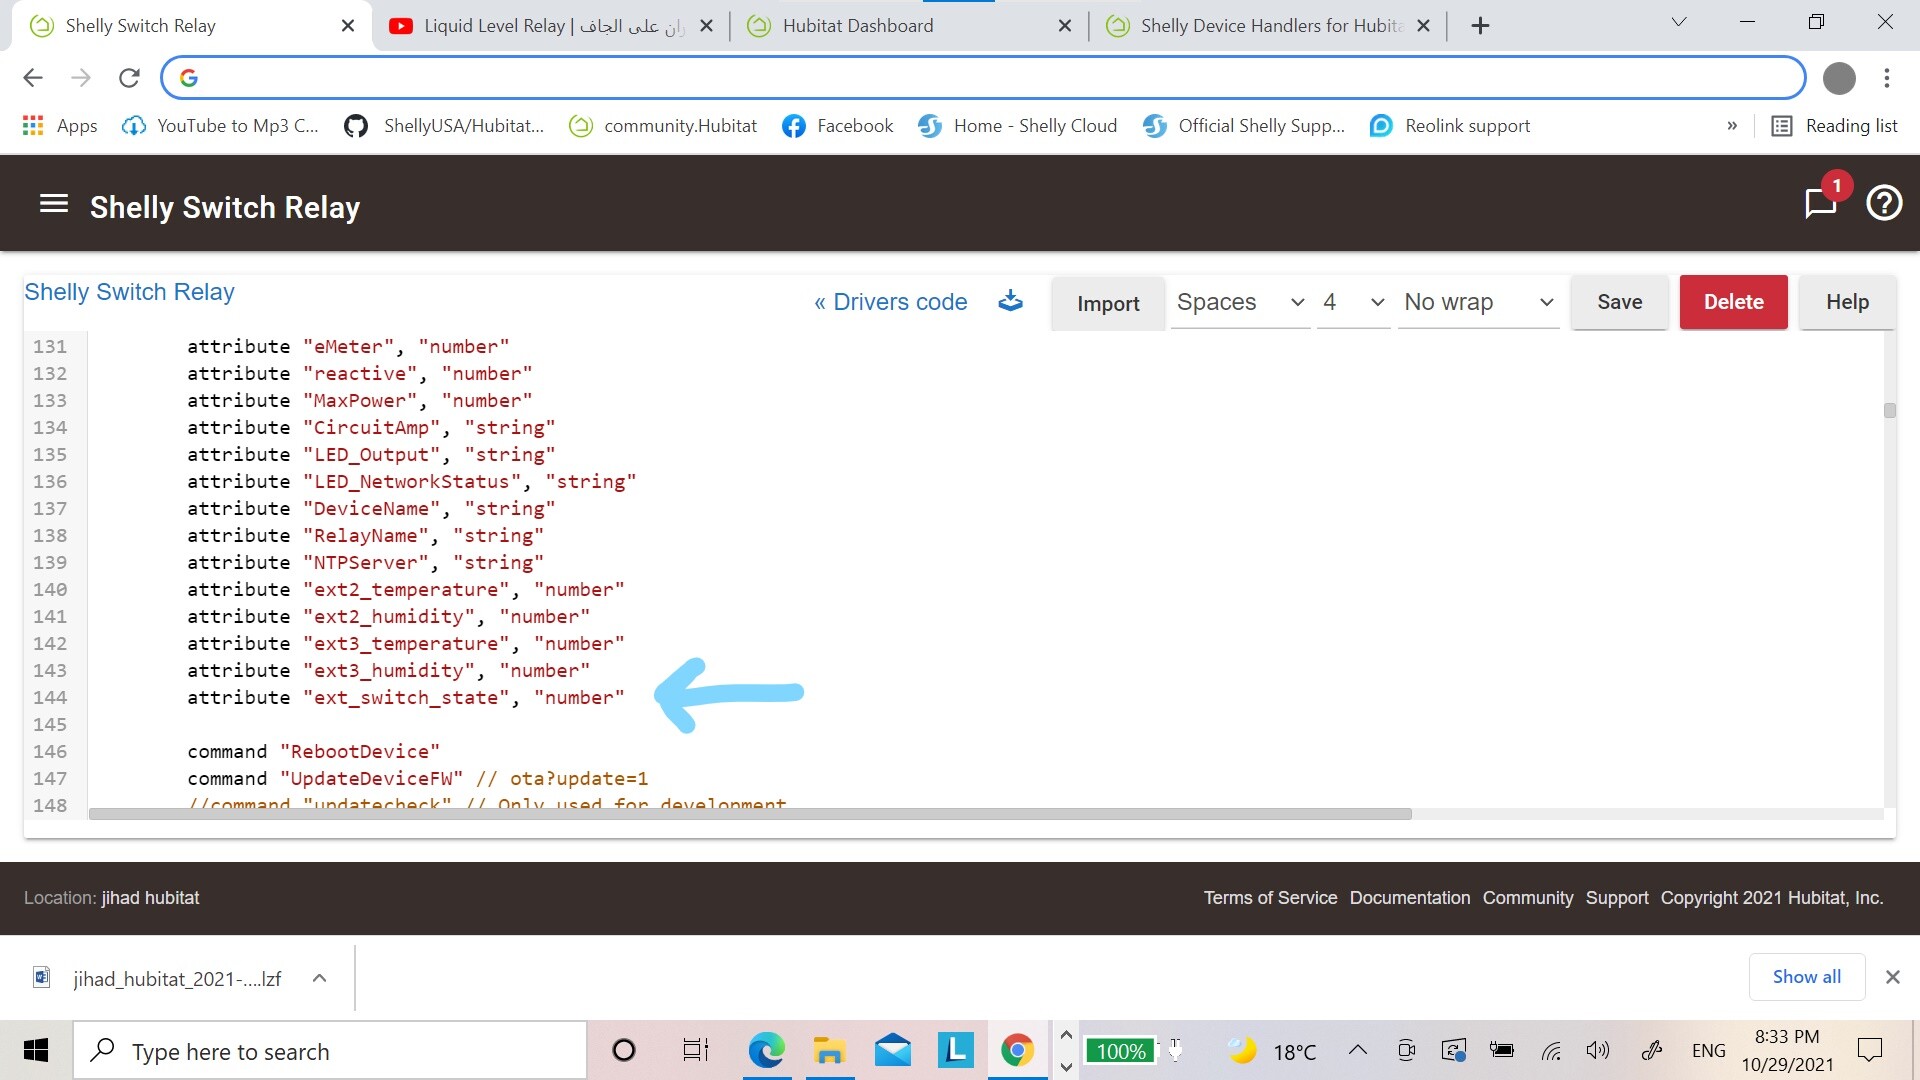
then it will appear in your device as ext _switch_state :0 or 1

then on Dashboard add it as a seperate Tile . door status
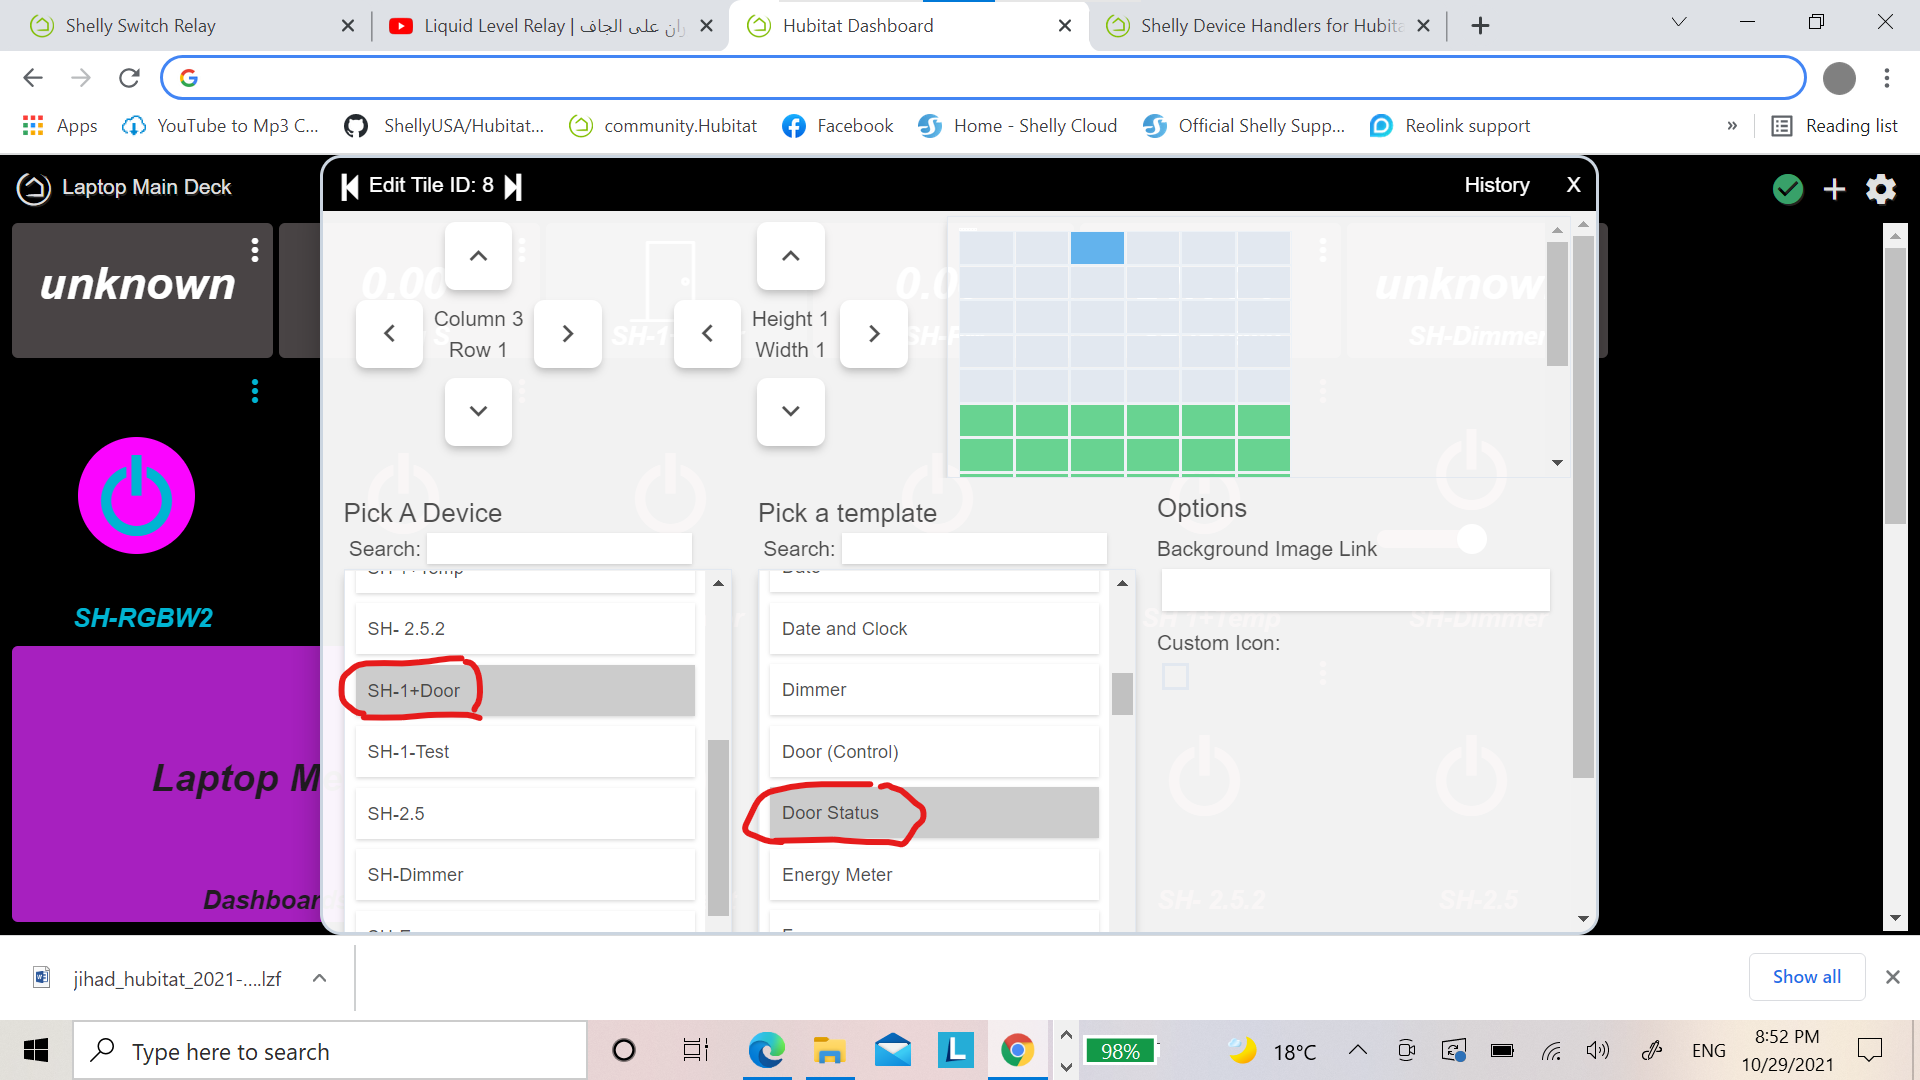
it will appear like that on your dashboard
Thanks for Scott for his efforts to write this drivers ,much appreciated.
and thanks for diondp who added the external switch .
Good luck.
2 Likes
hey tomw.
yes please,if you can add toggle to i3 will be great,i need this option whenever you have time to do this.
by the way,
i do like your shelly Uni driver ,i used it and happy with it. it is perfect.
thanks a lot for your time spent and efforts to write this drivers.much appreciated.
2 Likes
@diondp Have you tried putting this on Github and doing a PR against my code so I can merge it together? This would help a lot so I can keep track of any community changes to my code.
1 Like
hi,
what the benefits of useing Private Boolean in your Rule?
thanks in advanced
The message " OK, the door is closed" is only played when the door was to long open (in alarm).
1 Like
Sorry no... Im not that much into github function...
How do I do that?
@jihadd76 Thank you so much, that's what I was missing, diondp's additional code. I had come across it, but since I didn't find it on Github, I was afraid I was going to copy it wrong (first time gave me an error) and skipped it.
Have gone through the entire thread and would just like to add that HE is definitely a community-driven ecosystem, and everyone here scraping for answers but unable to contribute meaningfully for the most part (just like myself) should be thankful for the time and effort put here by its more technical members, and shouldn't take it for granted.
Most non-tech people are not fully aware of the work that has to be put into coding, no matter how small the project and think it's a sinch. It all goes back to the "make me a coffee" analogy.
So I would like to take the time to greatly thank @Evilborg for the effort and personal time put into these drivers, and am happy to see he was able to turn it into something more than just a driver for a couple of us knuckleheads to use. 
And I can't forget to also thank @diondp who stepped up to the occasion when needed and coded the external switch add-on for EvilBorg's already amazing driver (HE staff, just adopt it already!)
You're up there with the Cyanogen's and Koush's of the world, that make a whole platform better just out of your sheer willingness to help. That is to be lauded.
5 Likes
Do you have a github account? If not sign up for one and I'll walk you through it.
You are welcome...
2 Likes
i have a github account, what to do ?
I merged your code changes -- thanks very much for your work!
2 Likes
i saw that  that was quick!
i just had to watch a youtube about how to make a "pull request"
i thought i could just make a new "driver" file... but it turned out i had to "fork" the repository - then change that file, and after that it was possible to make a "pull request"
dont know if there is an easier way....
2 Likes
There isn't and its the best way to keep changes in sync with the Master. All I have to do is up the version number on my end which I'll do a in a minute.
1 Like
Pretty neat... how about the "Help text" for using MakerAPI.. i cant see where this should be placed...
"Please note that for using the external temp monitor add-on as a switch, you must use the black and yellow wire.
For optimum results, please enable MakerAPI App in hubitat, add the shelly device. (this will enable live update of the external switch state in hubitat)
When you have the MakerAPI URL string for "refresh" of your shelly device, go into your shelly's webinterface --> I/O URL Actions --> EXTERNAL_SWITCH ON & EXTERNAL_SWITCH OFF and add the "refresh request url" (Should look something like the URL below) - add the same URL on both.
The below URL must be adjusted to what you get from the MakerAPI App
http://[HUBITAT-IP-ADDRESS]/apps/api/[API_ID]/devices/[DEVICEID]/refresh?access_token=[TOKENI_ID]"
1 Like
Where would you suggest that to be placed? It's too much in the file to be placed there.
perhaps in the bottom of the README add a headline called "Temperature Add-on" board function...
1 Like

