What is your project? Have you tried using a servo motor instead for your project? As I mentioned earlier, I am not actively working on stepper motor support for HubDuino. This does not mean that users cannot use the communications libraries from HubDuino to integrate an existing stepper motor sketch with Hubitat.
Might seem like a silly question but where is the analog input sketch? I am hoping to report back the voltage of the analog input. I have used the multi sketch and removed everything but the water part which uses the analog input. However that returns a string based on if the values have exceeded the value set in the sketch. I was hoping to use the rule machine to decide the limits rather than in the sketch. Its probably pretty easy to change, however this would take some time for me to learn I would imagine.
Well sometimes I surprise myself. I edited the water part to be voltage, and then found the WS_Voltage.h for how to set it up.. It's now reading wow that was easier than I thought it would be ![]()
1 Like
Hopefully you found the documentation for the PS_Voltage device class and configured your sketch accordingly...?
//  Summary:  PS_Voltage is a class which implements the SmartThings "Voltage Measurement" device capability.
//			  It inherits from the st::PollingSensor class.  The current version uses an analog input to measure the
//			  voltage on an anlog input pin and then scale it to engineering units.
//
//			  The last four arguments of the constructor are used as arguments to an Arduino map() function which
//			  is used to scale the analog input readings (e.g. 0 to 1024) to Engineering Units before sending to SmartThings.
//
//			  Create an instance of this class in your sketch's global variable section
//			  For Example:  st::PS_Voltage sensor1(F("voltage1"), 120, 0, PIN_VOLTAGE, 0, 1023, 0.0, 5.0);
//
//			  st::PS_Voltage() constructor requires the following arguments
//				- String &name - REQUIRED - the name of the object - must match the Groovy ST_Anything DeviceType tile name
//				- long interval - REQUIRED - the polling interval in seconds
//				- long offset - REQUIRED - the polling interval offset in seconds - used to prevent all polling sensors from executing at the same time
//				- byte pin - REQUIRED - the Arduino Pin to be used as an analog input
//				- double s_l - OPTIONAL - first argument of Arduino map(s_l,s_h,m_l,m_h) function to scale the output - minimum raw AI value
//				- double s_h - OPTIONAL - second argument of Arduino map(s_l,s_h,m_l,m_h) function to scale the output - maximum raw AI value
//				- double m_l - OPTIONAL - third argument of Arduino map(s_l,s_h,m_l,m_h) function to scale the output - Engineering Unit Min (or Max if inverting)
//				- double m_h - OPTIONAL - fourth argument of Arduino map(s_l,s_h,m_l,m_h) function to scale the output - Engineering Unit Max (or Min if inverting)
//				- byte numSamples - OPTIONAL - defaults to 1, number of analog readings to average per scheduled reading of the analog input
//				- byte filterConstant - OPTIONAL - Value from 5% to 100% to determine how much filtering/averaging is performed 100 = none (default), 5 = maximum
1 Like
I have my old project with 3d prinder parts for automatic curtains... For ikea vidga curtain rail.
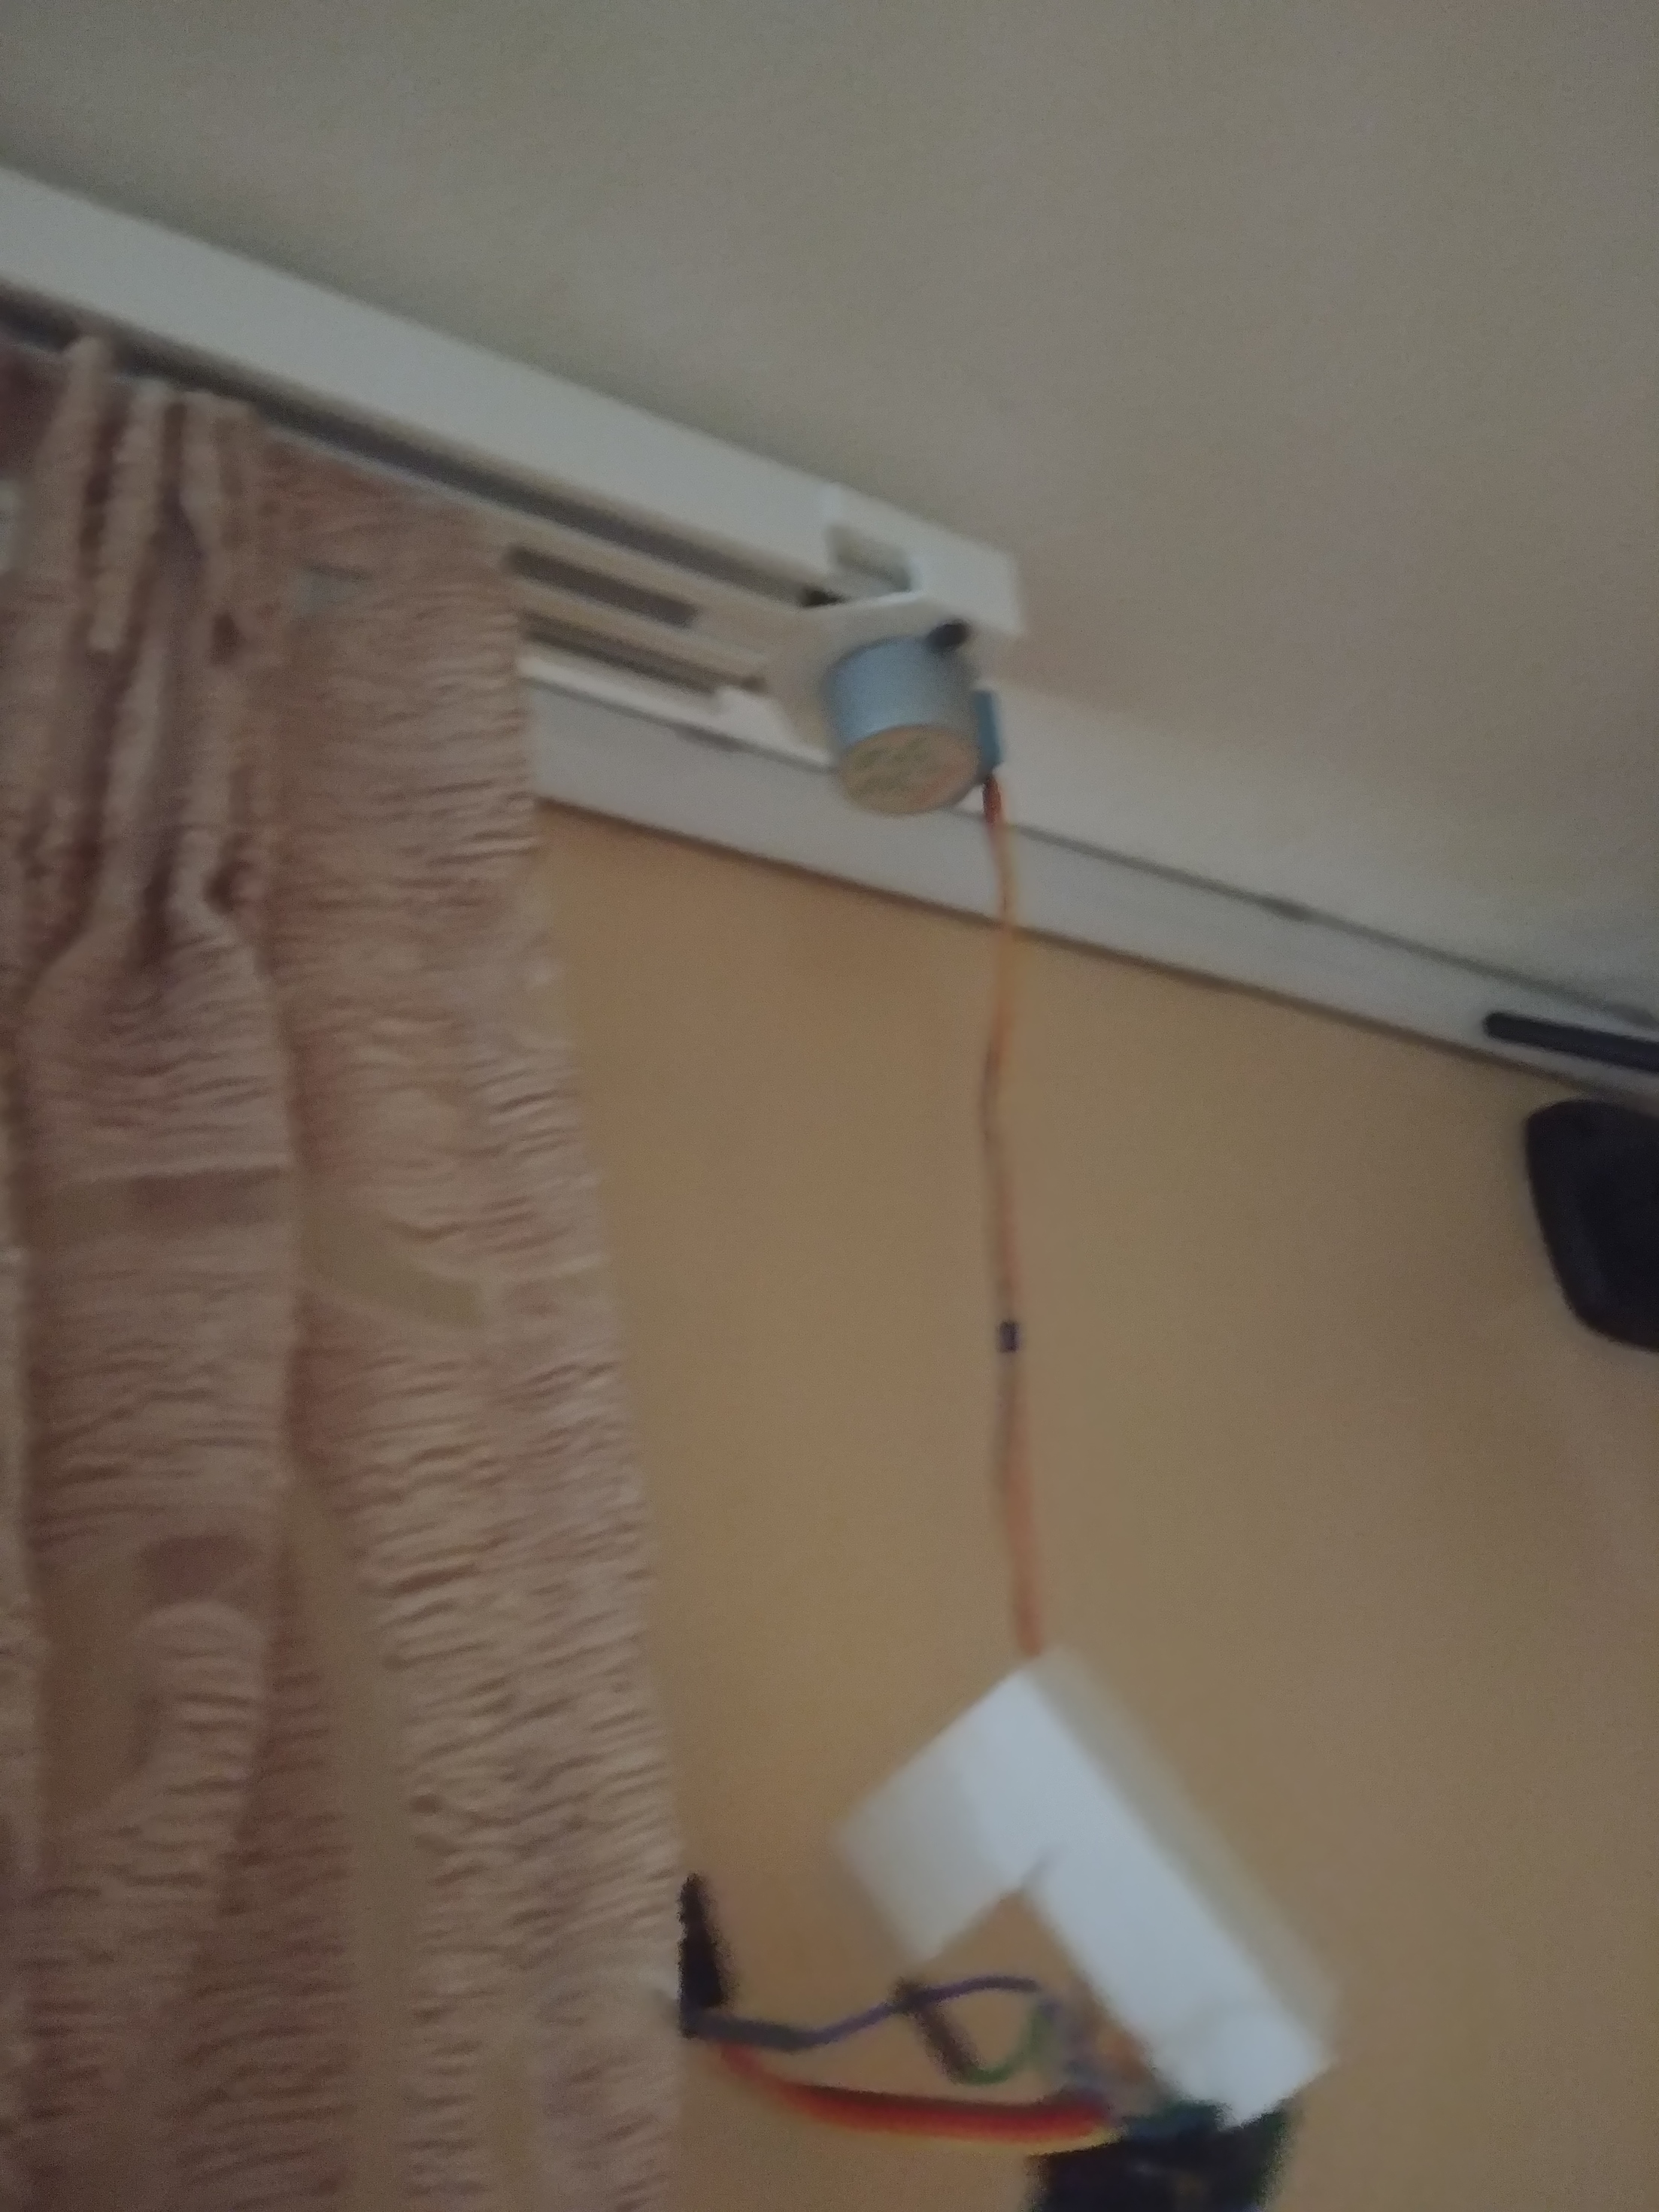
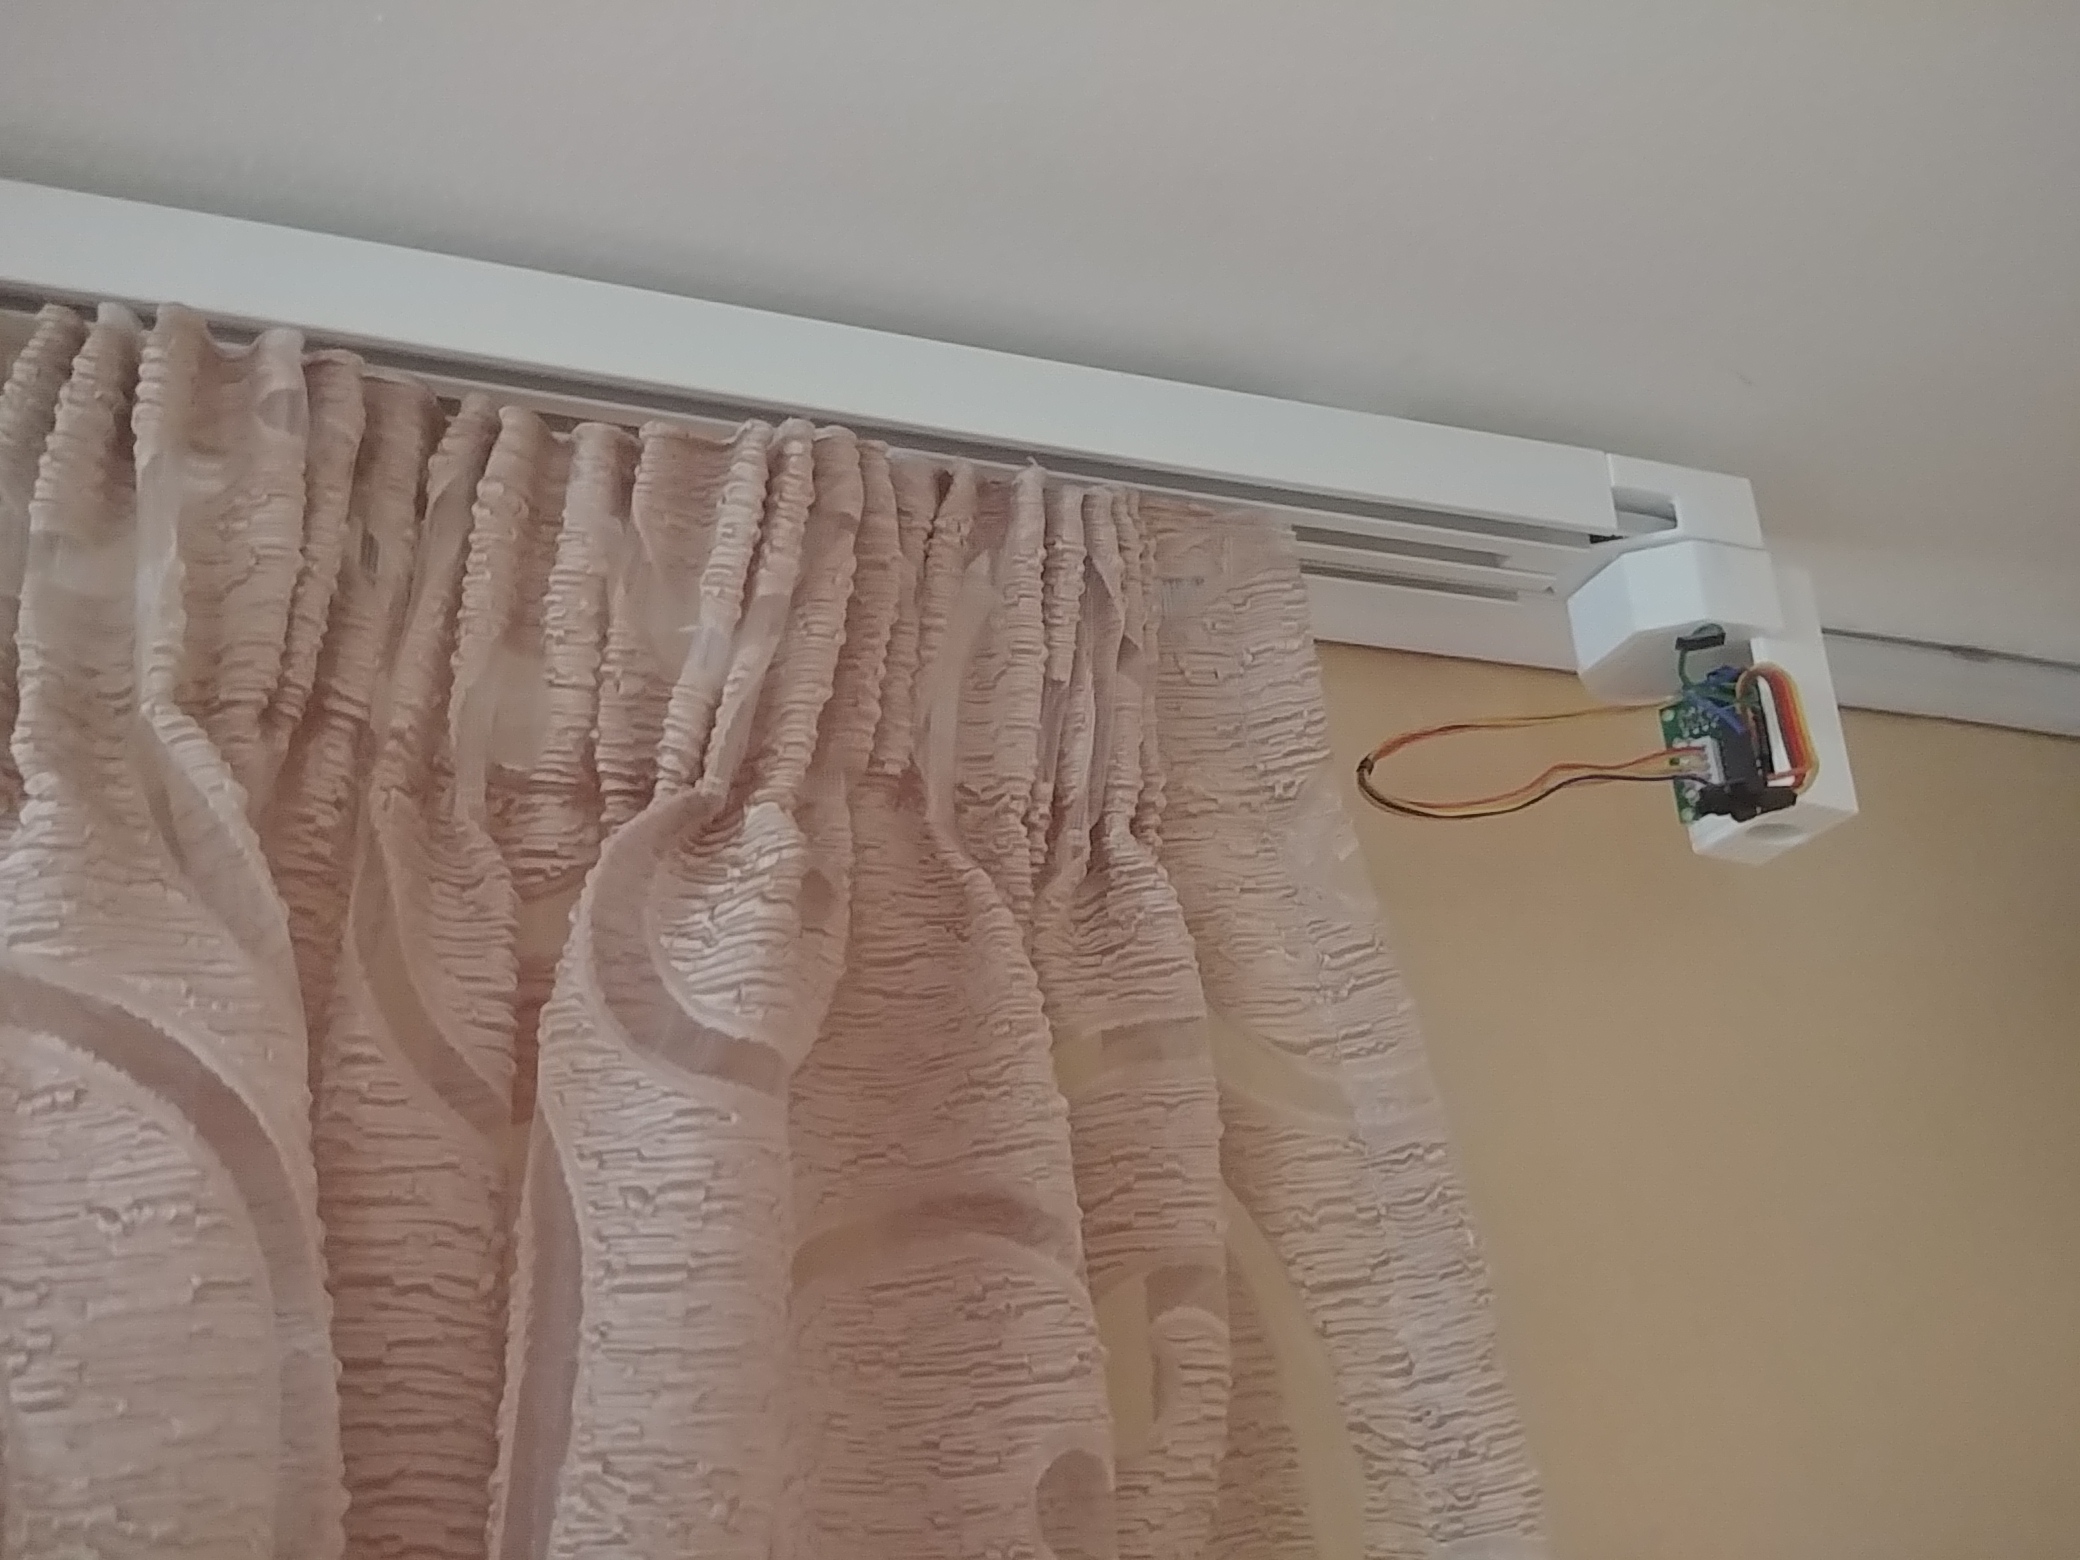
I have modified stepper mottor see diagram

Did you have this system integrated with SmartThings previously? If so, you should be able to port over the code to Hubitat without too much difficulty.
Nope. It was working before with home assistant..
But ones i moved to hubitat it doesn't anymore....
OK...so that's somewhat promising. Is the ESP8266 running software created via the Arduino IDE? If so, I'd like to see the Arduino Sketch to see how easily it could be made to communicate with Hubitat instead of Home Assistant.
I was connected through esphome A4988
Unfortunately, none of that means much to me, as I don't see where any of it uses an Arduino sketch to control the motor. I have never used Home Assistant nor ESPHome.
Yes I did thanks. All working well. May need to look into the filters as what I'm monitoring fluctuates on occasion
Trying to add the bmp/bme280 to my outdoor esp32. Any advice how to add this into the esp32 multiples sketch? I saw the ic2 sketch that has adafruit libraries but they are not on the esp32. Any advice would be helpful.
I’ve never tried using I2C on an ESP32. Just googled it and seems like others have similar problems to what you’ve described. Not sure what to do about it if the Adafruit libraries aren’t designed for ESP32.
Did someone try to make a diy voltage meter with esp8266 and Split Core Transformer? As showing on this video?
HubDuino has basic Current Transformer monitoring support. Please start at the following post above...
and later...
1 Like
In fact, I have! And it works quite well as a matter of fact. Might I recommend pairing it with a contact sensor for the door though. That way you can stop any persistent notifications about the dryer being done. Both can be wired to the same ESP board.
I recently purchased this with the intent to build a cheap strobe/siren into HE. My plan is to use a WeMo's D1 mini with relay shield and ST_Anything_AlarmPanel sketch loaded to enable the on/off of the device that's mapped in HE for HSM. If anyone has done this or something similar i'd love to get your feedback.
Are you planning on powering it via batteries or hard-wired? Batteries will drain very quickly using WiFi on the Wemos D1.
I was planning to power it with a hard-wired connection. I "may" install a battery backup option to it later but not now.
In relation to powering the WeMo's D1 mini with relay shield I was planning to use the same 12v hard-wired connection but split using the below to 5v.
EDIT: I am going to use a 48v to 12v POE adapter which powers the device and also offers backup UPS power as my switch is protected in my communications rack to so win win 
I have a couple 270 degree servos connected to ESP8266's in use with the following line in the Arduino code:
static st::EX_Servo executor1(F("servo1"), PIN_SERVO_1, 135, true, 1000, 0, 270);
Although it does show angles between 0 and 270 in the device I am wondering why when I set it to 50% it does not go to 135 degrees? I have to set it to about 33% to get the midpoint. It seems the percentage is not linear with the angle.
I have another servo on an ESP8266 that is a 180 degree set with the default line of:
static st::EX_Servo executor1(F("servo1"), PIN_SERVO_1, 90, true, 1000, 0, 180);
and this one seems to work fine and as expected.

