Hi,
I'm happy to announce 4 more new devices under Hubitat for better comfort and energy savings in your home automation scenarios.
A contribution fee is required due to the amount of work for the design, development, and testing of the devices (equivalent of a few cups of coffee).
Please note that the code has been optimized for the Hubitat platform. It's derived from the code which has been running for several years under the SmartThings platform (since Oct 2017).
To download the hubitat optimized code, go to
https://ecomatiqhomes.com/hubitatstore
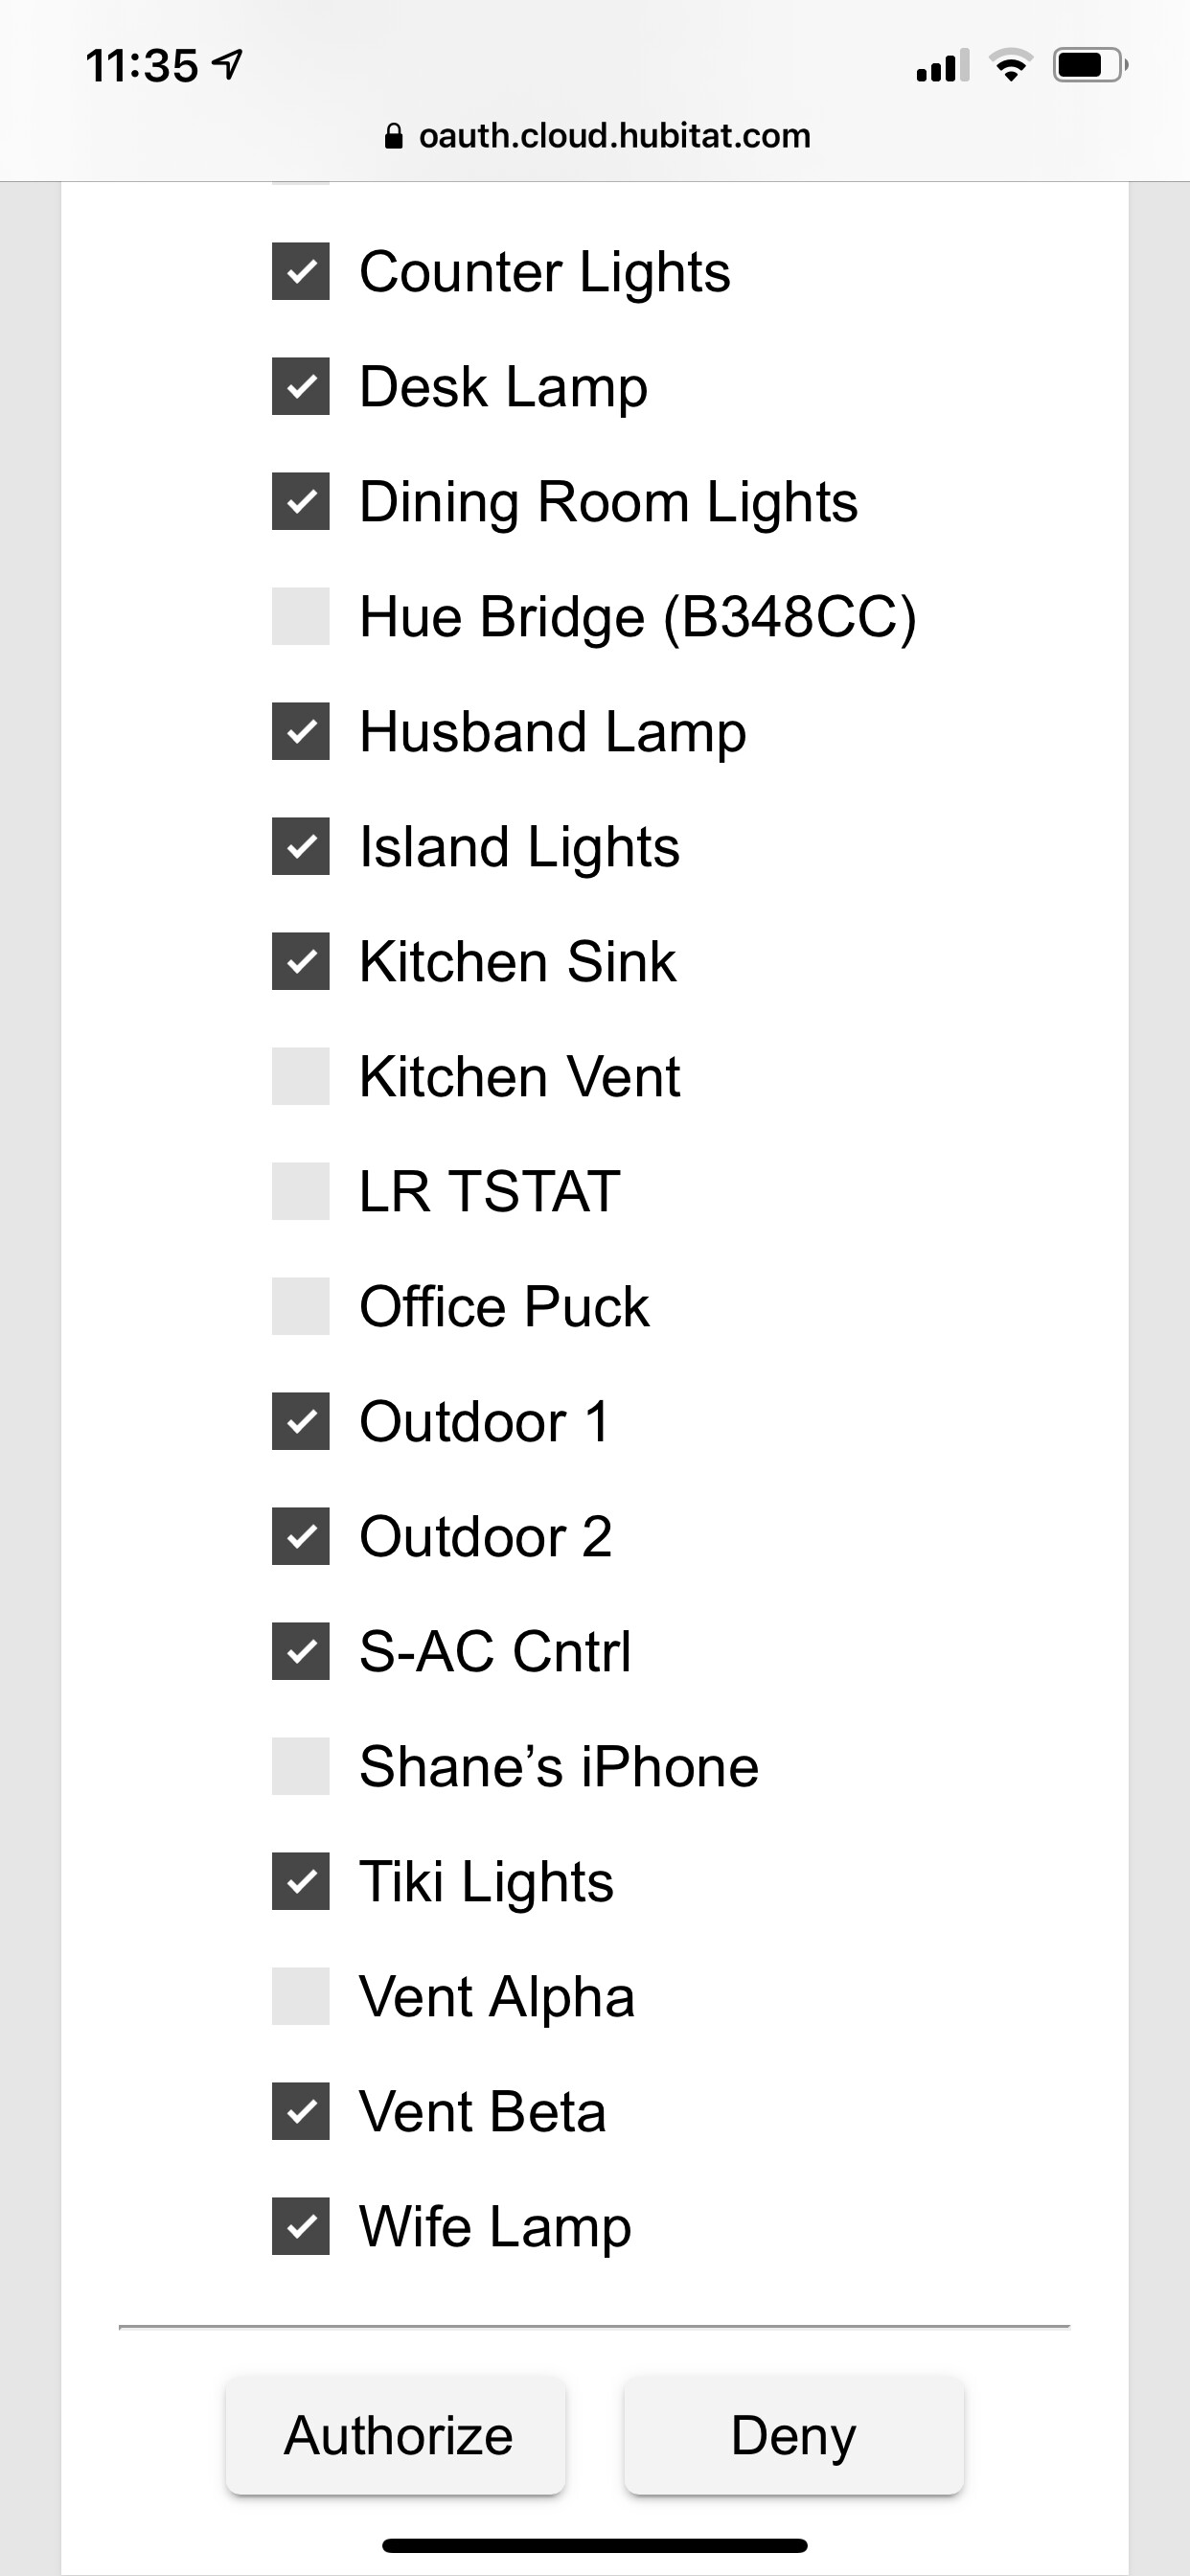
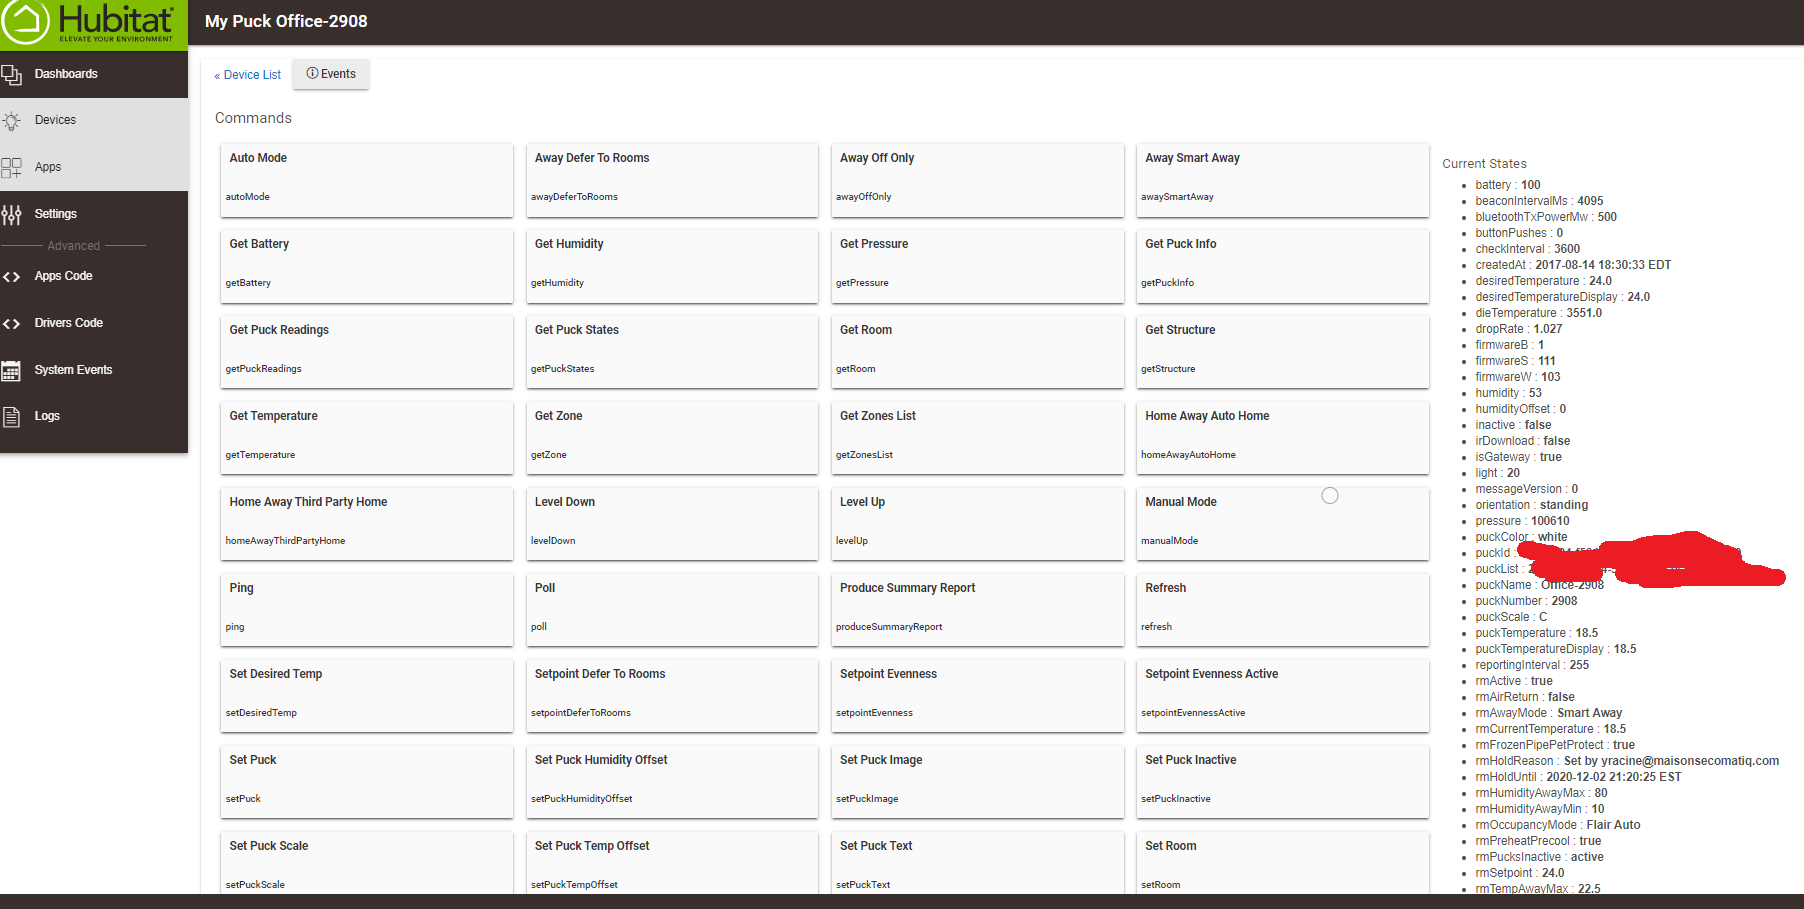
My Puck device
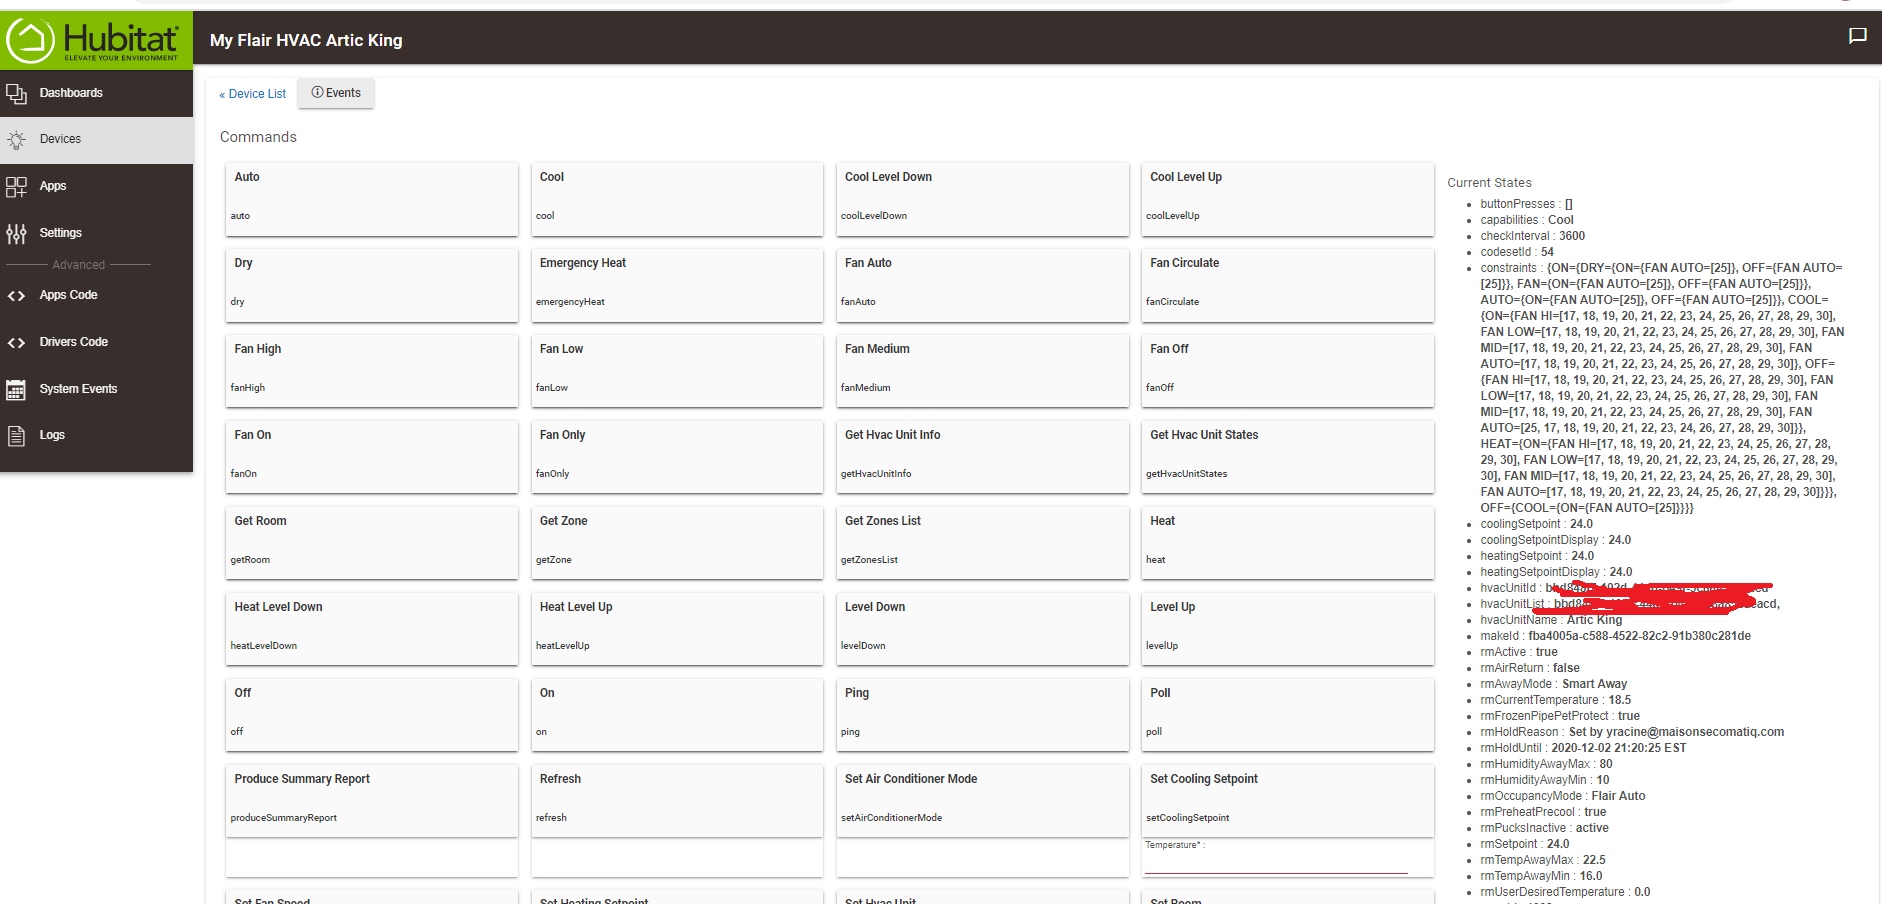
MyHvacUnit
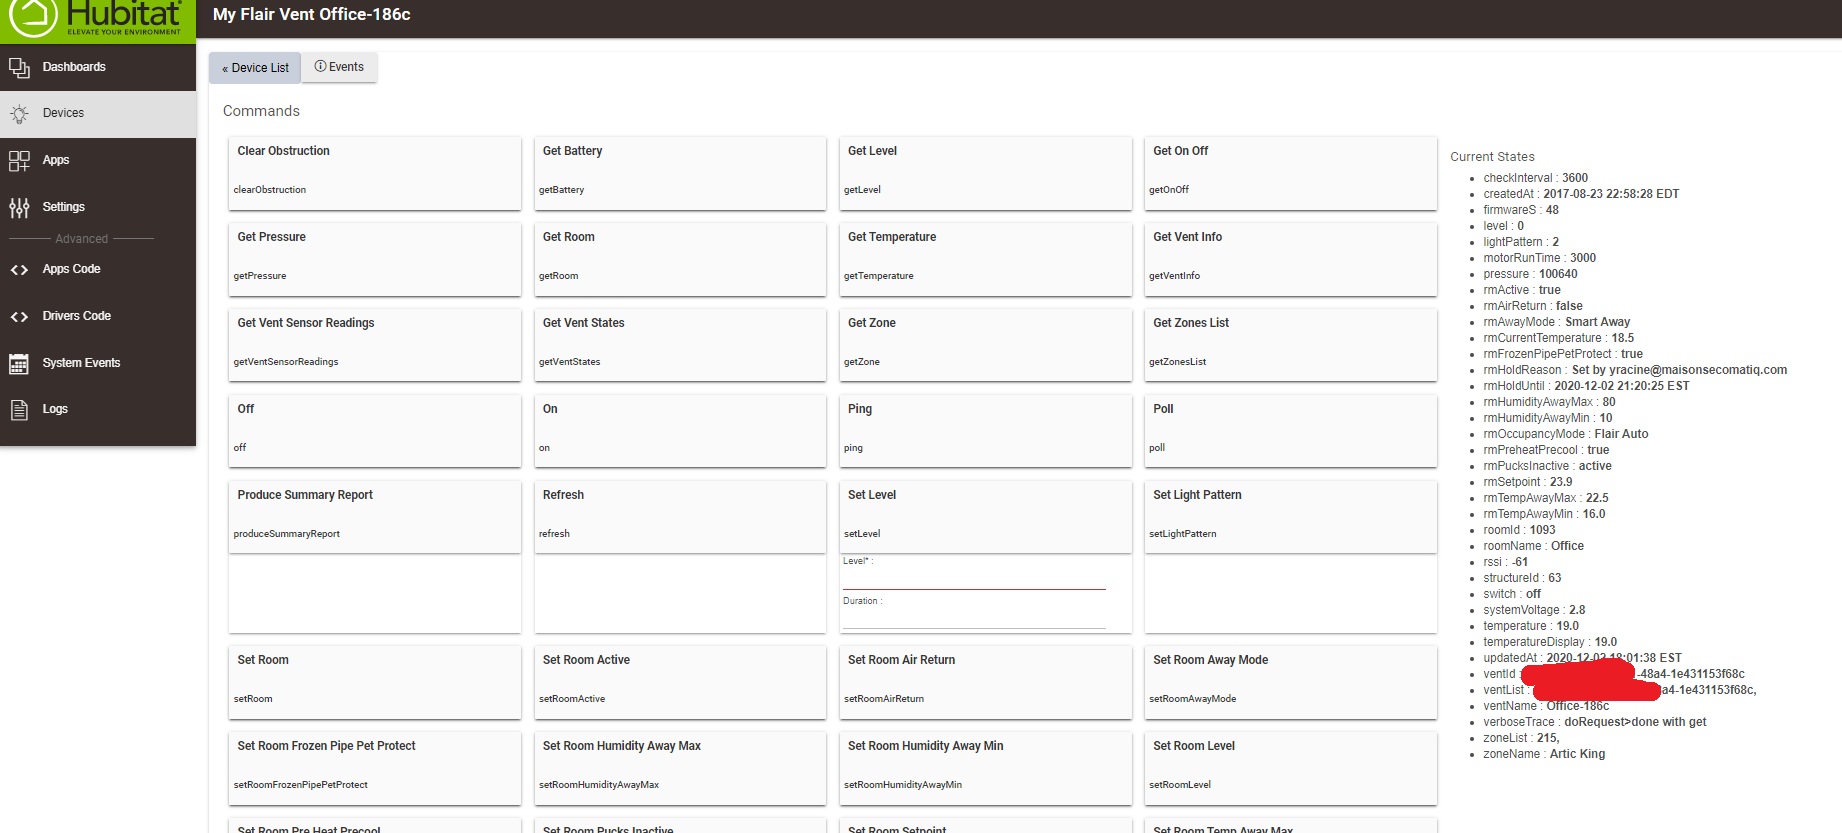
MyFlairVent
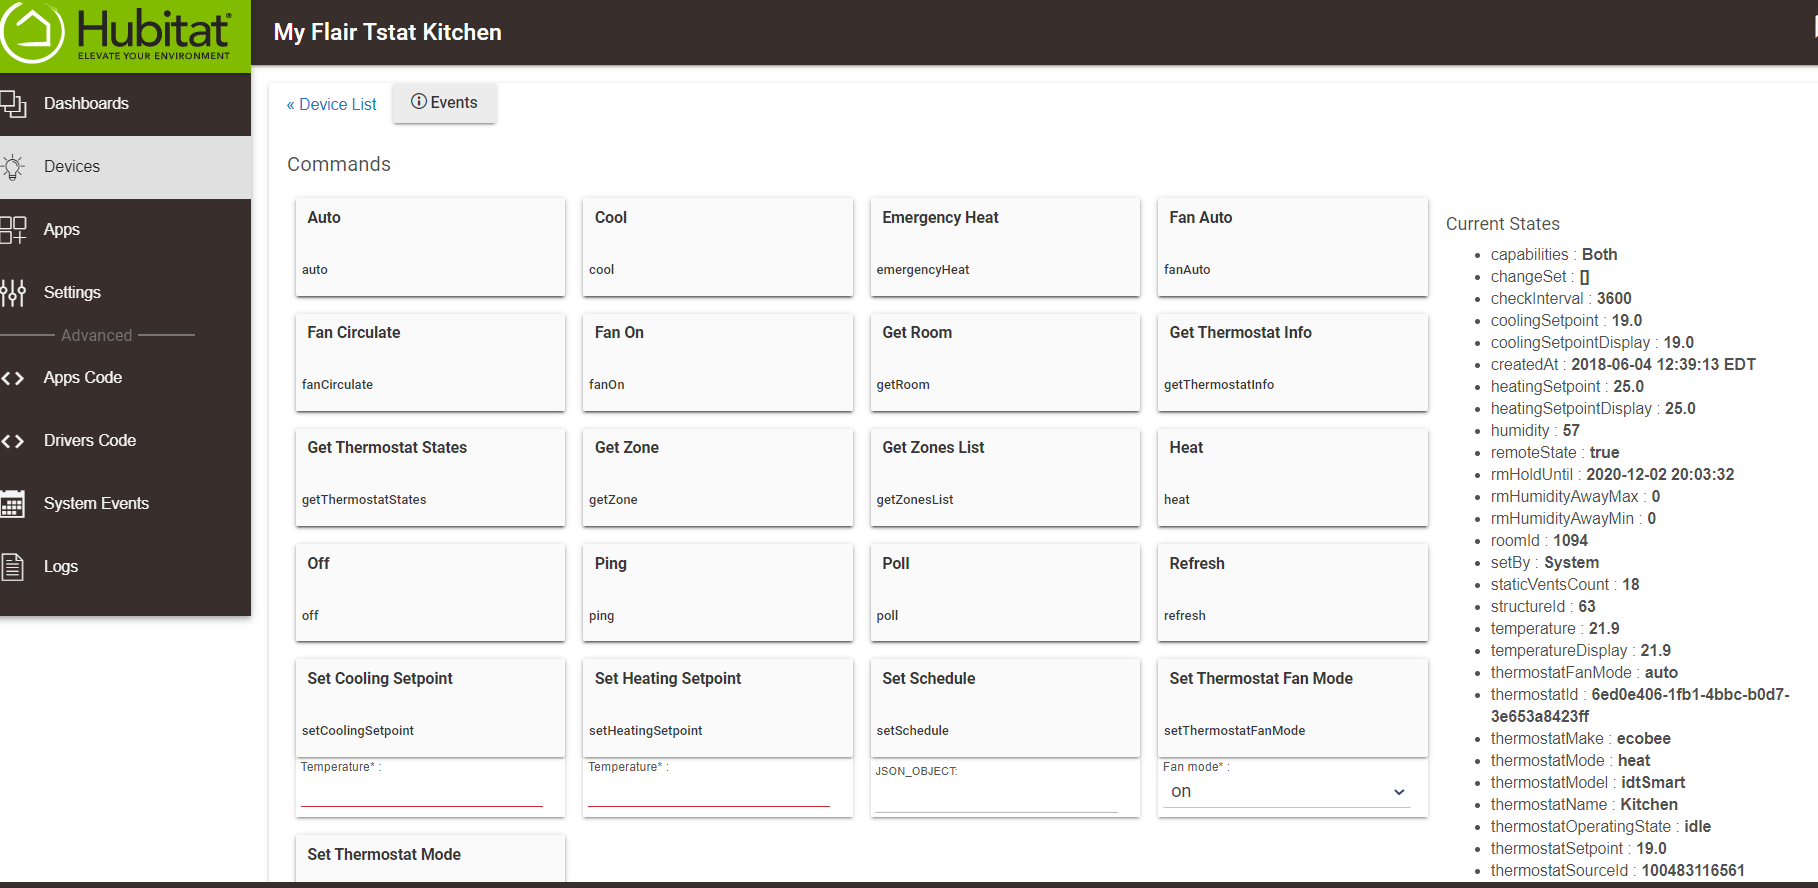
MyFlairThermostat (read-0nly)
The Flair devices enable multi zoned heating/cooling solutions for your home with new capabilities under Hubitat:
- Amongst others, ability to control mini/window splits, portable heaters/coolers (ex. on/off, heat/cool/dry/fan modes, low/medium/high fan speed, swing on/off commands are supported) for heating/cooling some colder/hotter rooms using scheduled zone(s).
- Support of the US and metric systems.
- Compatible with my Zoned heating/cooling smartapps (ecobeeSetZoneWithSchedule & ScheduleTstatZones available at my store for targeted heating/cooling in your home)
For more details on the Flair HW capabilities, refer to the flair website.
I've developed more than 10k lines of code for integrating the Flair devices.
-
The code exposes all the relevant Flair devices:
-
The Puck device: the puck can be used as a sensor (temperature, humidity, room's pressure) and a gateway for your other flair devices. With My Flair HVACUnit (see below), the puck can control your Mini/Window splits, portable heaters/coolers via IR in a smarter way.
-
The Flair smart vent: can help you directing your airflow when you mostly need it in your home for colder/hotter rooms
-
The HVAC Unit: The device can control a large number of mini/window splits, portable heaters/coolers, etc. Flair supports over 250+ brands. You can find a full list at their website. If you don't find yours in the list, don't worry! Flair can easily add it to its database.
-
The Flair Tstat: at the moment, the Flair virtual Tstat can only be used as a sensor (humidity, temperature, heat/cool capabilities). It can be linked to the most popular brands of smart wifi thermostats (ecobee, Nest, and pretty soon Honeywell).
-
All Flair capabilities, commands & attributes are exposed for easier integration with Rule Engines (Rule Machine, WebCore or others)
- The code unlocks all Flair's rich APIs features.
- The code has been designed to work with my ecosystem of Zoned Heating/Cooling smartapps.
Here are the names of the zoned heating/cooling smartapps:
_For the ecobee thermostat:
EcobeeSetZoneWithSchedule (compatible with MyEcobee device only)
_For any ST (z-wave, zigbee, wifi) connected thermostat with standard capabilities:
ScheduleTstatZones
_This last smartapp has less features but can control the vents based on rooms' temp thresholds.
ScheduleRoomTempControl
Note:
**My zoned heating/cooling smartapps (ecobeeSetZoneWithSchedule, ScheduleTstatZones) have been designed to control your HVAC unit (window/split unit, portable heaters and coolers) in a smart way.
For example, as a zone/room thermostat, ecobeeSetZoneWithSchedule & ScheduleTstatZones can automatically choose the right fan speed depending on the temp differential in the zone and turn off the unit when it’s not part of the scheduled zones for a specific period of the day or when a specific room is not occupied (customizable options).**
Regards.