Anyone else out there that is thinking about running node-red, that does not have a Rpi, but does have a Synology NAS, you can use it to run Node-Red in Docker. It's easy, here's how.
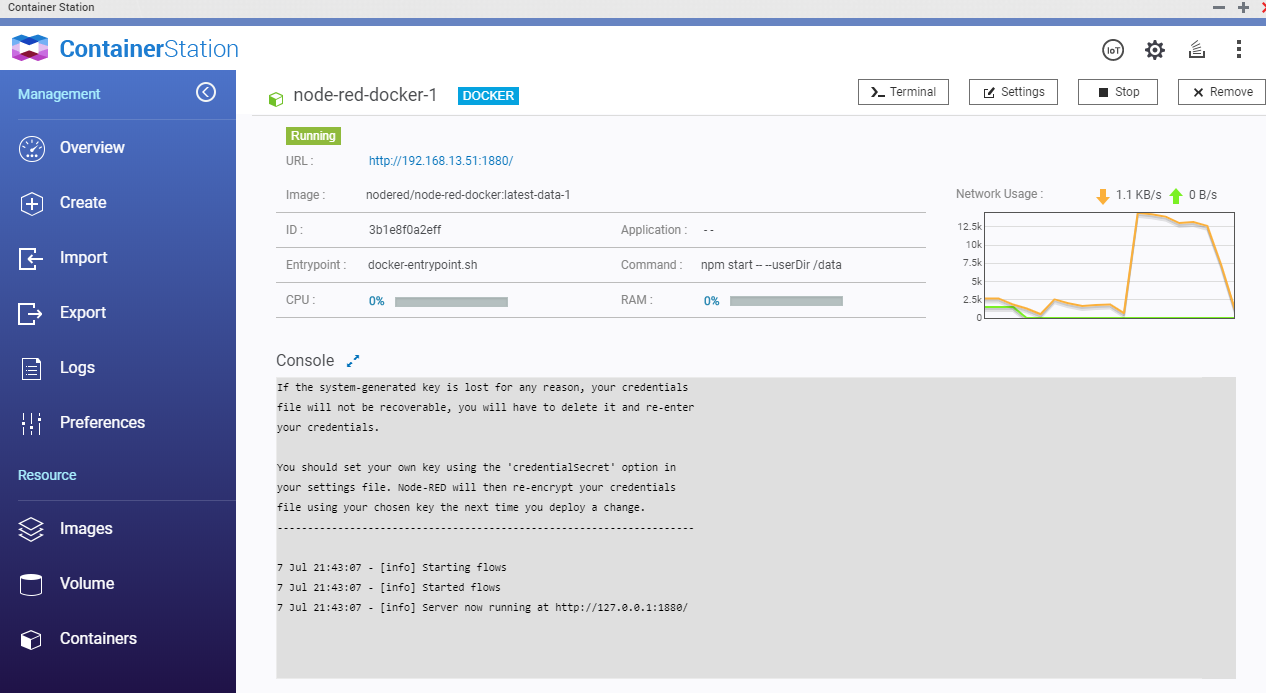
For QNAP - see this post Thank you @jrfarrar for the assist.
Thank you @vreihen for the assist on which Synology can run this.
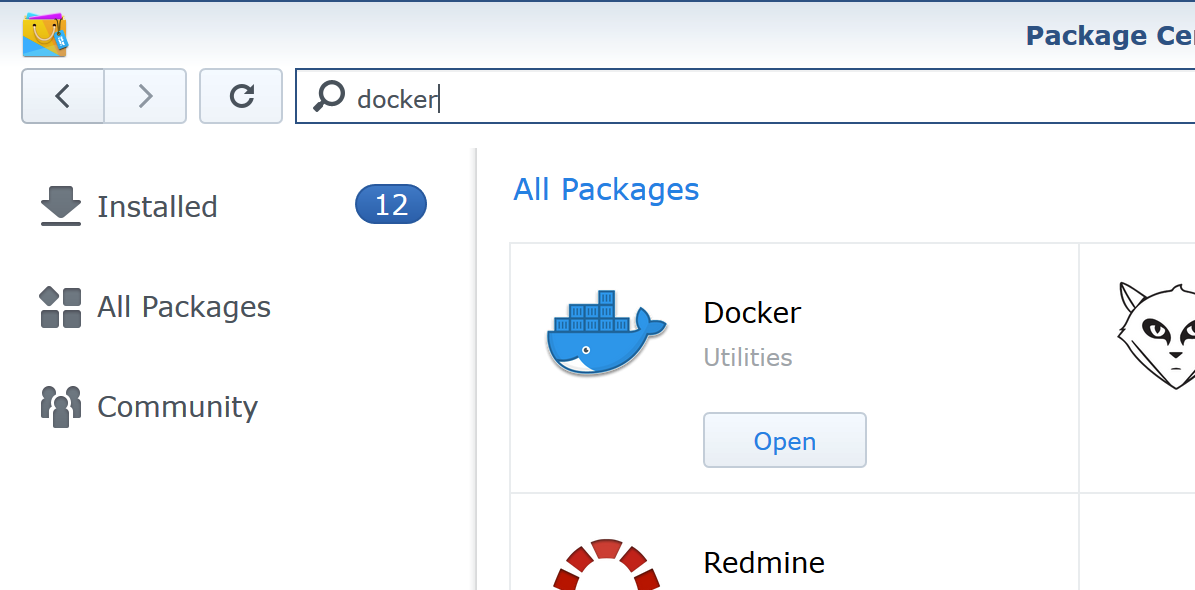
If not already installed, install the Docker app from the Synology package center.
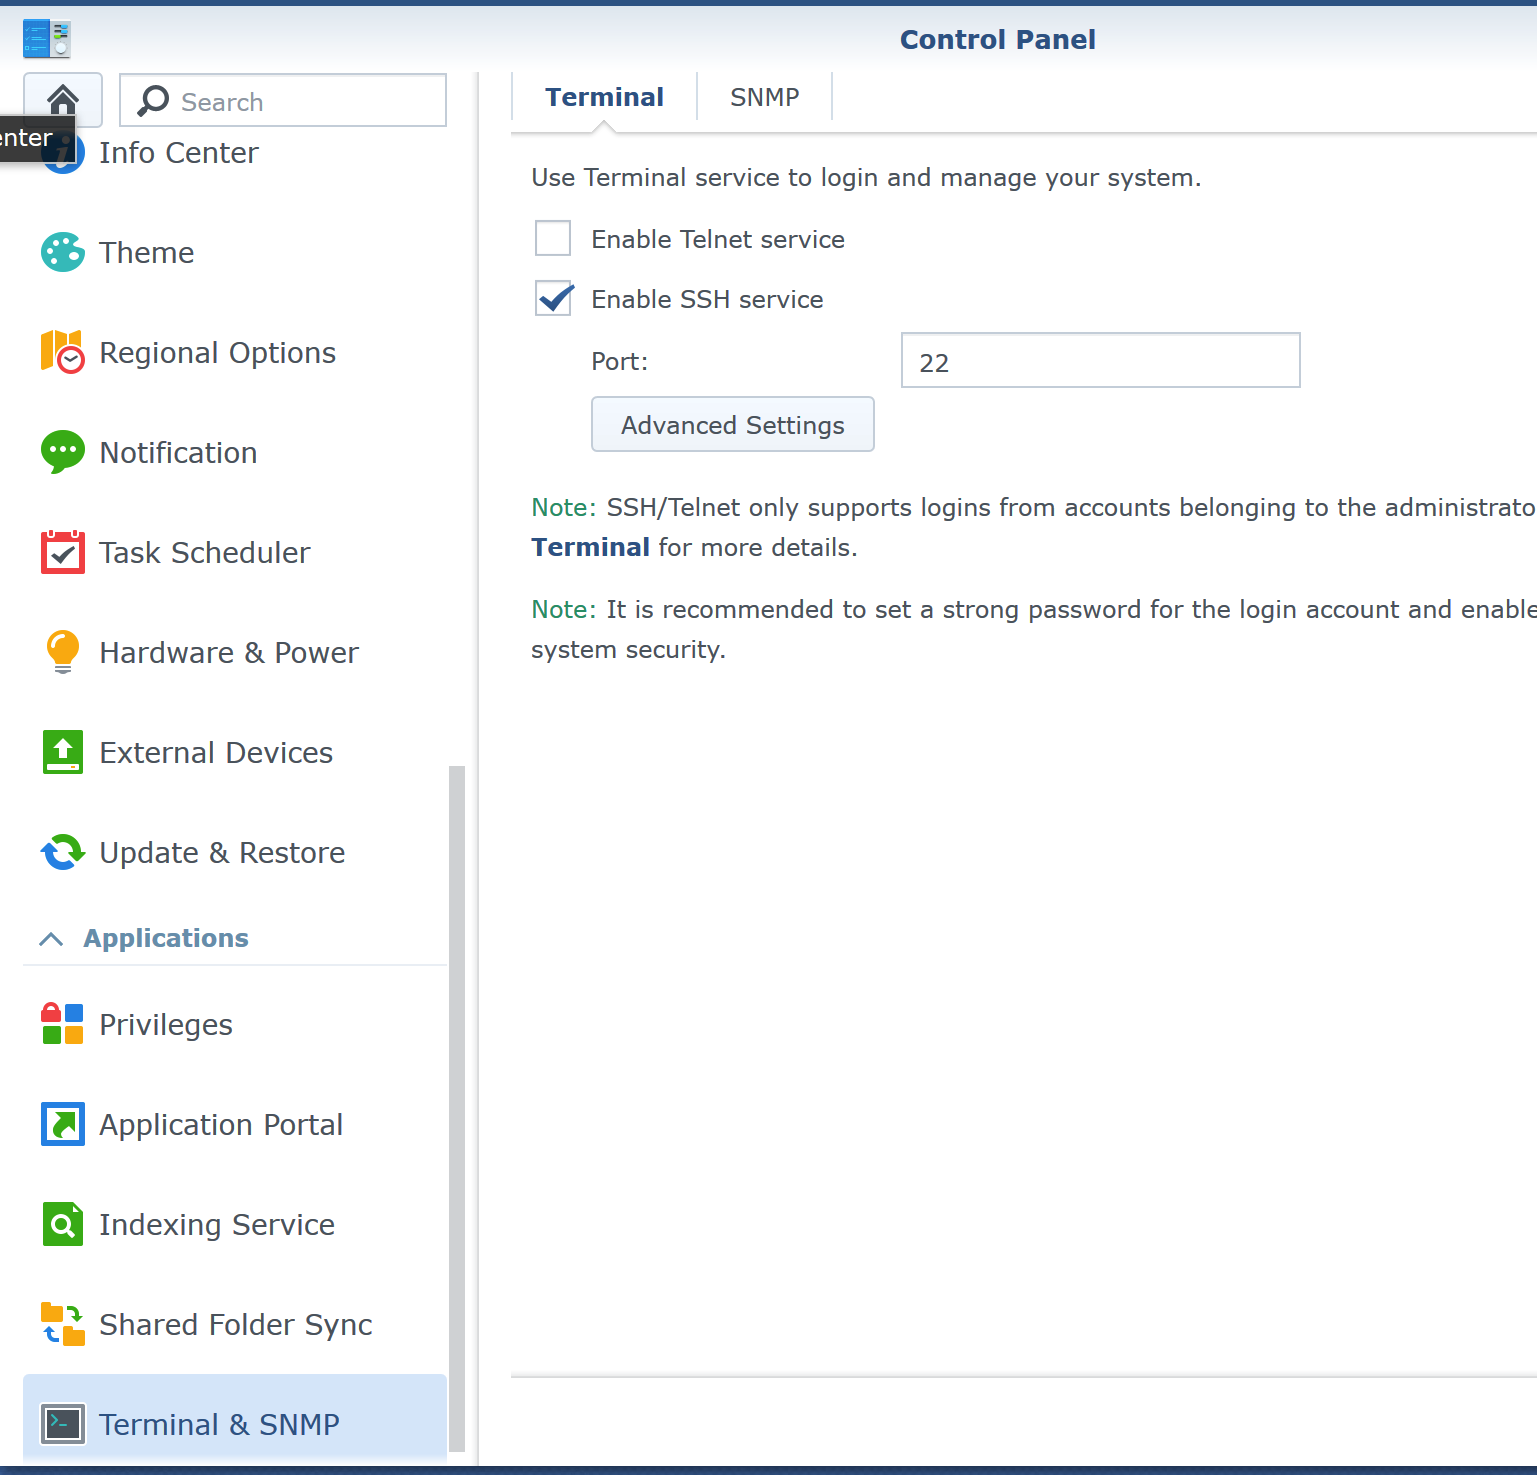
Enable SSH on the NAS from Control Panel > Terminal & SNMP
Use PuTTY or whatever program you like to log into the NAS via SSH with an admin account.
For PuTTY be sure to click "SSH"

Execute the following command and provided the same password for the account you used to log into SSH again. It should then download/install all the current files for node-red and node.js
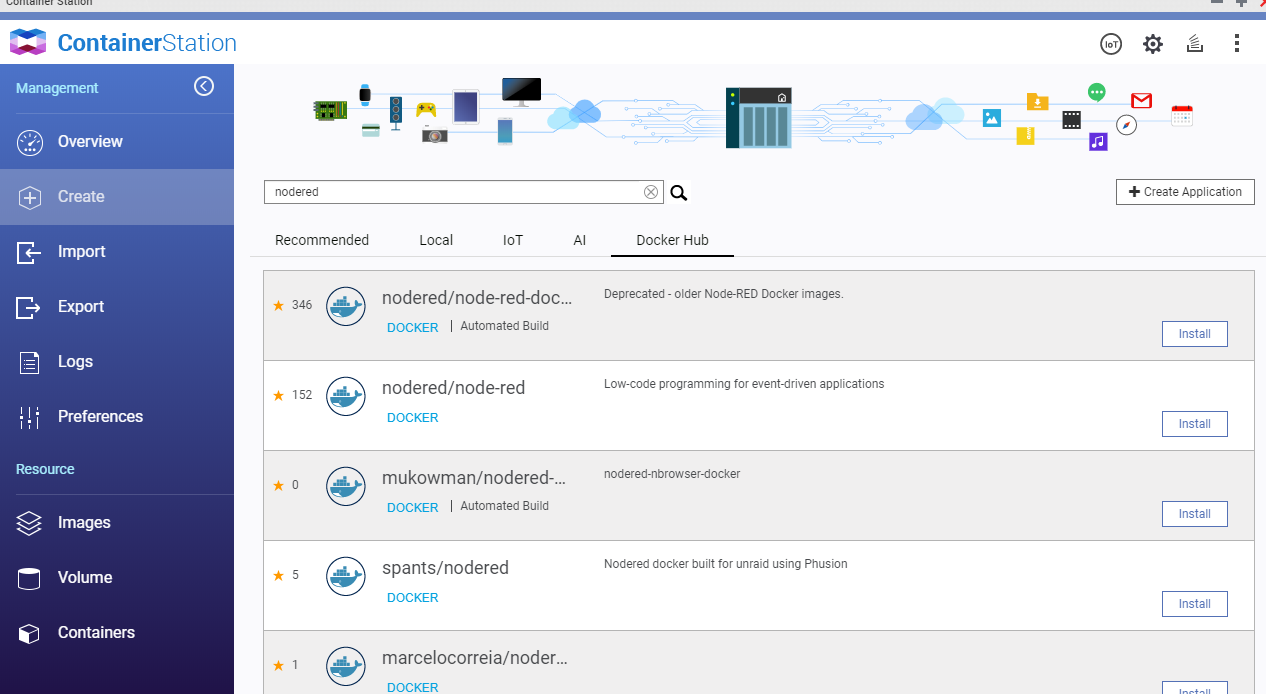
sudo docker run -it -p 1880:1880 --name mynodered nodered/node-red
You should see something like....
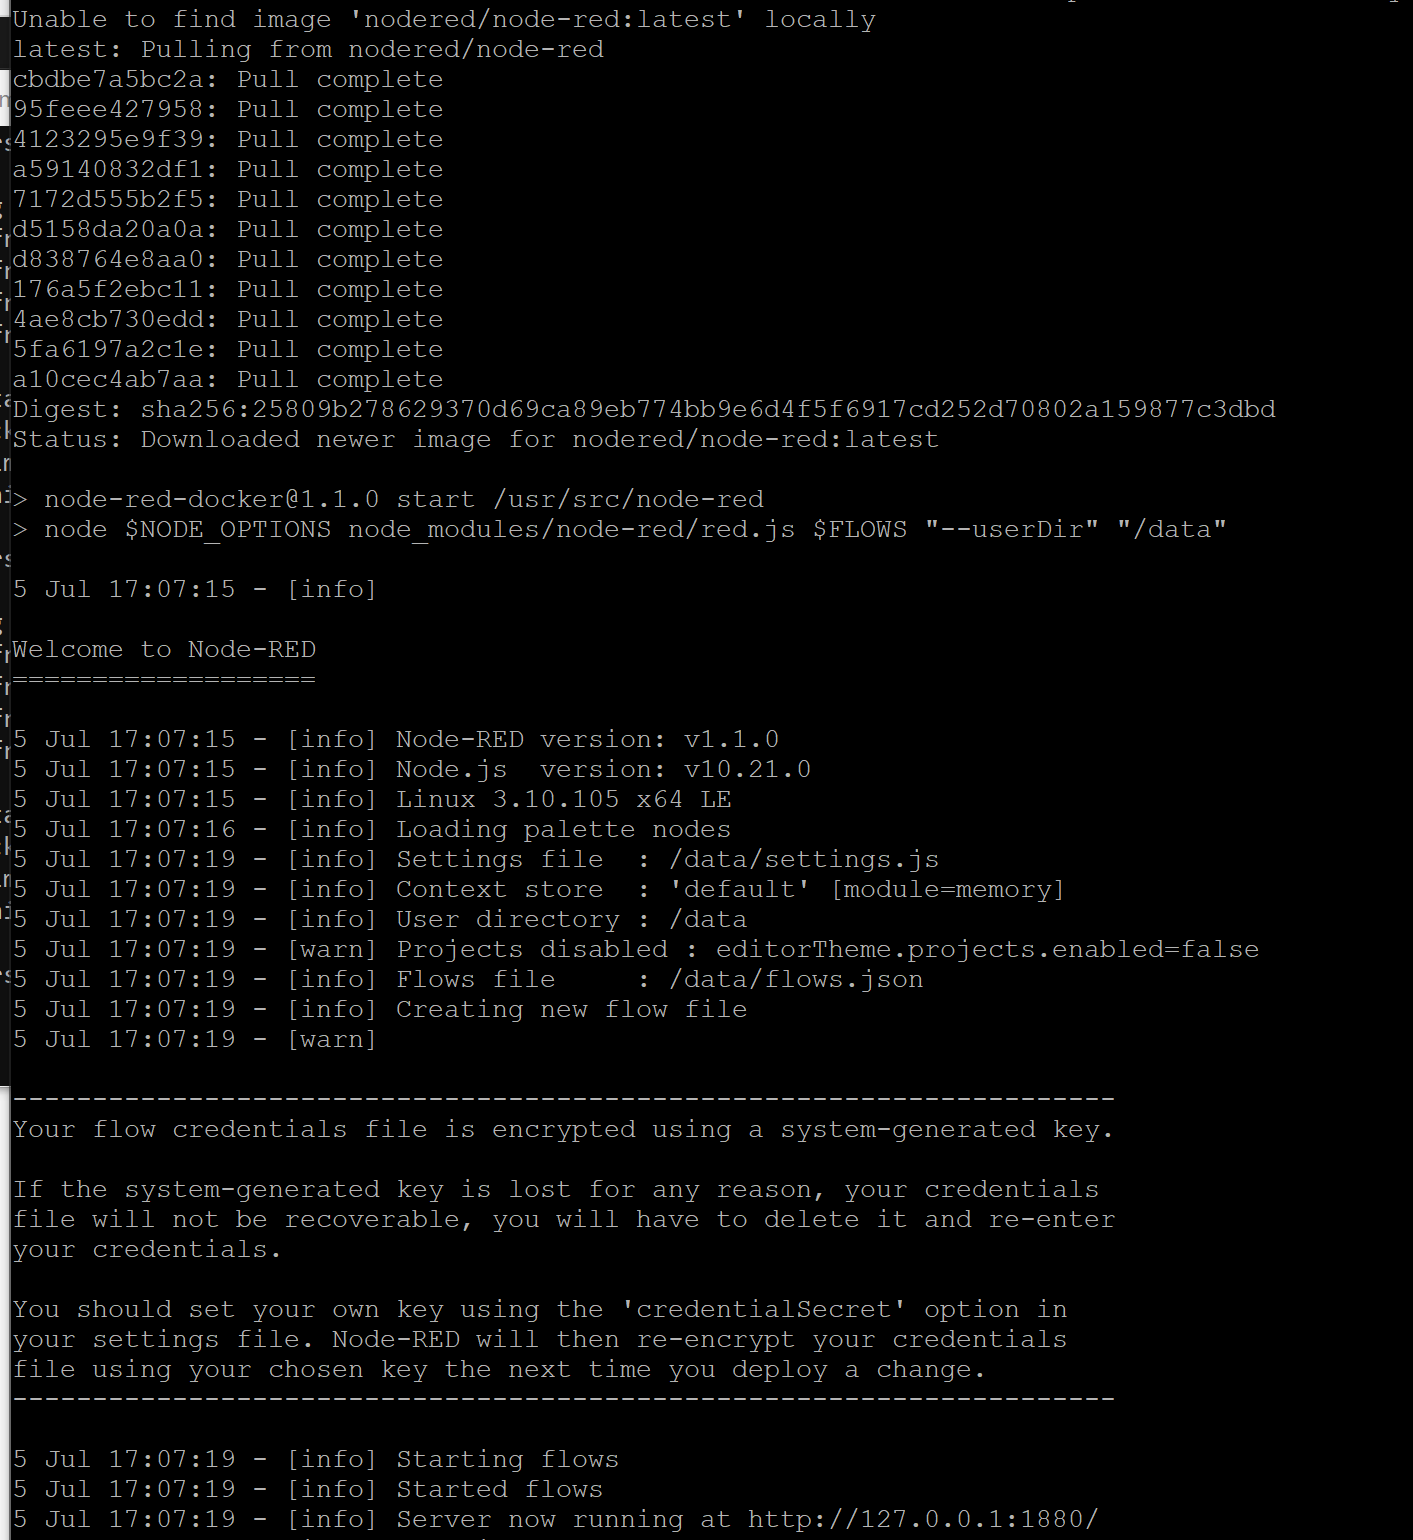
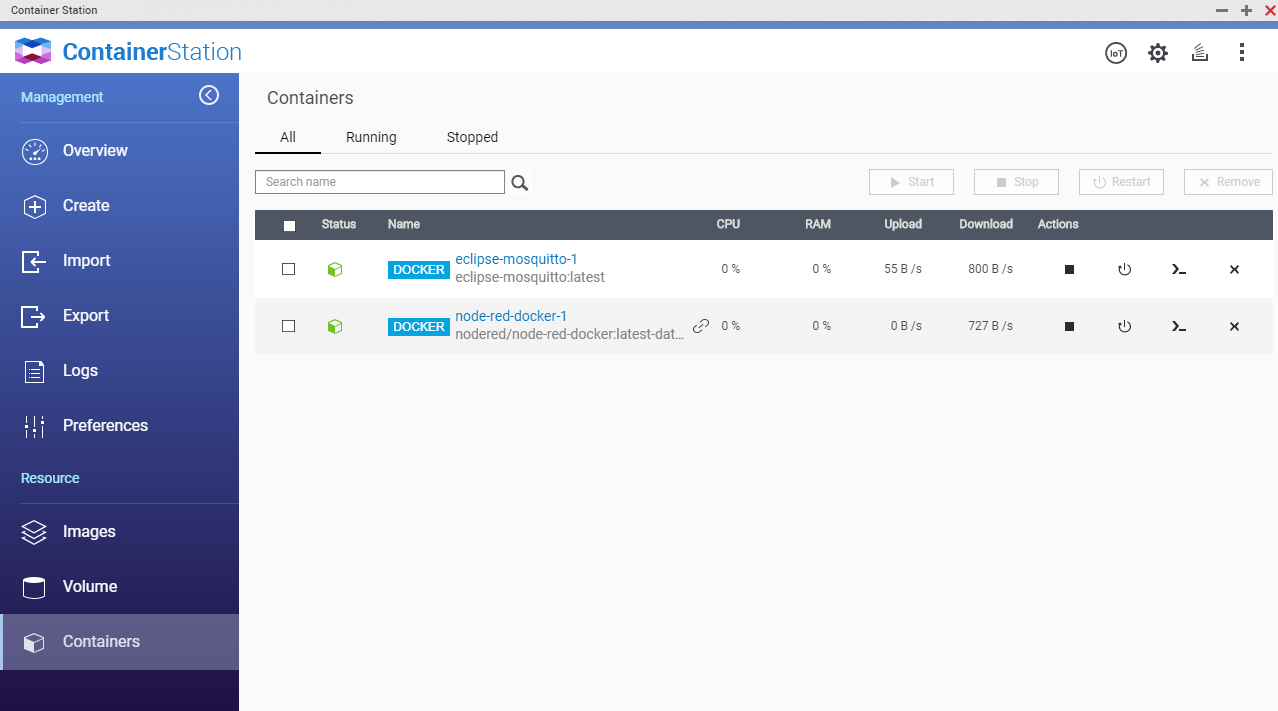
If you see "Stared Flows" your all set!! Use the browser of your liking to navigate to NASIP:1880 to start using Node-RED!
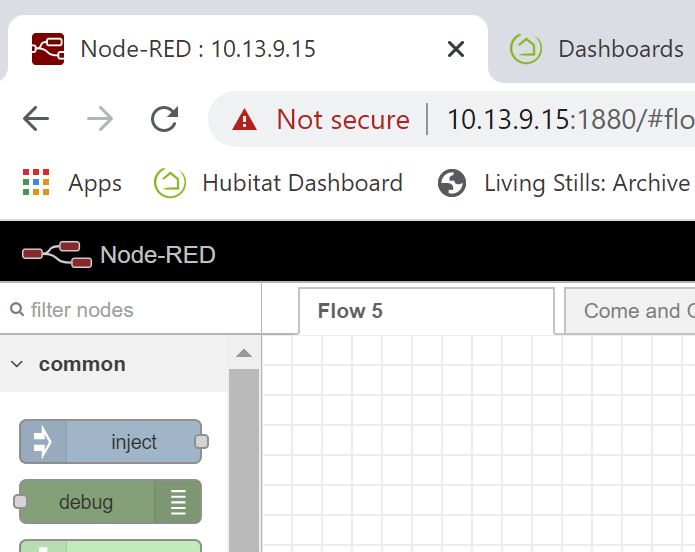
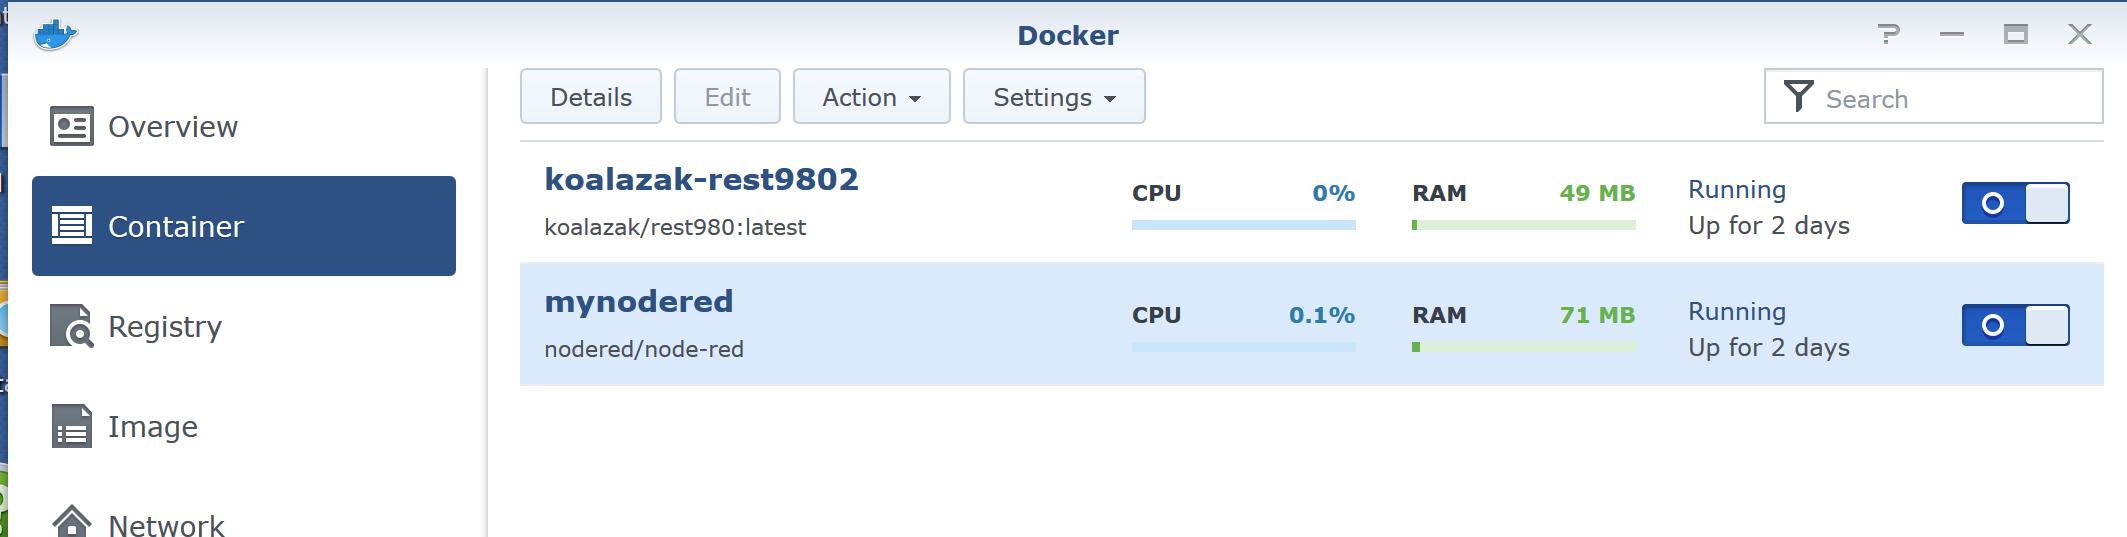
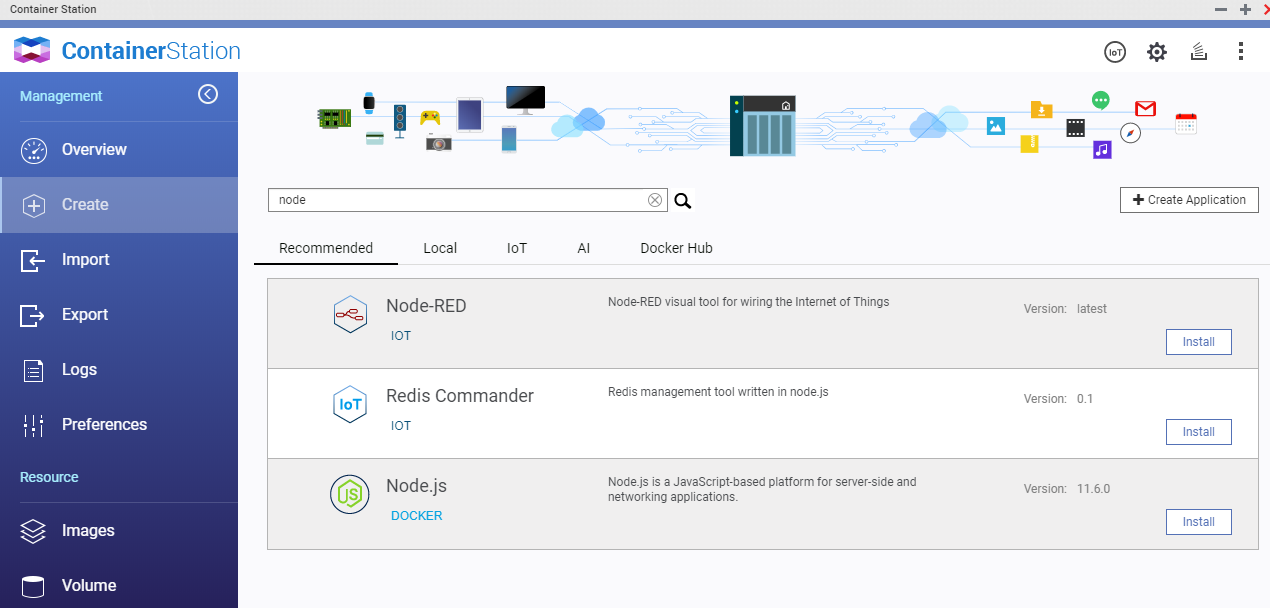
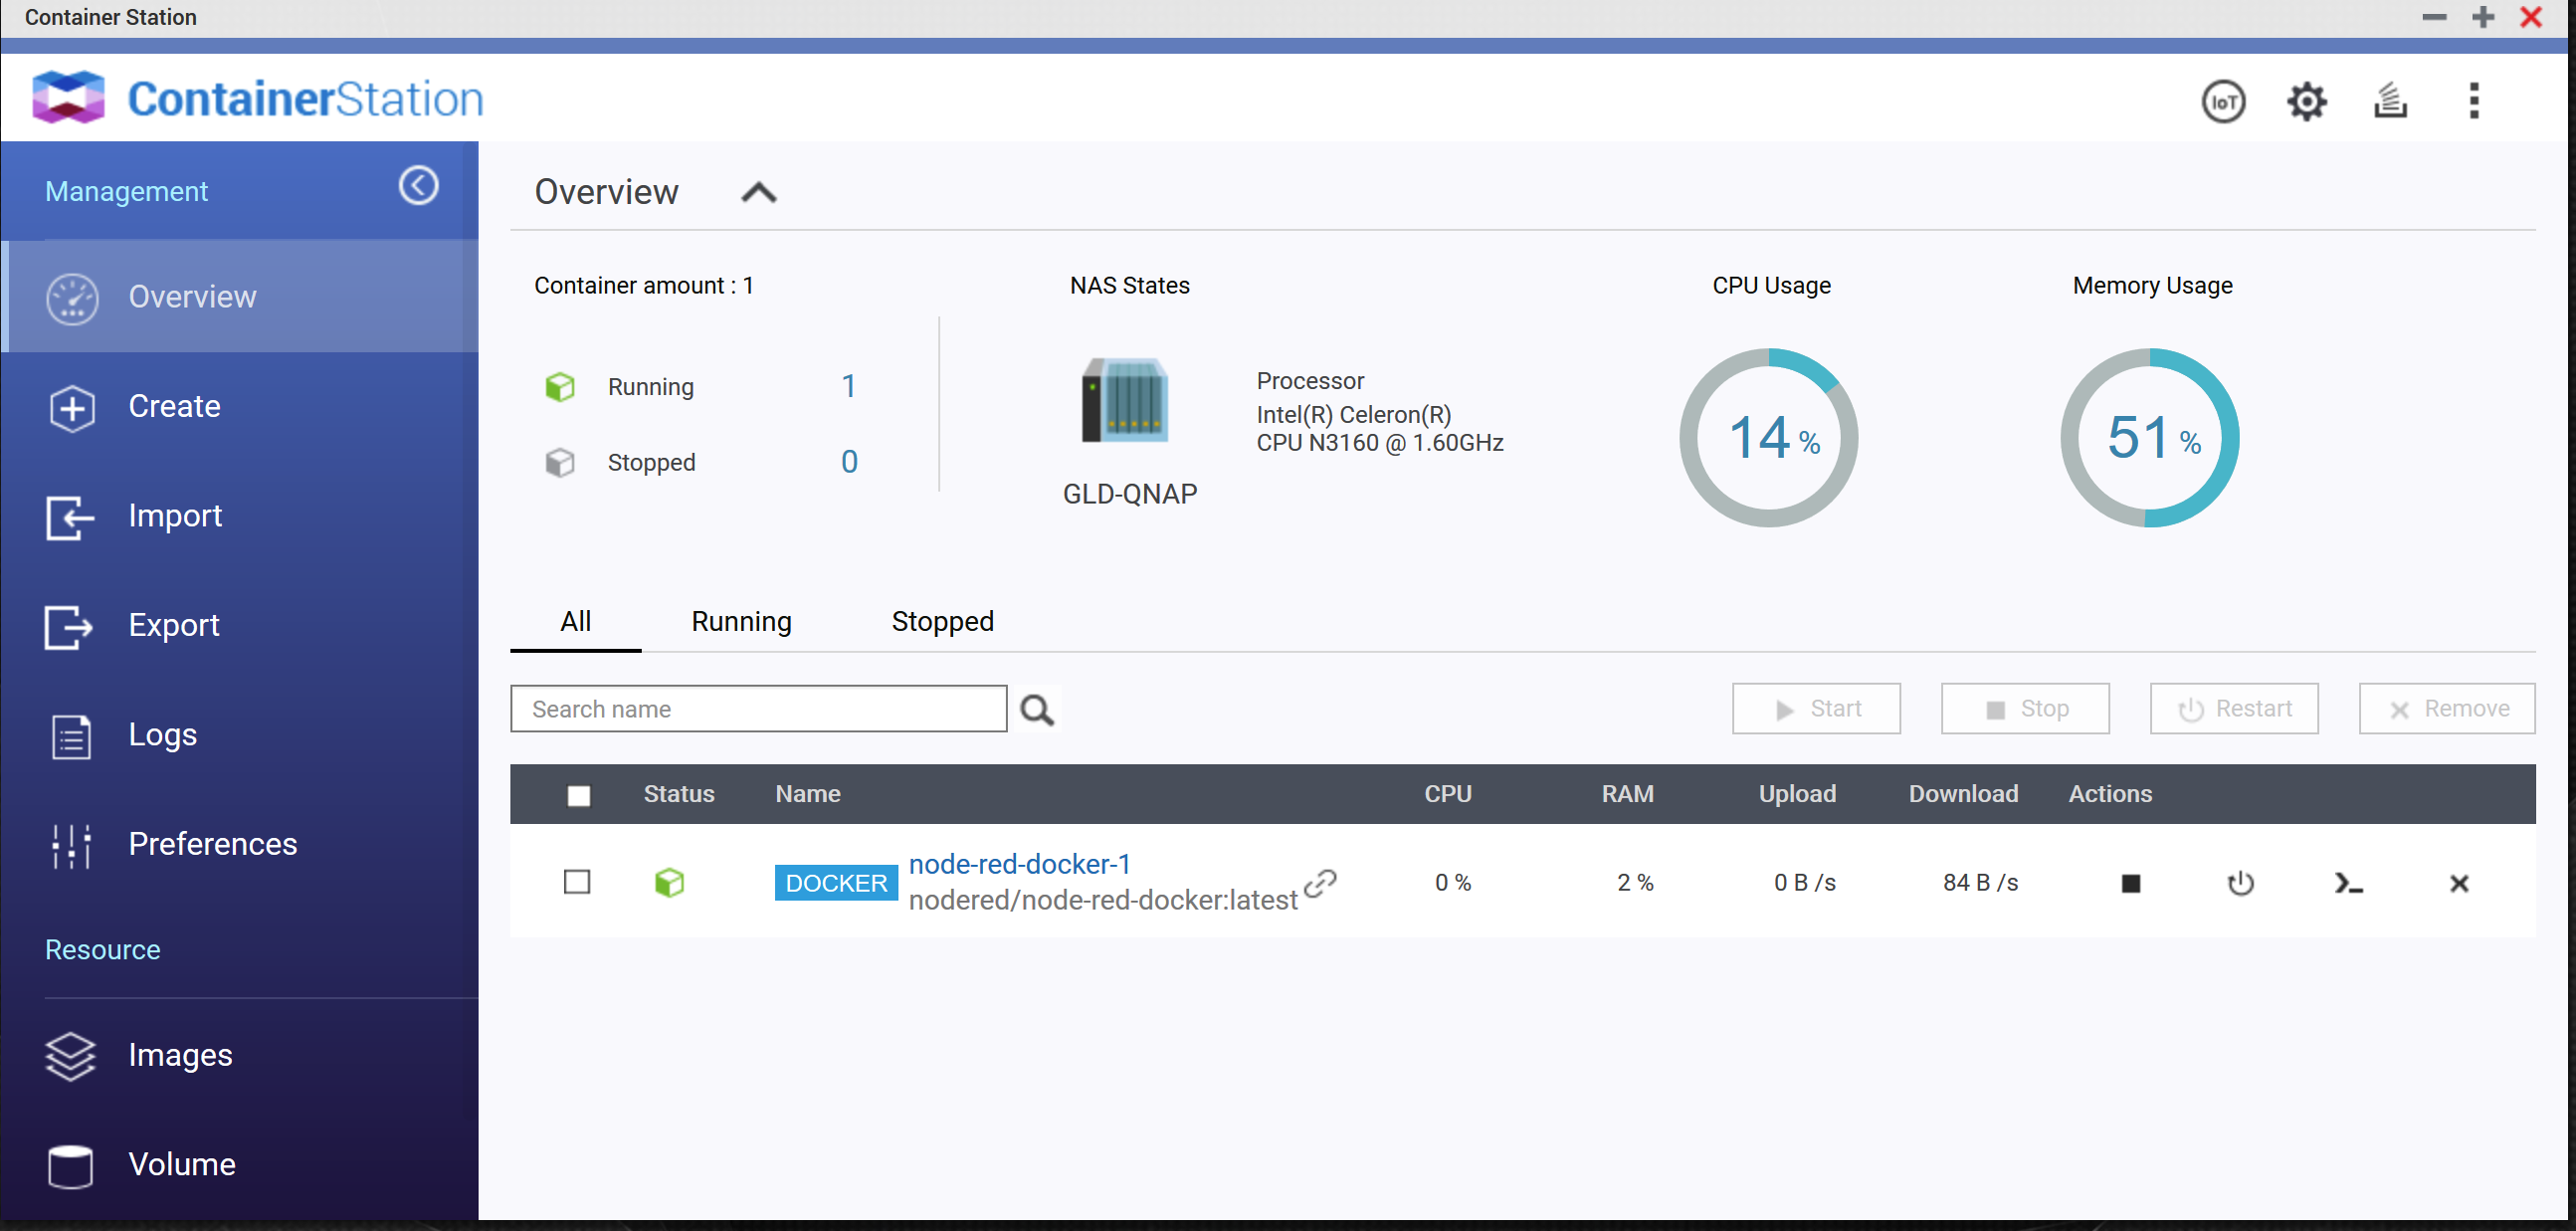
At this point Node-Red will also be installed and accessible via the Synology web GUI under Docker.
Recommended, but not required
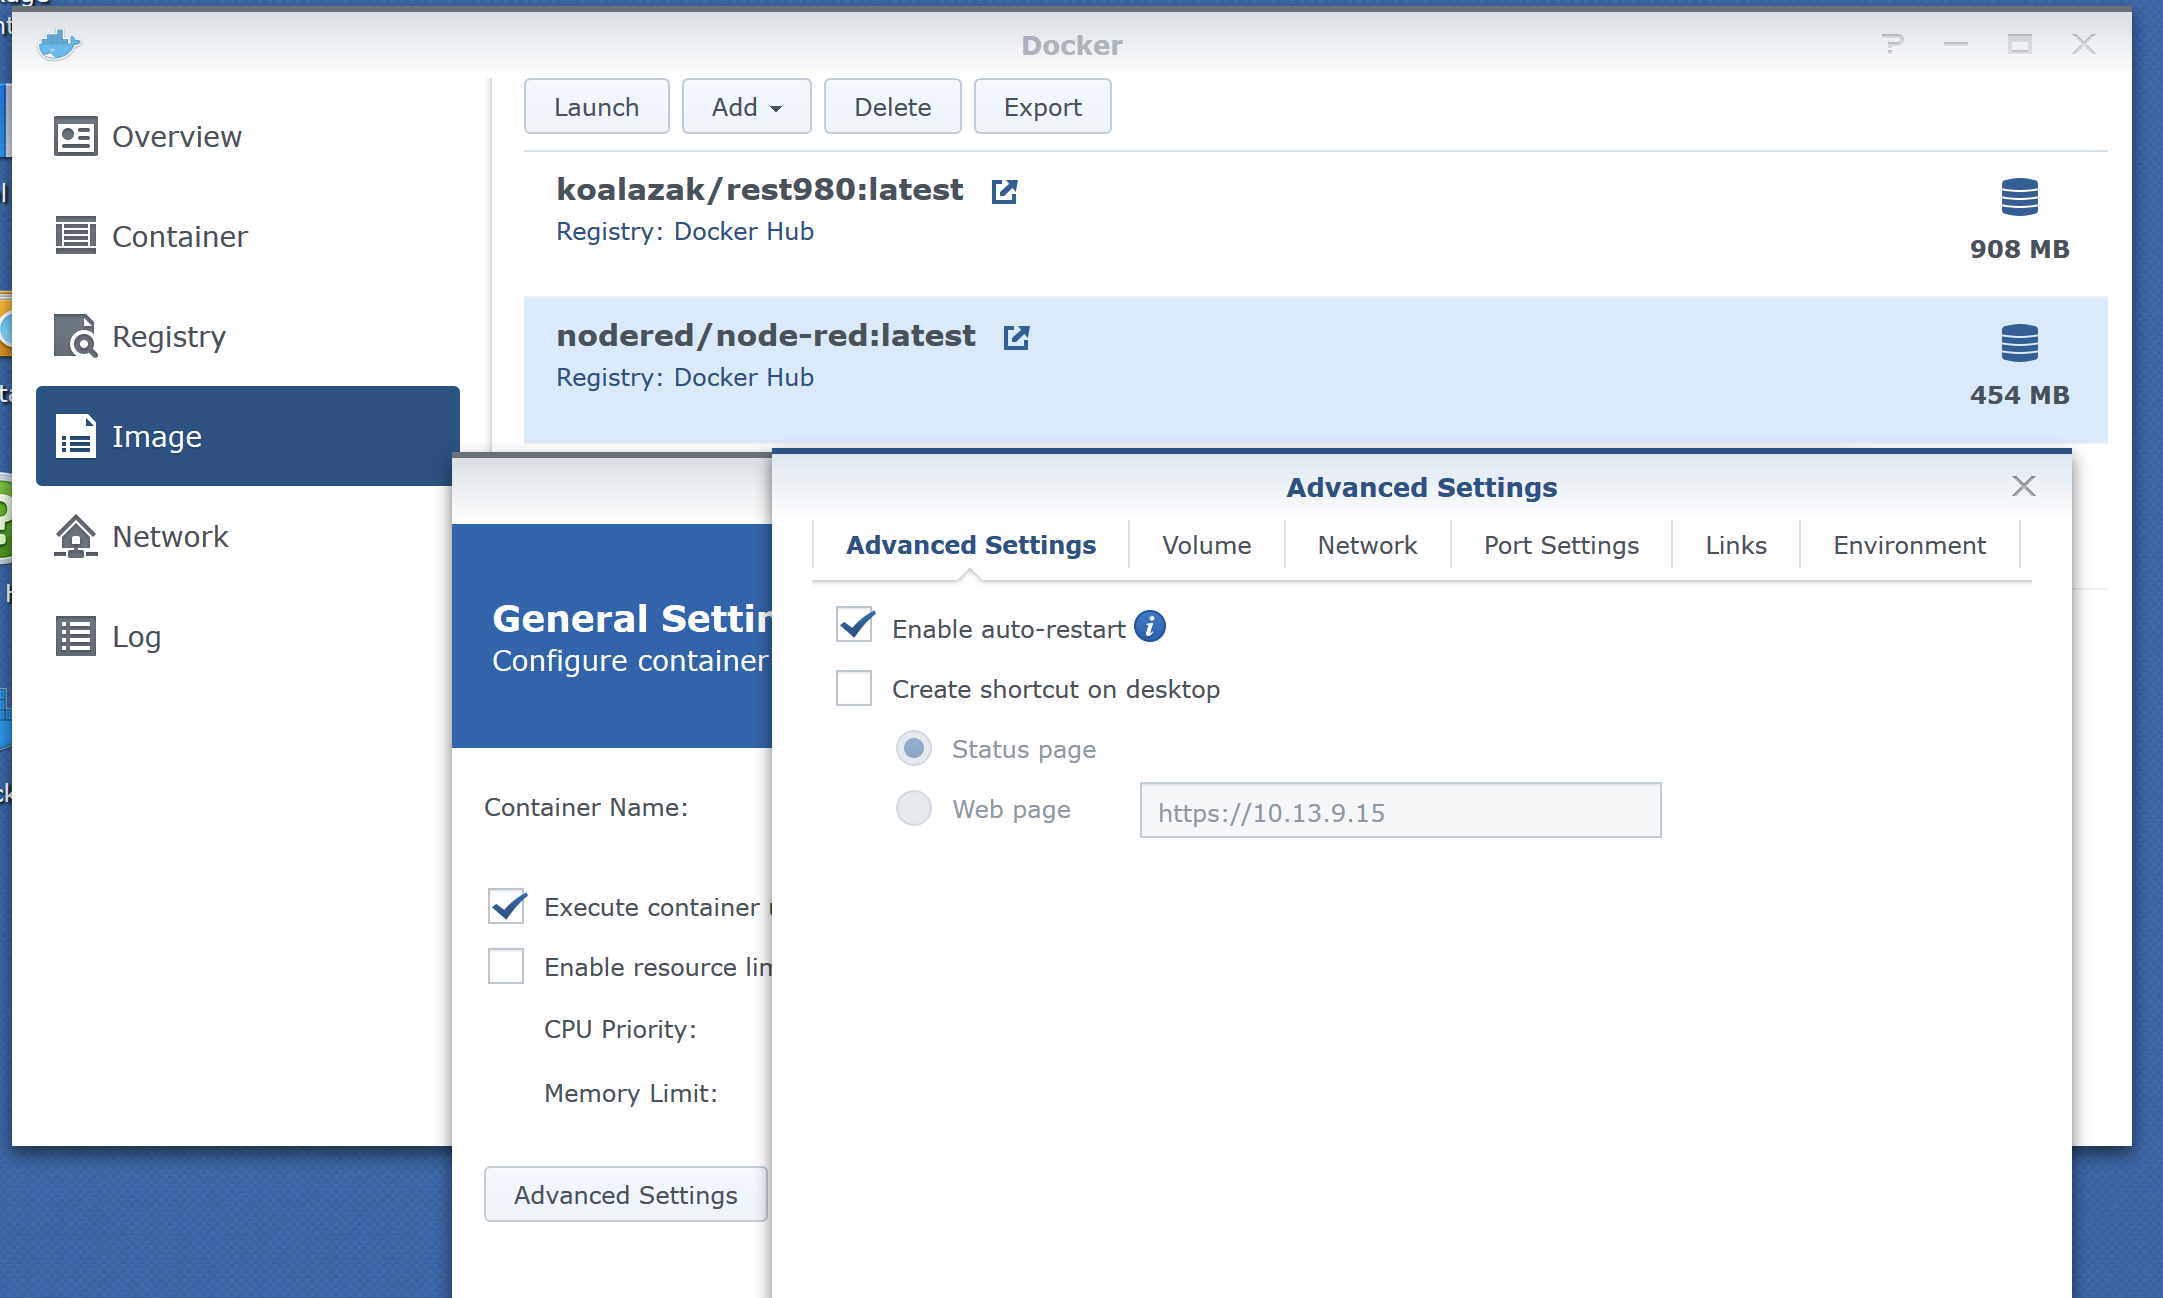
To ensure Node-Red is running after a NAS reboot, open the Docker app in the Synology web GUI
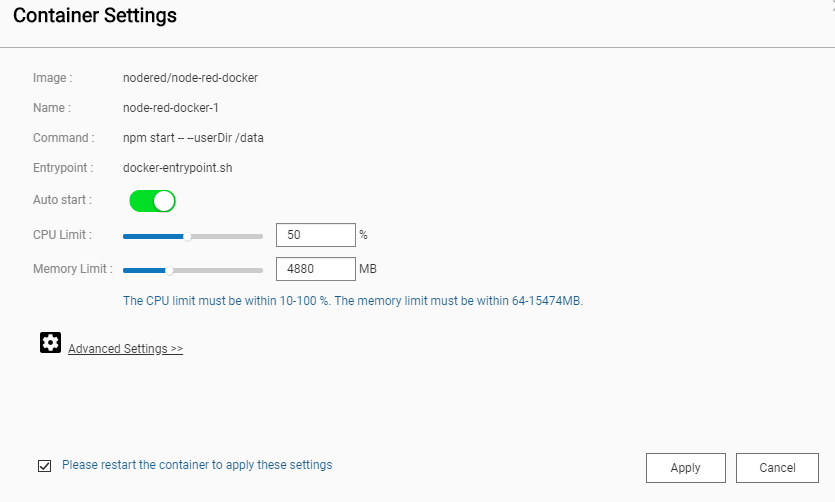
Click, Image > nodered/node-red:latest. Check the "Execute container with highest privileges" (optional) box. Click the "Advanced Settings" button, and then check the "Enable auto-restart" (recommended) box.
Thank you @JasonJoel and @MRobi for assists
In order to use time base events you need to set your time zone as an environment variable. See this site for correct zone names
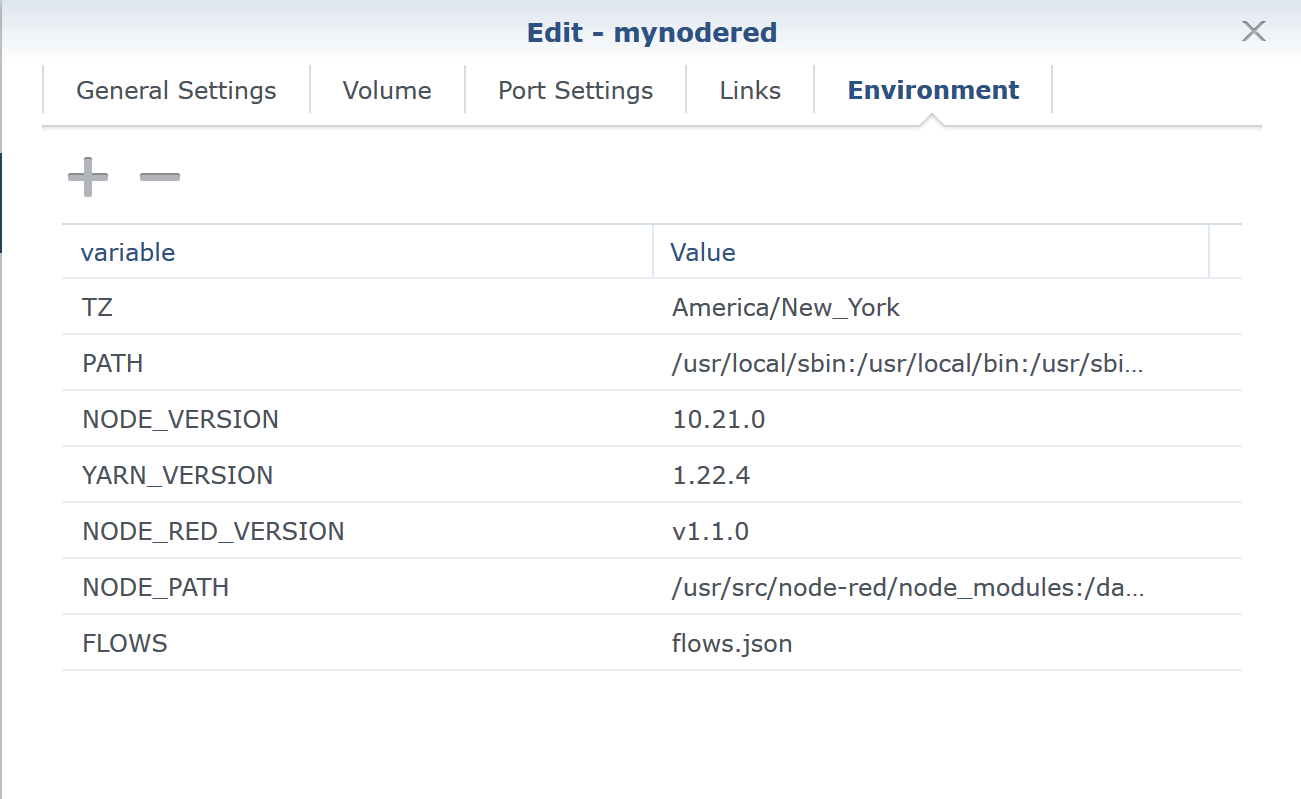
Thank you @tja for the assist
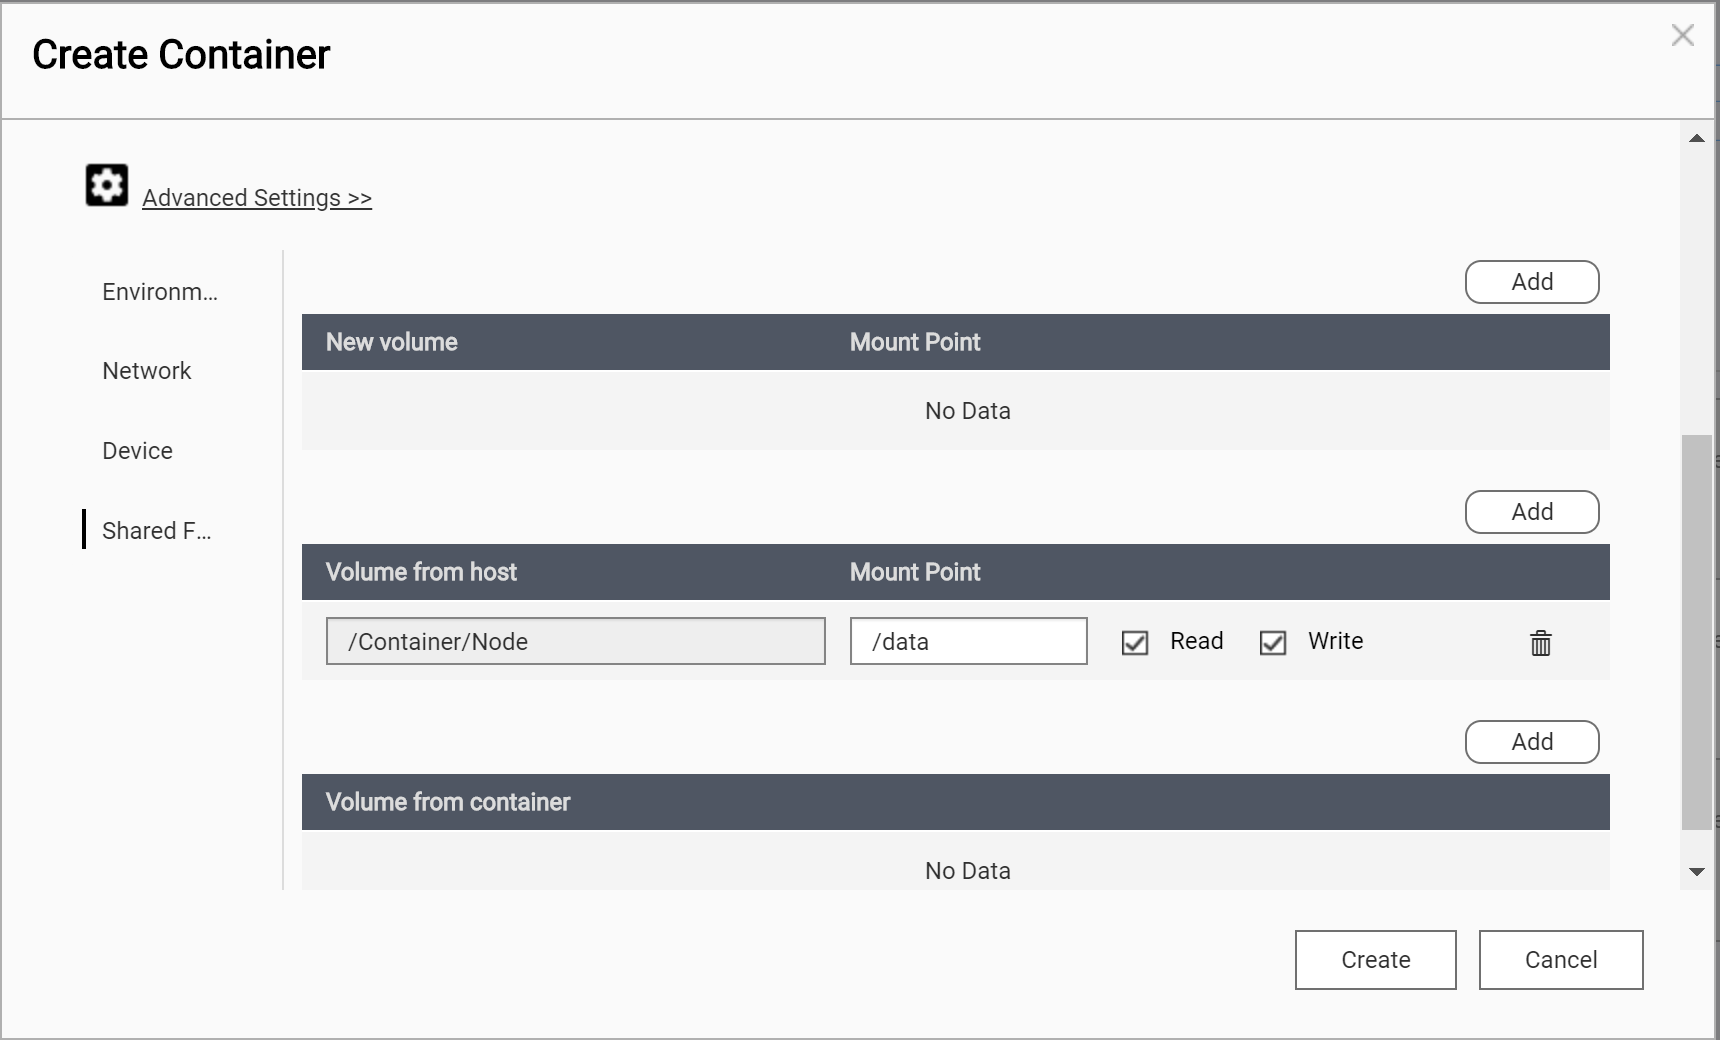
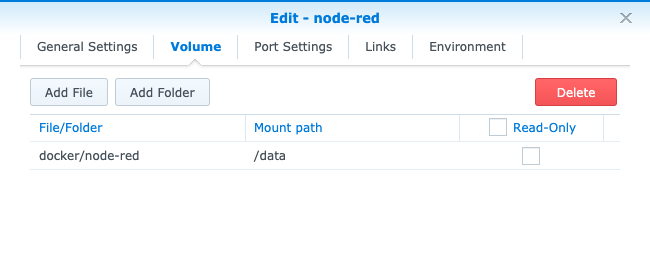
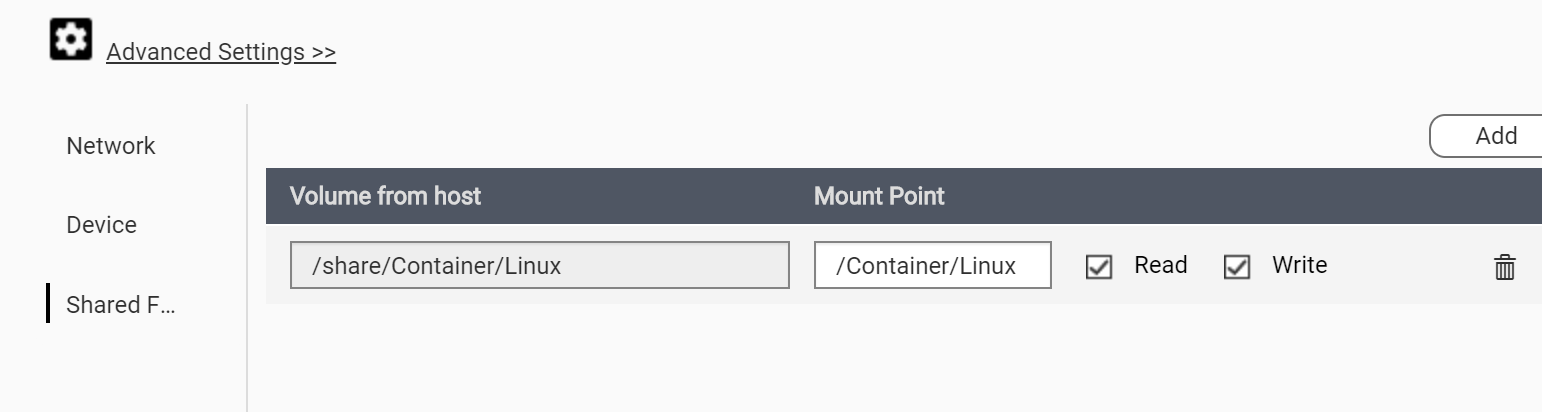
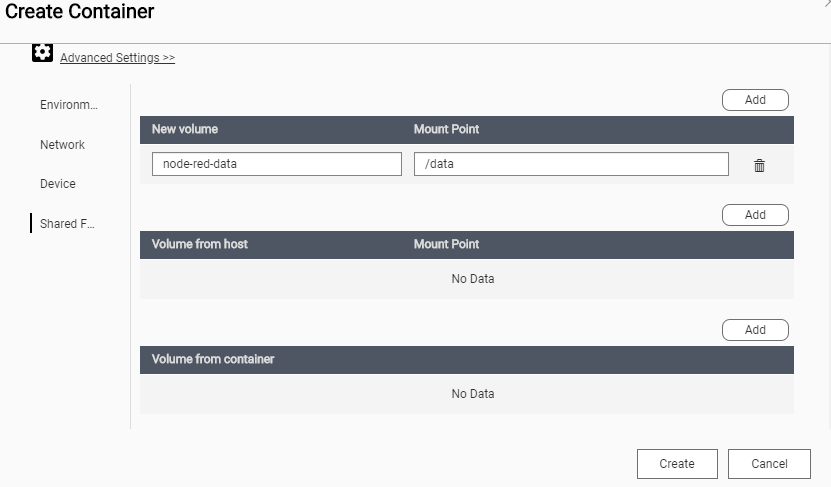
Create a volume mapping to store your user data outside the container. This way you can update NR just by destroying the old one and creating a new. If your running "nodered/node-red:latest" you can just update the image from the registry tab followed by "stop", "clear" and "start" on the running container.
BACKUP EXISTING FILES BEFORE CHANGING THIS SETTING
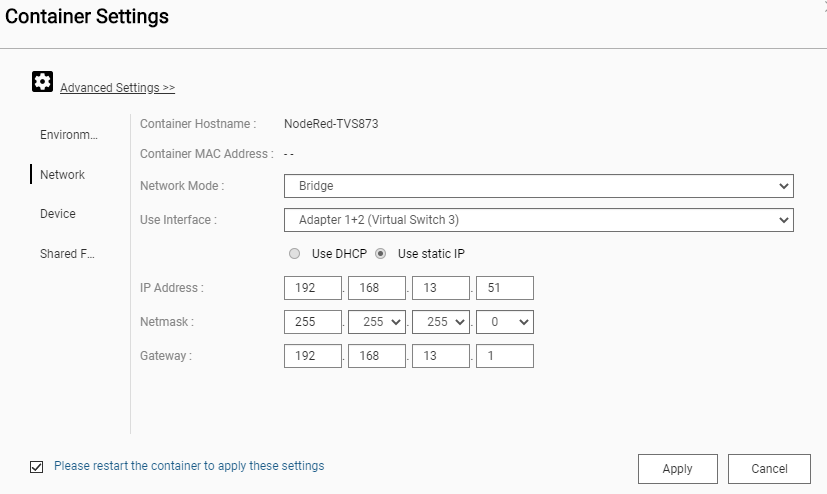
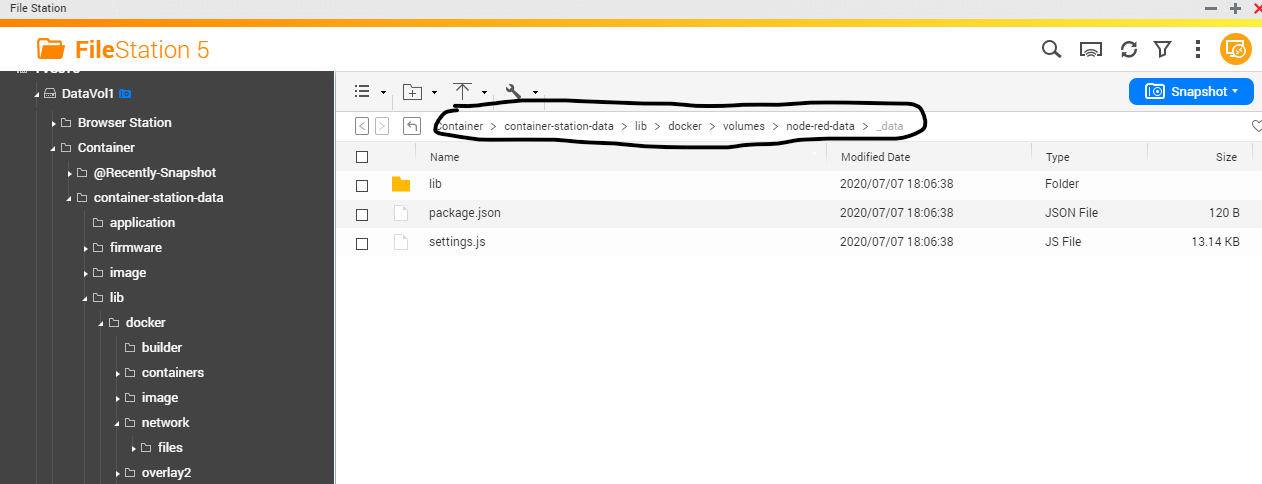
In Synology you can easily configure a mapping of the /data directory in the container through the interface.
EDIT: In order to use this feature with the newest version of NR you need to make some permission changes. Please see this post for details thanks @dcaton1220 for the assist ![]()
Once running see this thread for node-red hubitat configuration and uses. Enjoy Node-Red automating!


 Thx!!
Thx!!