I am a Wink refugee, and I made this to help other Wink refugees make the transition a bit easier. This is based on info I learned elsewhere on this message board, piecing together information.
When I made the migration from Wink to Hubitat, I was really concerned about losing the Wink App. Specifically because my family and I regularly use the Wink shortcut widgets and there is no equivalent Hubitat app yet. The web based dashboards are great but, and the Alexa/Google Home apps are decent, but none of those offered a homescreen widget like I had with Wink.
There are two alternative solutions I've found that both work well for setting up homescreen widgets on iOS. These will be similar to what you had with the Wink iOS app. (Homebridge + Homekit integration is slightly more complex, so I wont cover that here). My goal was to keep this as simple as possible.
Option 1 for Widgets) iOS Shortcut App. Built and maintained by Apple.
Option 2 for Widgets) IFTTT app.
Below is a step by step process for both of the options using the Hubitat Rule Machine to control virtually anything, almost identically to your old Wink shortcuts.
For this example we will create a shortcut that will turn on a few lights when you tap on the widget on your home screen on your iOS device.
The start of the process, the creation of the rule (similar to Wink shortcut), is the same regardless which widget app you prefer.
BEFORE WE GET STARTED - I assume that you already have your lights and other devices linked to Hubitat. There are plenty of other tutorials on how to hook up your z-wave or zigbee lights, etc.
Rule Setup Steps
-
Log into your hubitat portal https://portal.hubitat.com and open your hub.
-
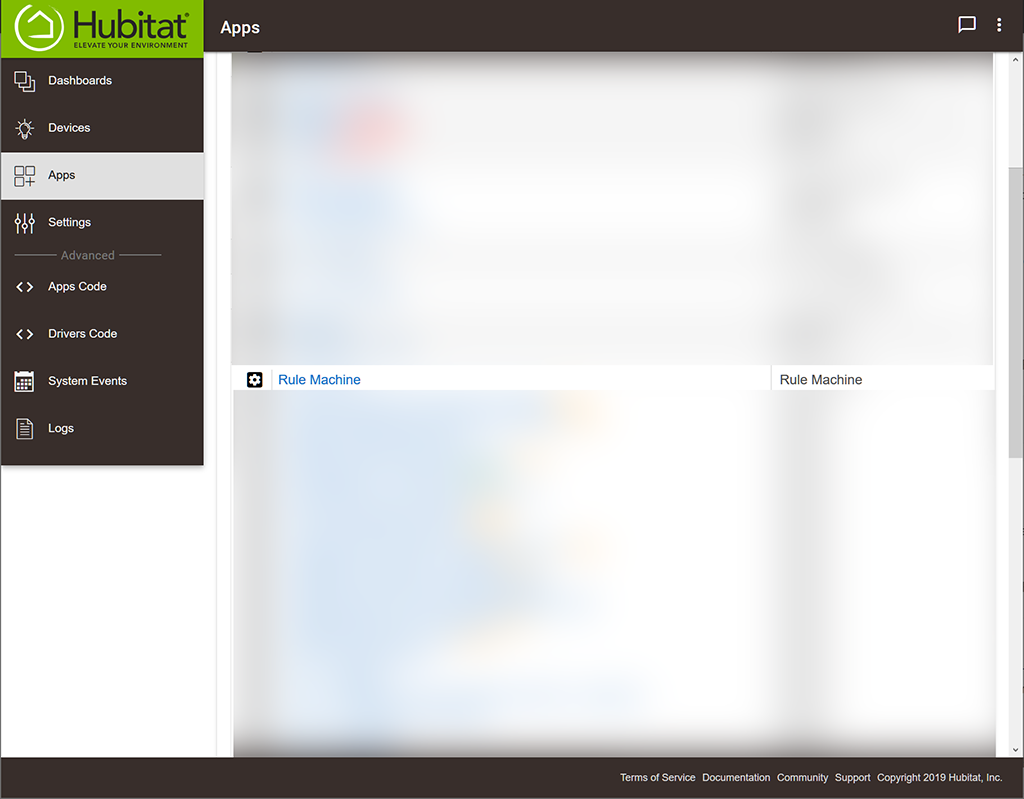
Click on "Apps" on the left hand column - apps give your Hubitat some additional abilities
-
Click on "Add built-in app"
-
Select "Rule Machine" from the list.
-
Click on the "Rule Machine" link. This is where we will start to create our Rule.
-
Click on "Create New Rule..."
-
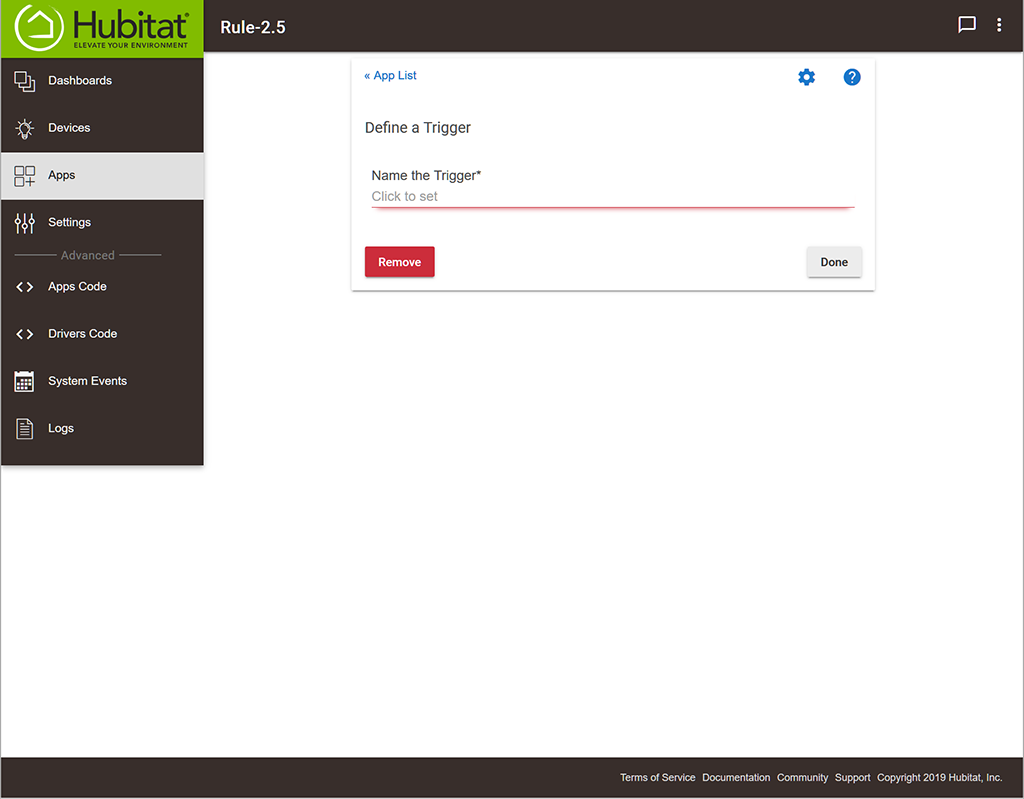
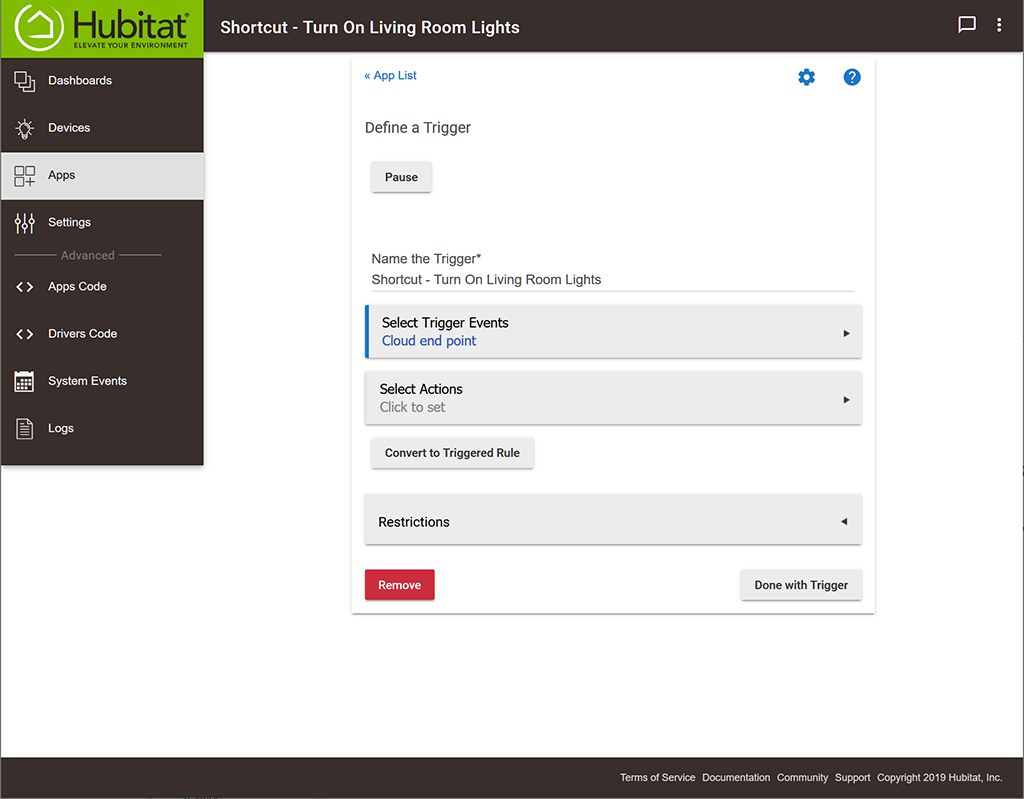
Click on "Define a Trigger" as this rule will be triggered when a specific URL is pinged by your widget, which we will get to in a moment...
-
Name your trigger - this can be anything you want. This name will not display in your widget. I'll call this "Shortcut - Turn On Living Room Lights" hit "Enter" on your keyboard
-
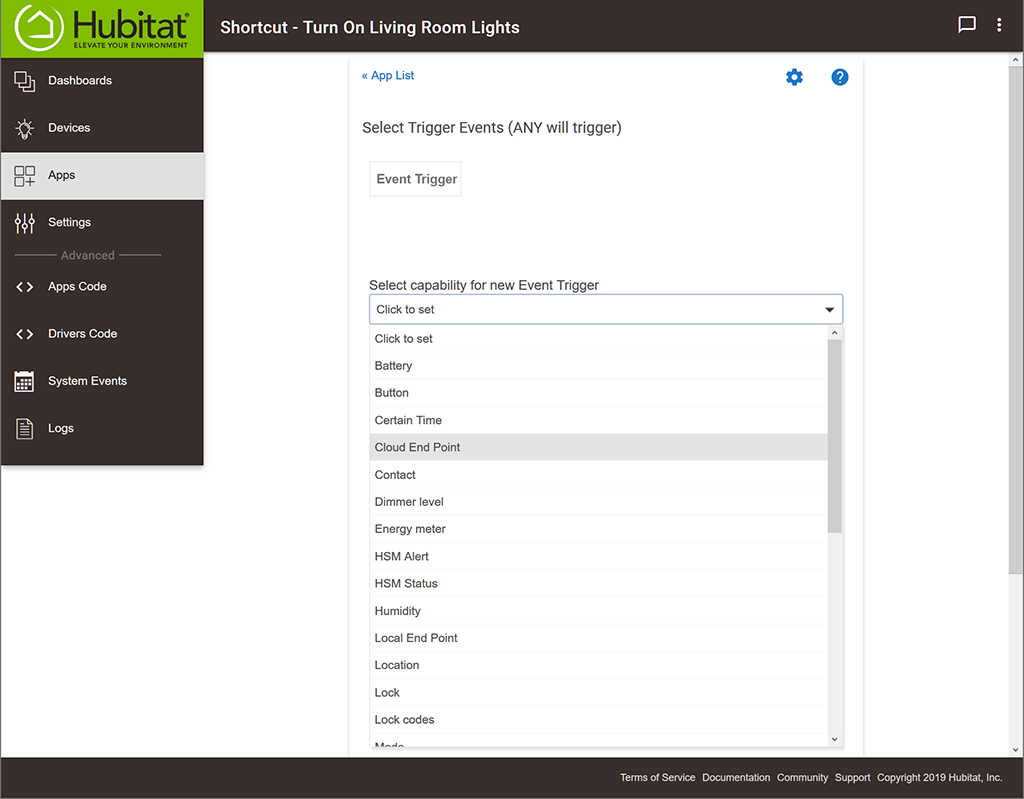
Click on "Select Trigger Events"
-
Under "Select capability for new Event Trigger" select "Cloud End Point"
-
Right/Command Click on the link "Cloud End Point URL" and copy that URL. Paste it into Notepad/Text Edit because we will want this URL when we create our widget. This URL is unique to this trigger. Any time that anything goes to this URL (open it in a web browser, for example) it will "trigger" this event (shortcut).
-
Click on "Done with this Trigger Event"
-
Click on "Done with Trigger Events"
-
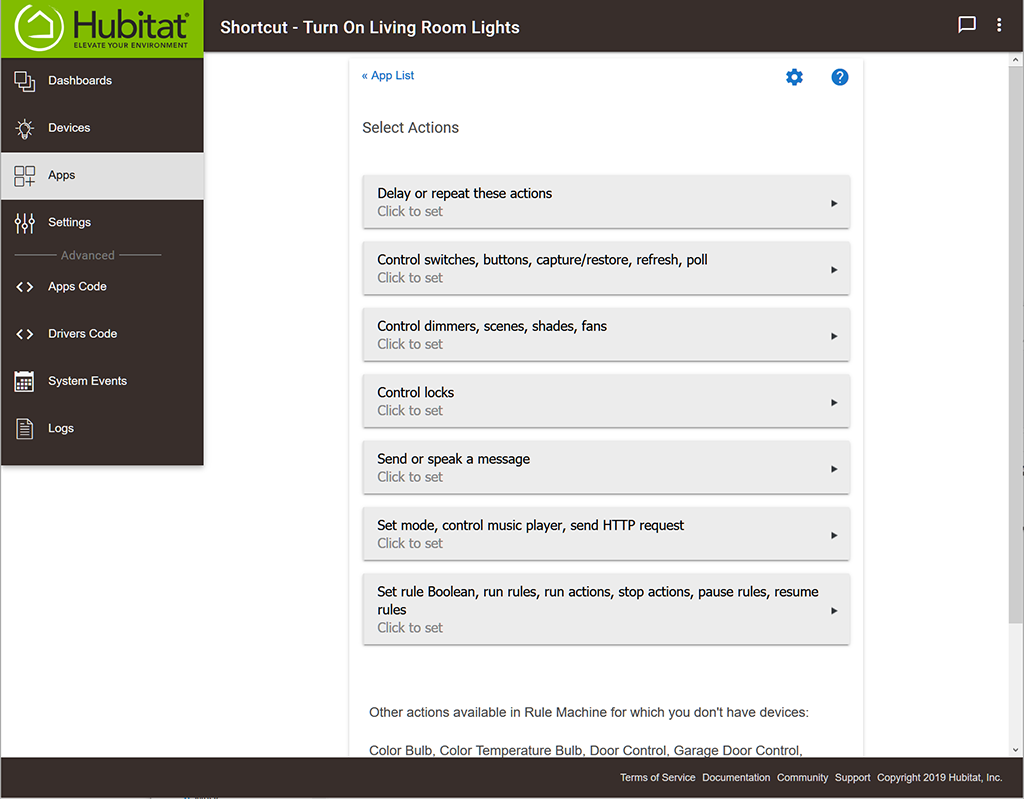
Click on "Select Actions" - this is where we tell Hubitat what to do when you tap on the widget we will create.
-
As you can see, there are a LOT of things you can do - but we're going to build something simple first so click on "Control dimmers, scenes, shades, fans"
-
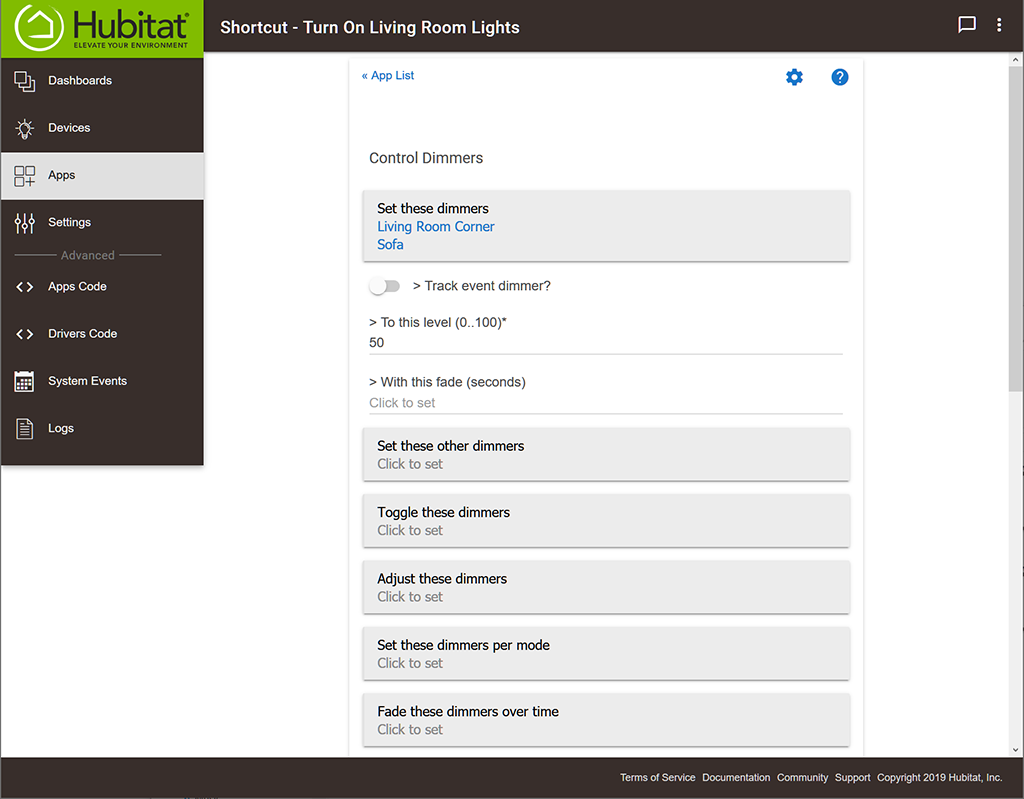
I want two lights in my living room to turn on at 50% brightness when I tap on the widget, so select "Set these dimmers" and select the lights we want to control. In my example, I'm selecting my "Living Room Corner" and Sofa" light devices.
-
Then click "Update"
-
Where it says "To this level" type "50" which is what tells these lights to turn on to 50% brightness (or down/up to 50% brightness if they were already on when the widget is tapped)
-
Scroll all the way down and click on "Done"
-
Scroll all the way down and click on "Done with Actions"
-
Click on "Done with Trigger"
-
Test your trigger by opening any web browser, and going to the URL from step 11 - the "Cloud Point URL". If you open this URL in any web browser, it should trigger your rule, and your lights should turn on as you expected! Note: you might see some strange text in your web browser, but you can disregard this.


22) NOW WE ARE READY TO MAKE OUR HOMESCREEN WIDGET!
Starting with iOS Shortcuts app widgets first - I like these a bit better. I find them to switch things on and off faster. I have more control over the colors and the icons that display that makes my family happy.
SHORTCUTS APP steps:
Step 1: Email, text, whatsapp, etc yourself a message with the URL from step 11 above - the Cloud End Point.
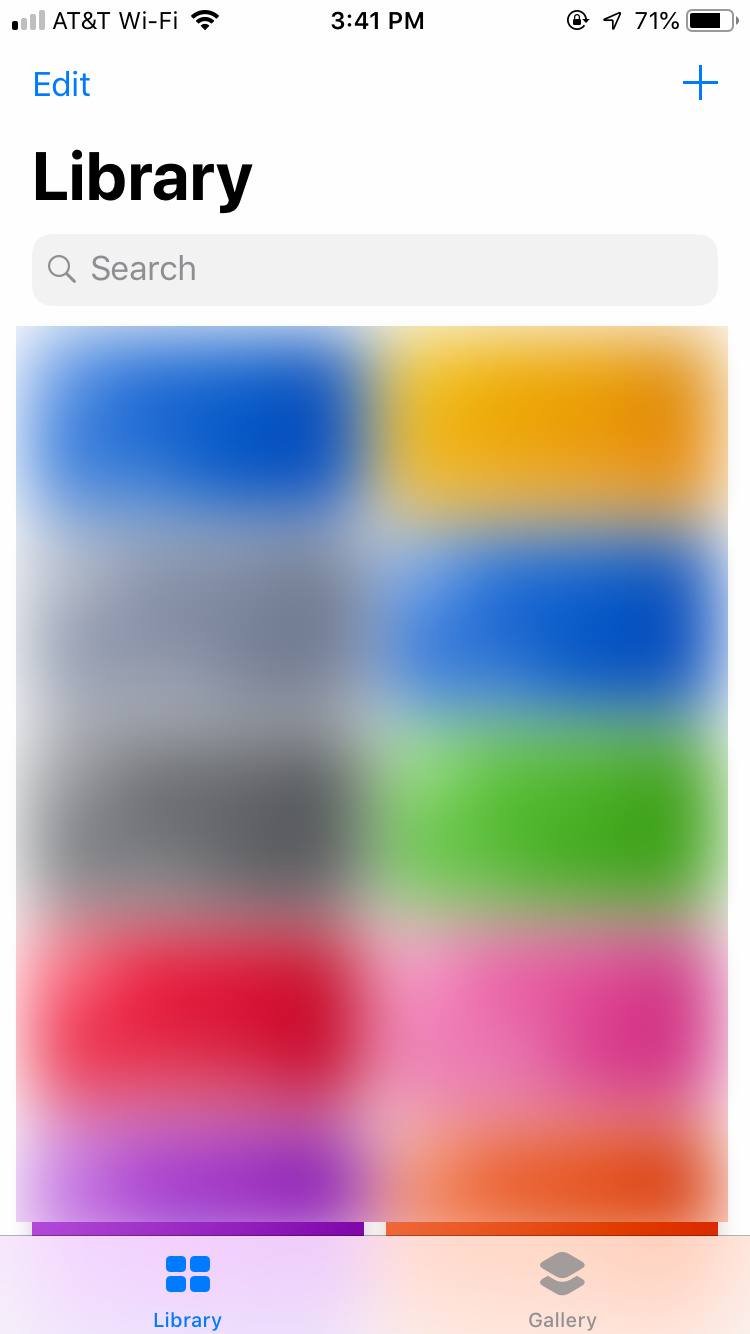
Step 2: Open the Shortcut app and tap at the + icon at the top. If you don't see the + icon, skip to step 3
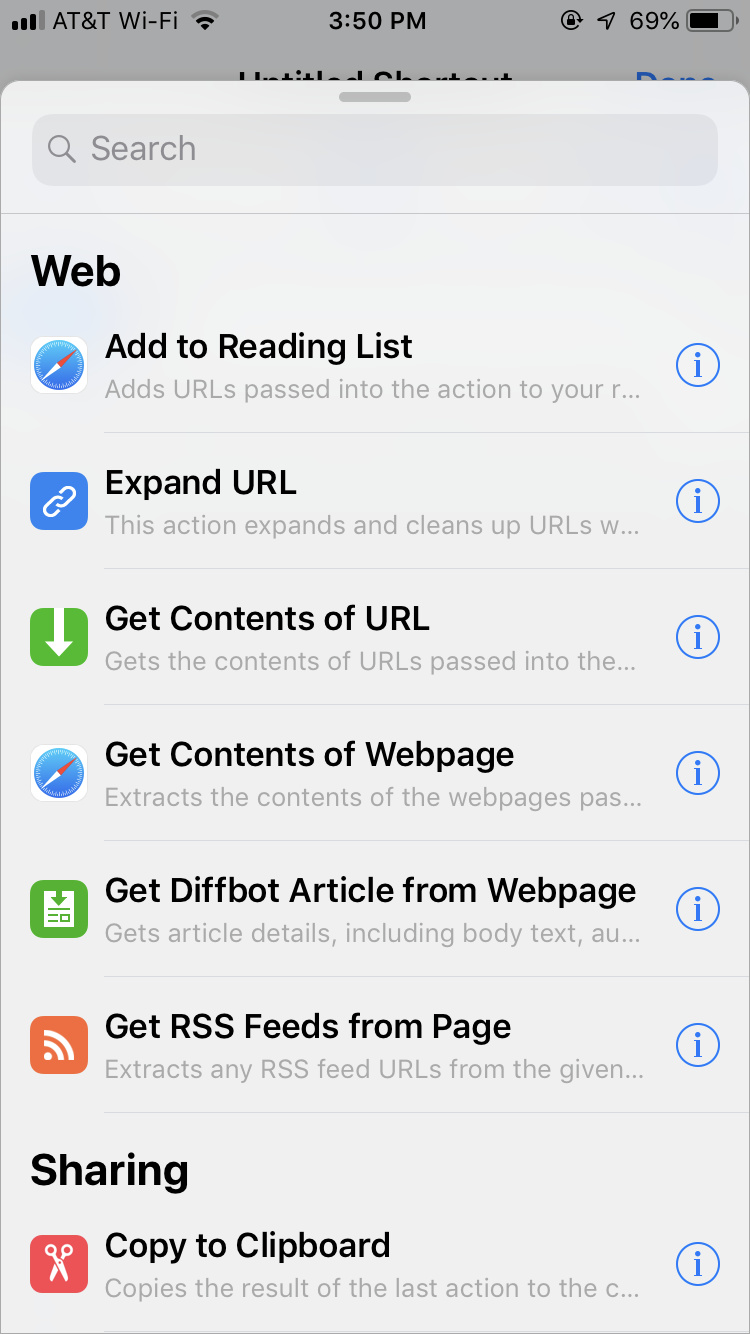
Step 3: At the bottom, swipe up and keep scrolling/swiping all the way to the bottom until you see "URL" and tap on "URL"

Step 4: Paste the URL for your Cloud End Point (step 11 above) into the URL and hit "Done"
Step 5: At the bottom, where it says "Search" Swipe up again and select "Get contents of URL"
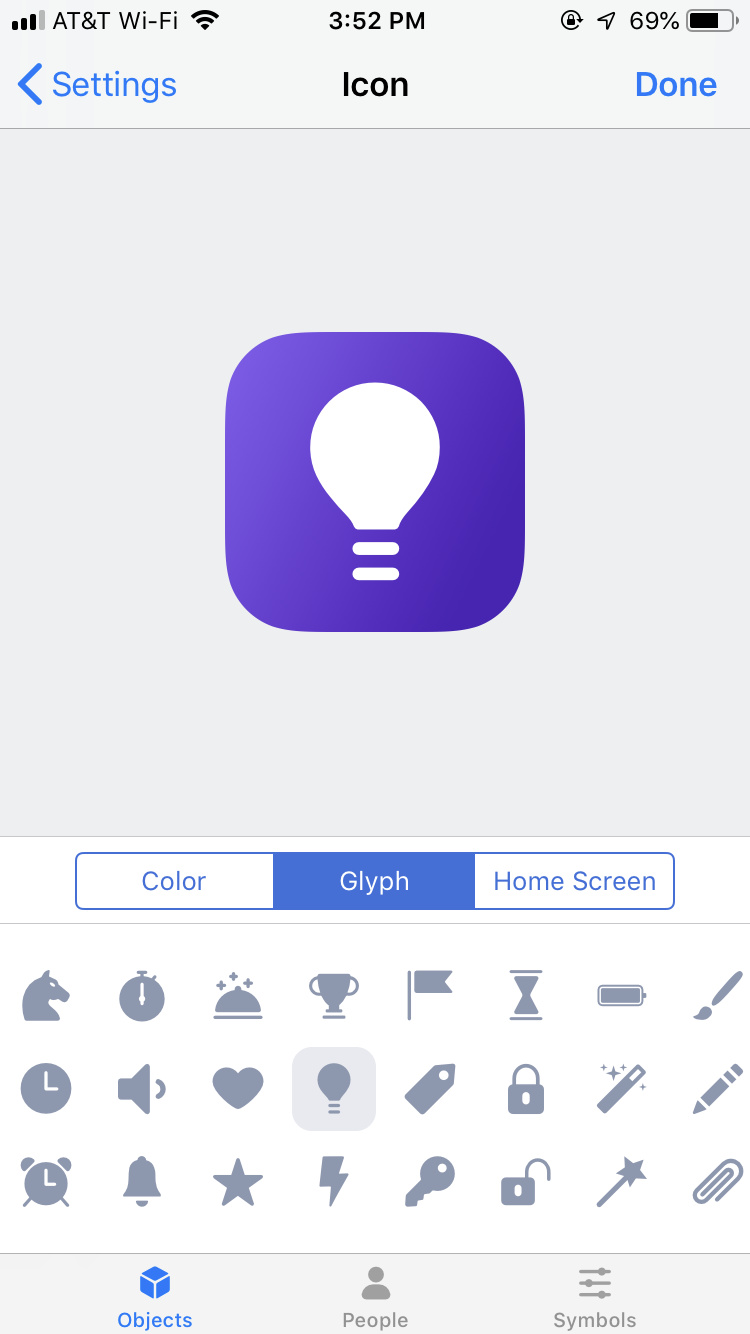
Step 6: Tap the little Control Panel icon in the top right under "Done" so we can name our Widget, and change the icon (if you wish).
Step 7: Select any color you like, then tap on "Glyph" to change the icon then hit "Done"
Step 8: Make sure "Show in Widget" is selected and hit "Done" then tap "Done" one more time. Once you have more Shortcut widgets, you can move them around just like you move apps on your home screen - just long-press them.
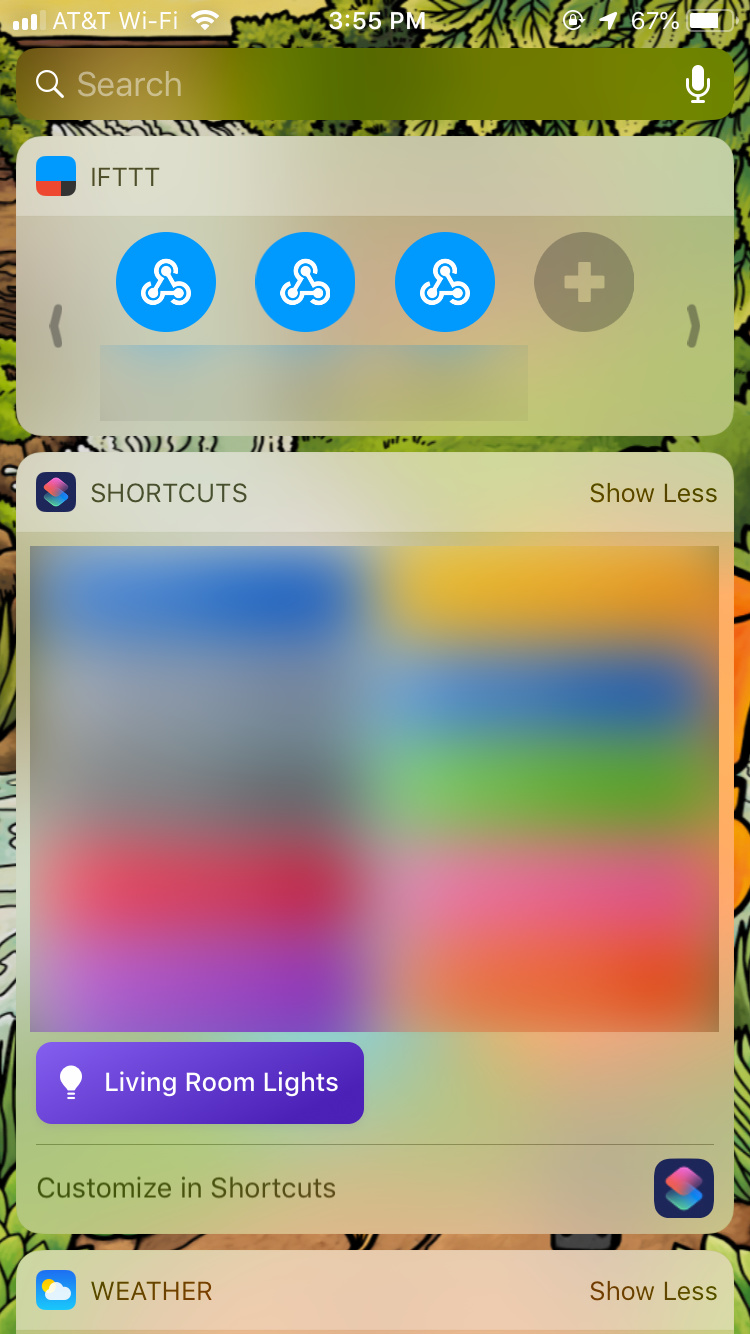
Step 9: On your phone, go to your home screen, swipe left to see your widgets - scroll to the bottom and tap "Edit" then select "Shortcuts". Tap on "Show more" or "Show Less" to suit your tastes.
Step 10: Test everything by tapping on your widget. Your lights should turn on!
IFTTT APP Steps: If you prefer IFTTT, here are the steps to setup these widgets. I find that IFTTT runs a little slower than the iOS Shortcut apps as the IFTTT widget must first reach out to IFTTT servers and then it runs the widget, vs the Shortcut app just pinging the URL behind your rule trigger right from your device.
Step 1: Email, text, whatsapp, etc yourself a message with the URL from step 11 above - the Cloud End Point.
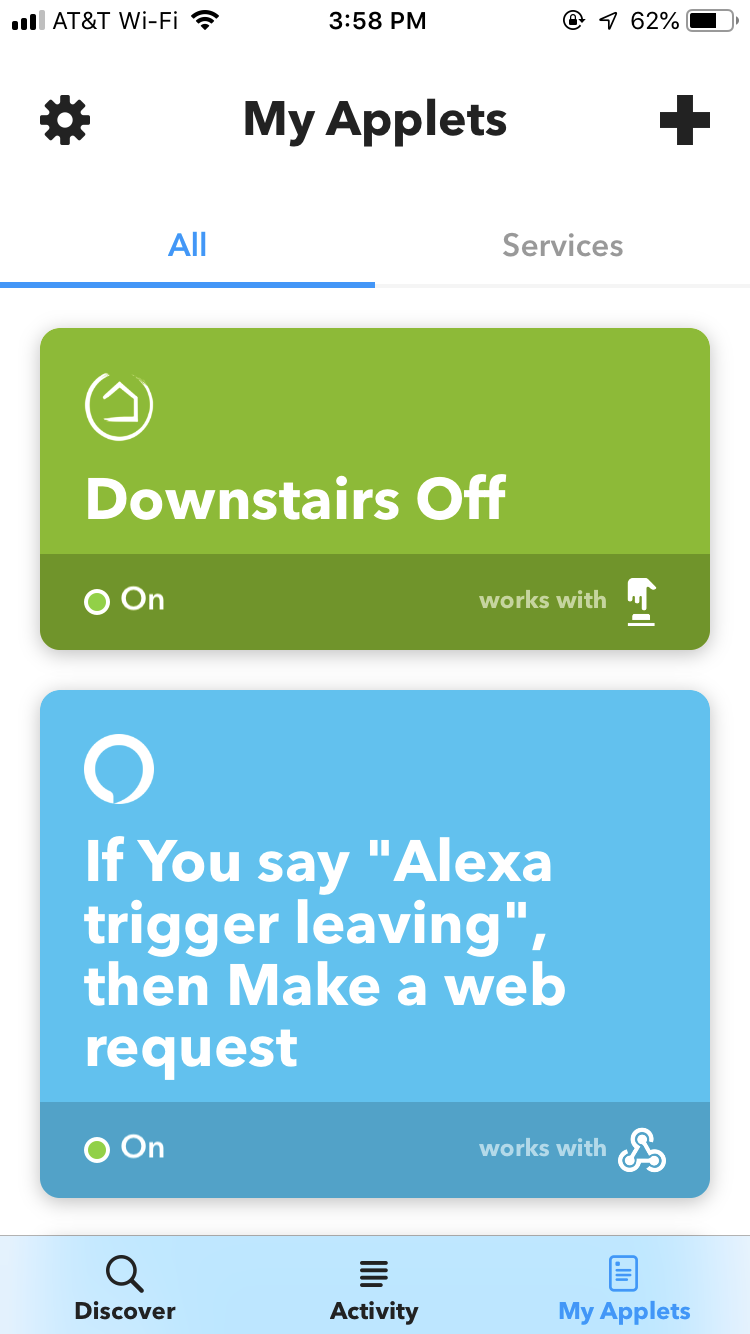
Step 2: Open the IFTTT app and tap on My Applets

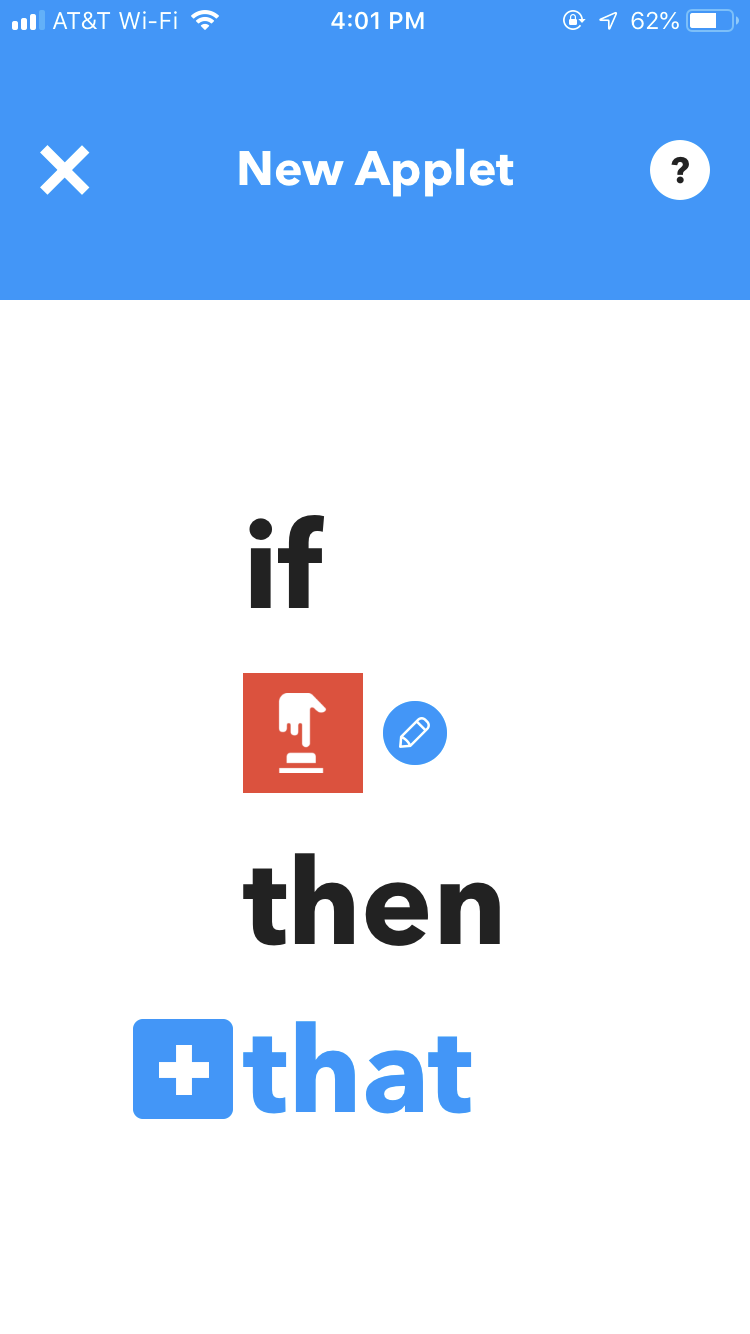
Step 3: Tap on the + icon at the top right of the page.
Step 4: Tap the + icon next to "this"
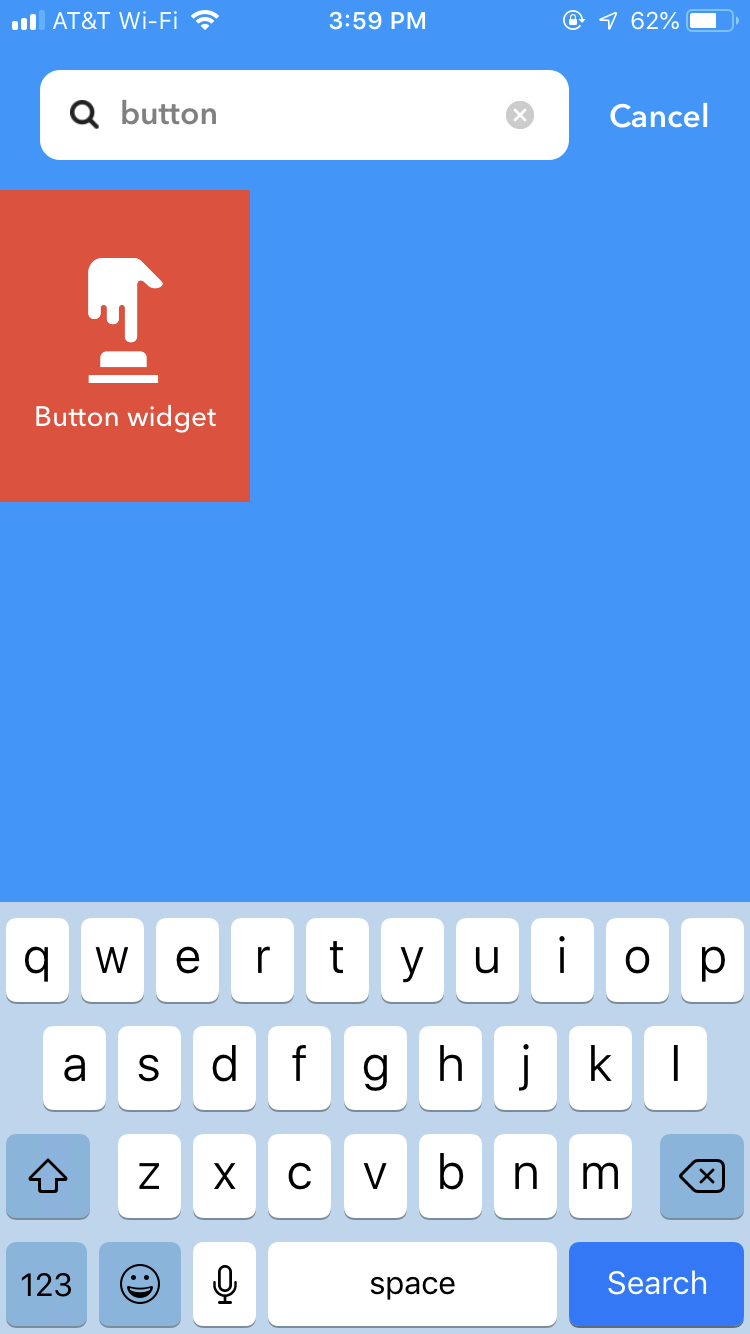
Step 5: Search for "Button" and select button widget
Step 6: Tap on "Button press"
Step 7: Tap on the + icon next to "that"
Step 8: Search for "Web" and tap on "Webhooks"

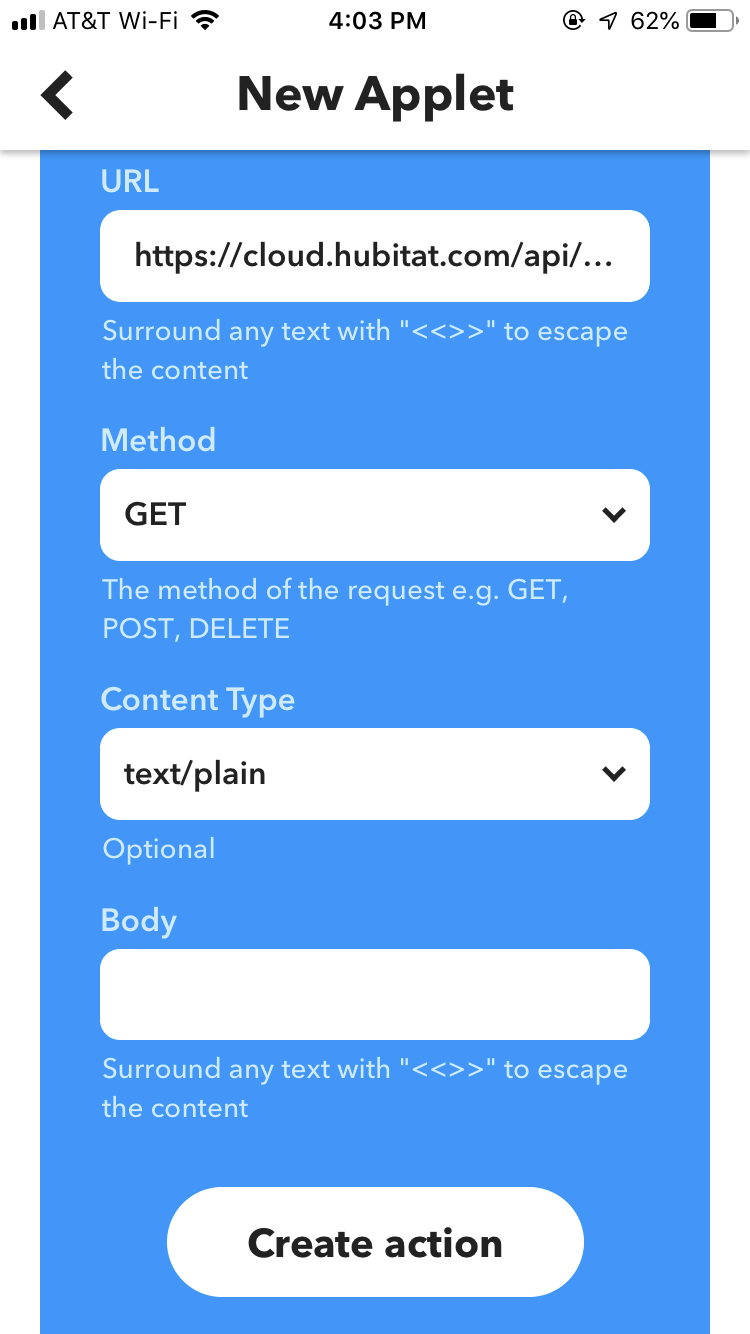
Step 9: Tap on "Make a web request"
Step 10: Paste your URL from step 11 above (Cloud end point) into the URL field. Leave "Method" set to "Get" and change the Content Type to "text/plain". Then tap "Create action"
Step 11: Tap on Edit Title and change to something like "Turn on lights" and then "Finish"

Step 12: In the footer, it will say "This aplet requires a widget to run" tap on "Go" if you want, or "Not Now".
Step 13: On your phone, go to your home screen, swipe left to see your widgets - scroll to the bottom and tap "Edit" then select "IFTTT".
Step 14: Test everything by tapping on your widget. Your lights should turn on!
Note: You can change the order of the widgets in IFTTT. Open IFTTT, go to the main screen, then hit the gear icon, and tap "Widgets" to change the order.
Now you have widgets on your home screen just like with Wink shortcuts. You can now create as many widgets as you like, to activate anything you can imagine through Hubitat! Have Fun!!
EDIT: MARCH 14, 2021. A lot has changed since I originally created this guide.
- Hubitat has an app now (but no widgets yet)
- Hubitat is currently on Rule Machine 4.1 so the interface looks a bit different, but you still want the Cloud End Point Trigger
- iOS has overhauled the UX of their Shortcuts app. The above instructions instructions will still point you in the right direction, however.


