I have a final solution. I am going to document this for everyone, so please bear with my verbosity.
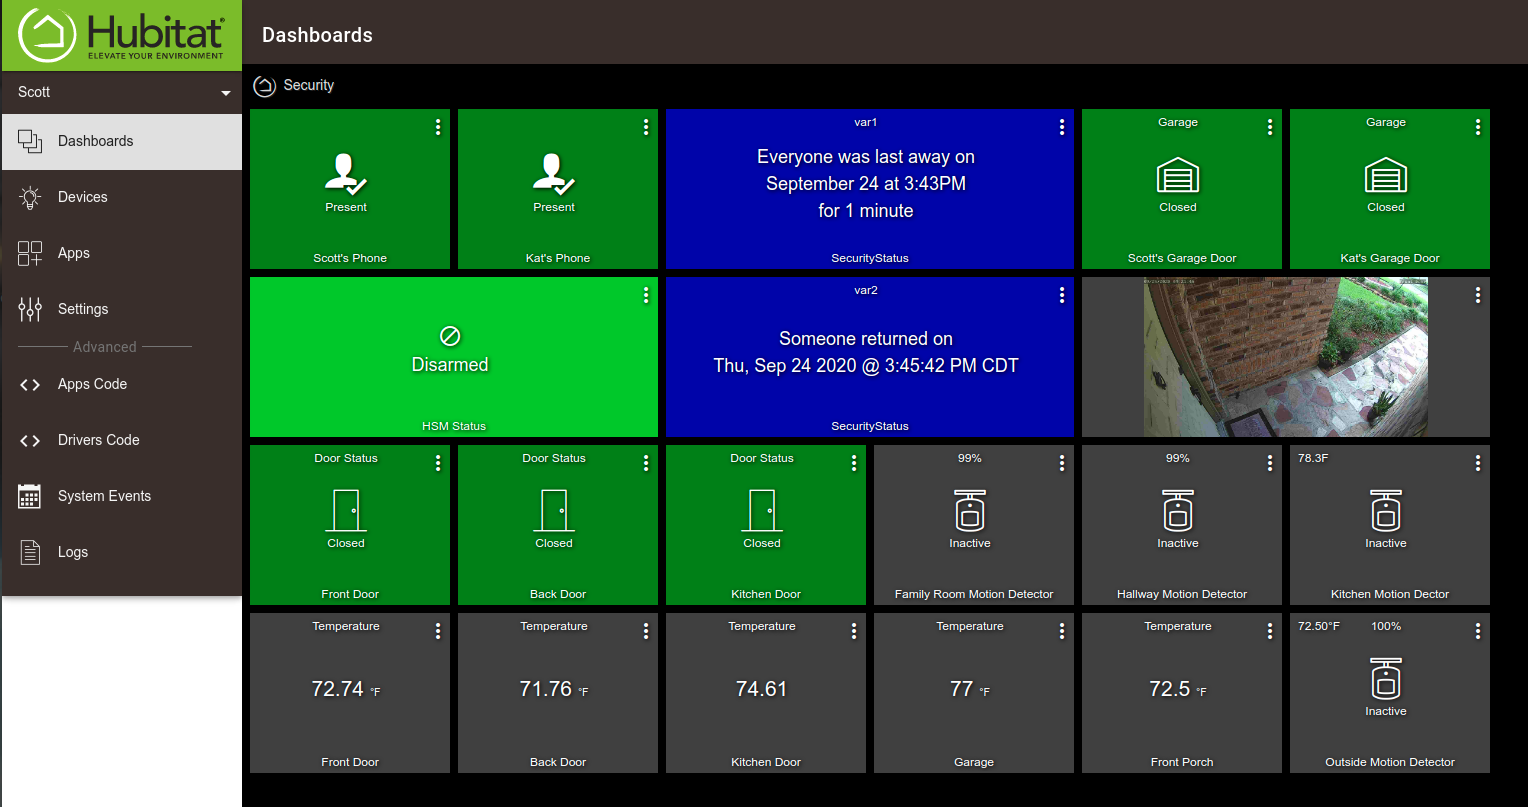
I had used an image template tile in a dashboard to display an image from one of my cameras since RTSP is not supported as an embedded format in a dashboard. I decided to display JPG images from several of my security cameras in different dashboards.
I selected the option in the image tile to enable a 5 second refresh on the image. This worked fabulously from inside my network, but failed miserably from the HE Cloud dashboard when outside my network.
As @markus so adeptly pointed out and @dpdurst also noted, you cannot mix https and http resources in the same page on most modern browsers. I knew this, but overlooked this feeling as though I had some firewall issue.
Realize that most network based cameras today usually offer a video stream via RTSP and a snapshot frame capability via http. You won't find a camera typically with an SSL certificate installed on it to allow https.
So, I created what I believe is the leanest approach to a solution.
-
I have a registered domain name. Mine is on google, but you can go to Cloudflare or another provider and register a domain name. My domain name at google is a mere $12 a year.
-
You need the registered domain in order to register SSL certificates. I use "Lets Encrypt" certificates because they are FREE self signed certificates, the only downside being they expire every three months.
-
Create a DNS name at your DNS provider for each of your cameras. If you have a typical ISP with one IPv4 address, then all your camera names will map to that one WAN address of your router. What??? Don't worry.
-
Go over to https://nginxproxymanager.com/ and run an instance of NginX Proxy Manager on a Raspberry Pi or your NAS (something that is up and running 24x7 on your network). NginX Proxy manager is a Docker image that is NginX Reverse proxy with a beautiful management front end and a mechanism that lets you register Lets Encrpypt SSL certificates on it and also handles auto-renewal of said certificates.
-
Create a VLAN. Allow this VLAN access to the WAN and allow Established and related sessions from your MAIN LAN to this VLAN. Deny all traffic originating on this VLAN back to your MAIN LAN. What??? This is an IoT network. I put my cameras, smart speakers and other untrusted things on it for security purposes. My VLAN name is ATF-Corral. Inject Humor
-
So, now you use NginX Proxy Manager to create a proxy for each of your cameras. Basically, the DNS name points to the camera local LAN address on port 80 on the IoT VLAN. Be sure to request an SSL certificate for each of the proxies. Also turn on the force SSL Switch.
-
Now, when you enter the image URL in your HE Dashboard tile, it can be something like the following depending on your camera brand: https://camera1.mydomain.com/action/snap.cgi?user=user&pwd=pass
So, this doesn't really encrypt the image coming back from the camera, but it allows the embedded URL for the image to be https which will get around the problem that @markus described.
You can also use NginX Proxy Manager's built in Web GUI to create a redirection host which can bury the camera string and authentication in NginX Proxy Manager instead of exposing it in a tile.
If all this scares you, tag up with me and I will be glad to answer your questions. The end result that I have are dashboard images with camera shots that refresh every 5 seconds both inside and outside my network.