[BETA] Hive Thermostat and Receiver Driver with Device Health Status

After British Gas bought AlertMe back in the day, they created a spin-off company called Hive and brought out this Thermostat and Receiver combo.

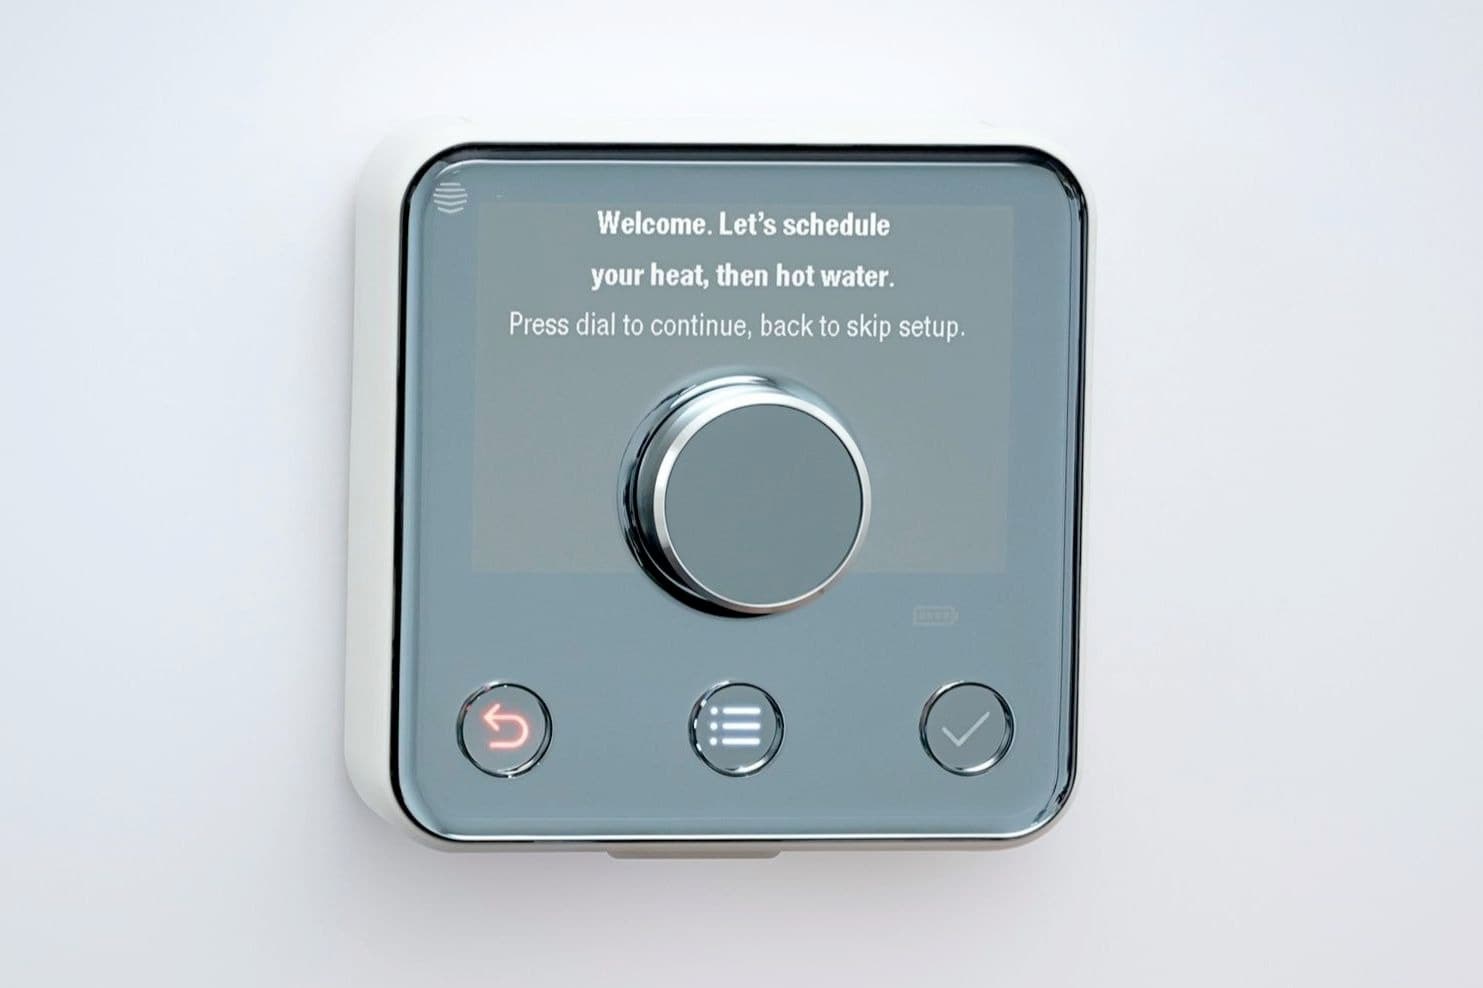
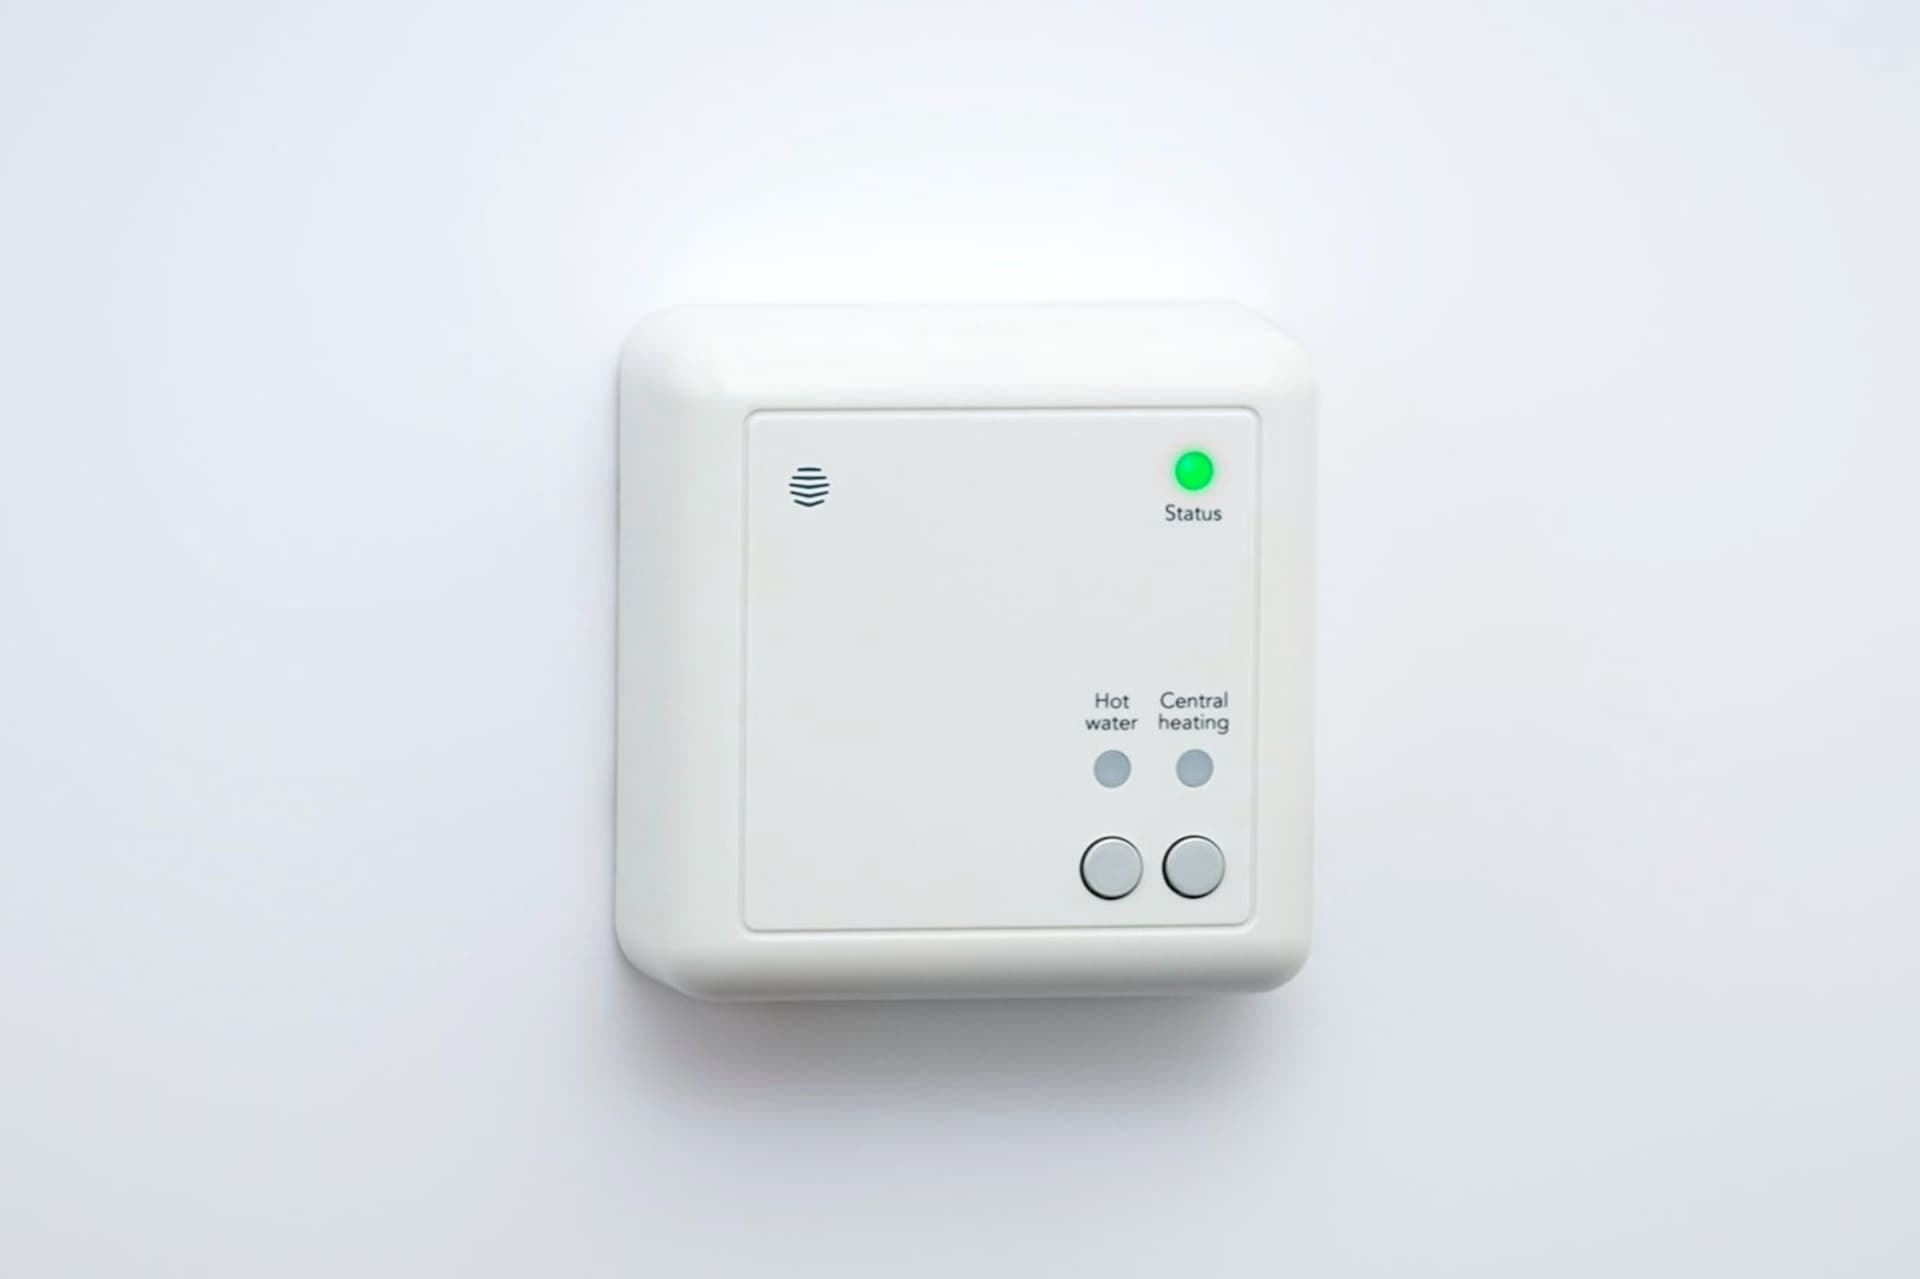
They call it Hive Active Heating and it works very well. The Thermostat is wireless and handles heating and hot water scheduling. It talks to the Receiver, wired to the boiler, which is the brains of the operation.

The system is very popular here in the UK and it's nicely implemented. Though remote control and their app rely upon your internet connection and the Hive hub, local control is truly local and the system can operate without any hub at all, with the Thermostat and Receiver able to communicate directly with one another.

This was my last remaining Hive component and I wanted to retire that system from daily use, so I decided to bring the system to Hubitat.

Please read all of these instructions before taking the plunge, particularly the Things To Know section. Importantly, this has been tested with the Hubitat hub powered off and independent control works as expected. Hubitat is not required to keep your heating operational.

Installation

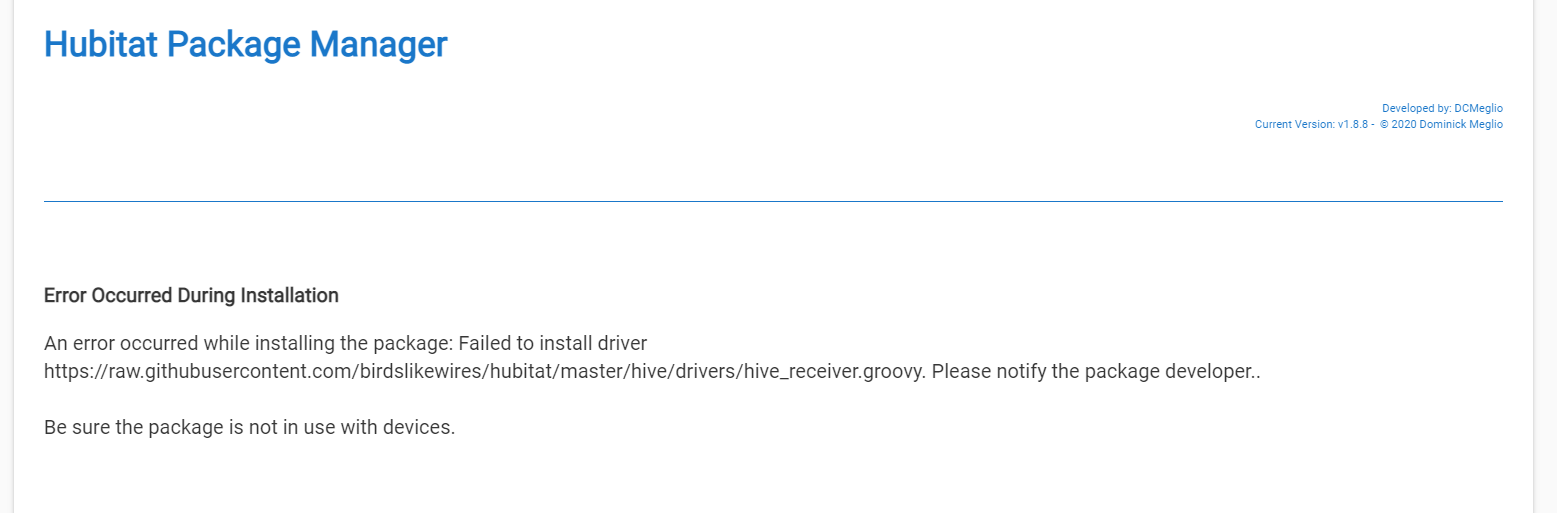
Search for the keyword "Hive" on Hubitat Package Manager and you should see "Hive Drivers from BirdsLikeWires". Requires HPM v1.8.7 or later. Or install manually from the links below.

All three components are required and the Library is installed through Developer Tools > Bundles > Import ZIP, though HPM is the easier way to go.

Pairing

Follow these steps and make sure Hubitat is in pairing mode when you put the batteries back into your thermostat, otherwise it will only peer with the receiver and won't pair with Hubitat. This will still work perfectly fine, you'll just not see the battery level of the thermostat in Hubitat.

Hot Water is not currently supported in the driver.
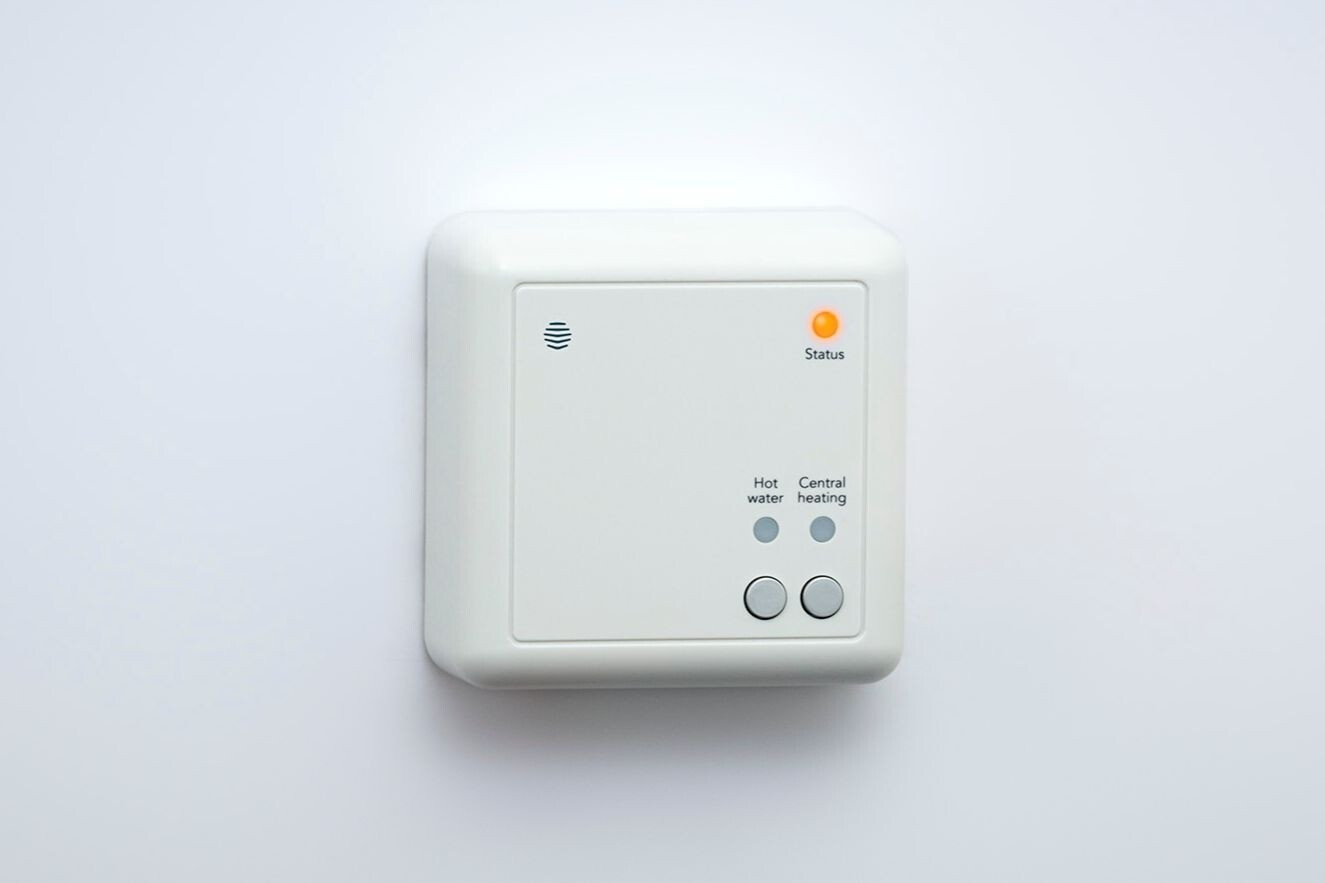
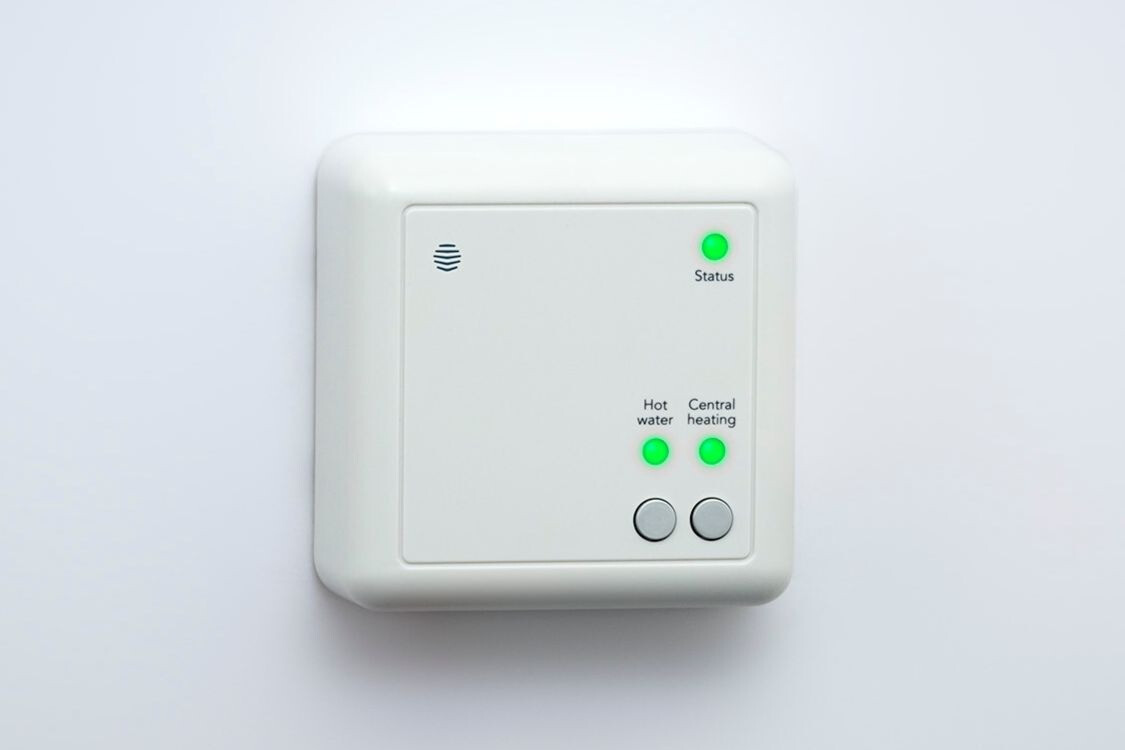
If you have the SLR2 Receiver pictured your hot water will still work perfectly through the Thermostat, but no information or controls will currently be shown in Hubitat.

Be sure the date and time are correct on Hubitat.
This is used to set the date and time on the heating system. You may wish to use an NTP Client on your Hubitat hub to keep things accurate.

  1. Switch off your boiler. This should also power off your Receiver.

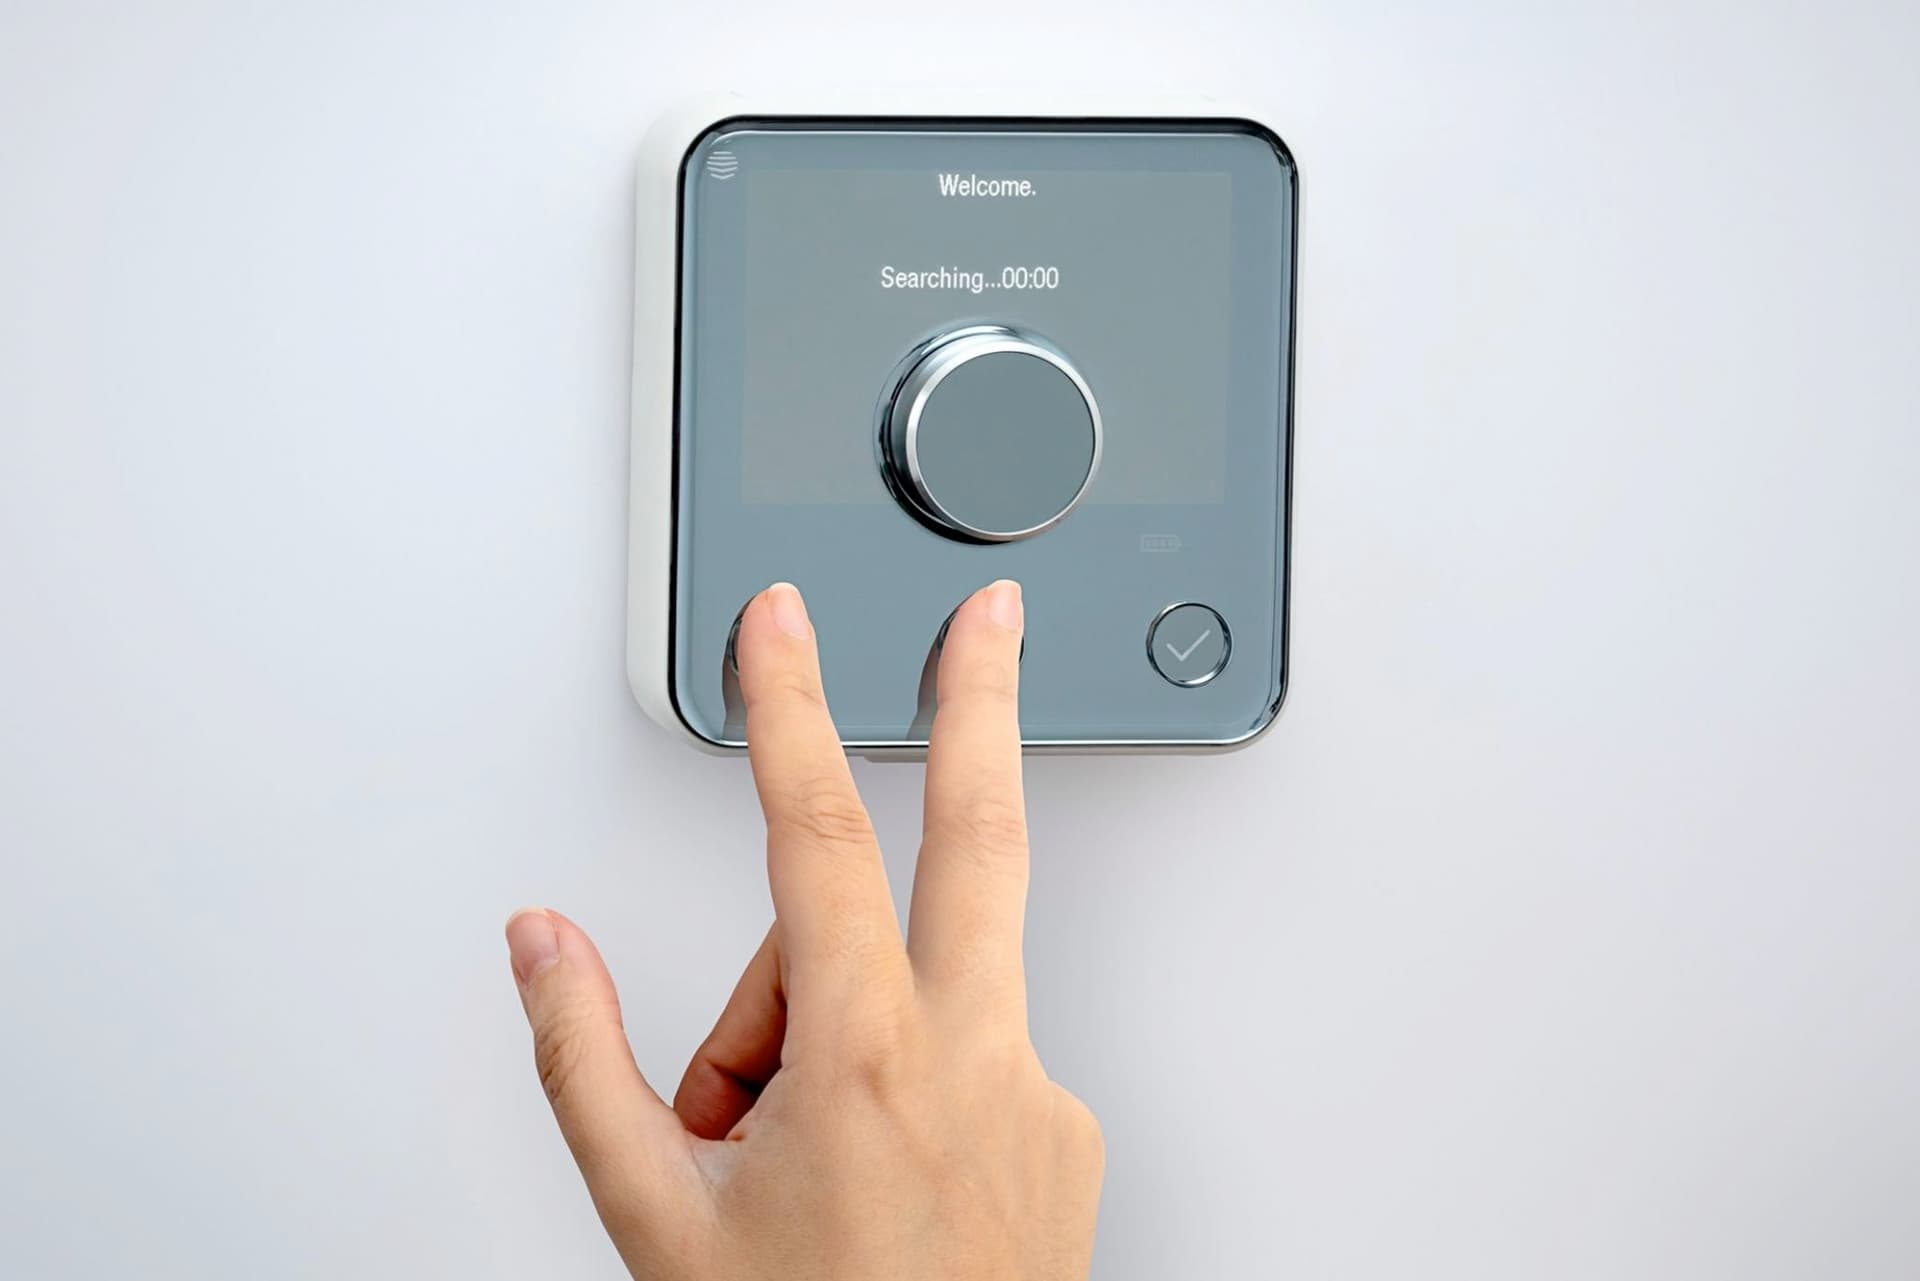
  2. Press and hold down the back arrow (left button) and the menu (middle button) on the Thermostat. Keep them held down until the Thermostat shows "Searching..." on the display.

  3. Remove a battery from the Thermostat. You only need to remove one to power the unit off.

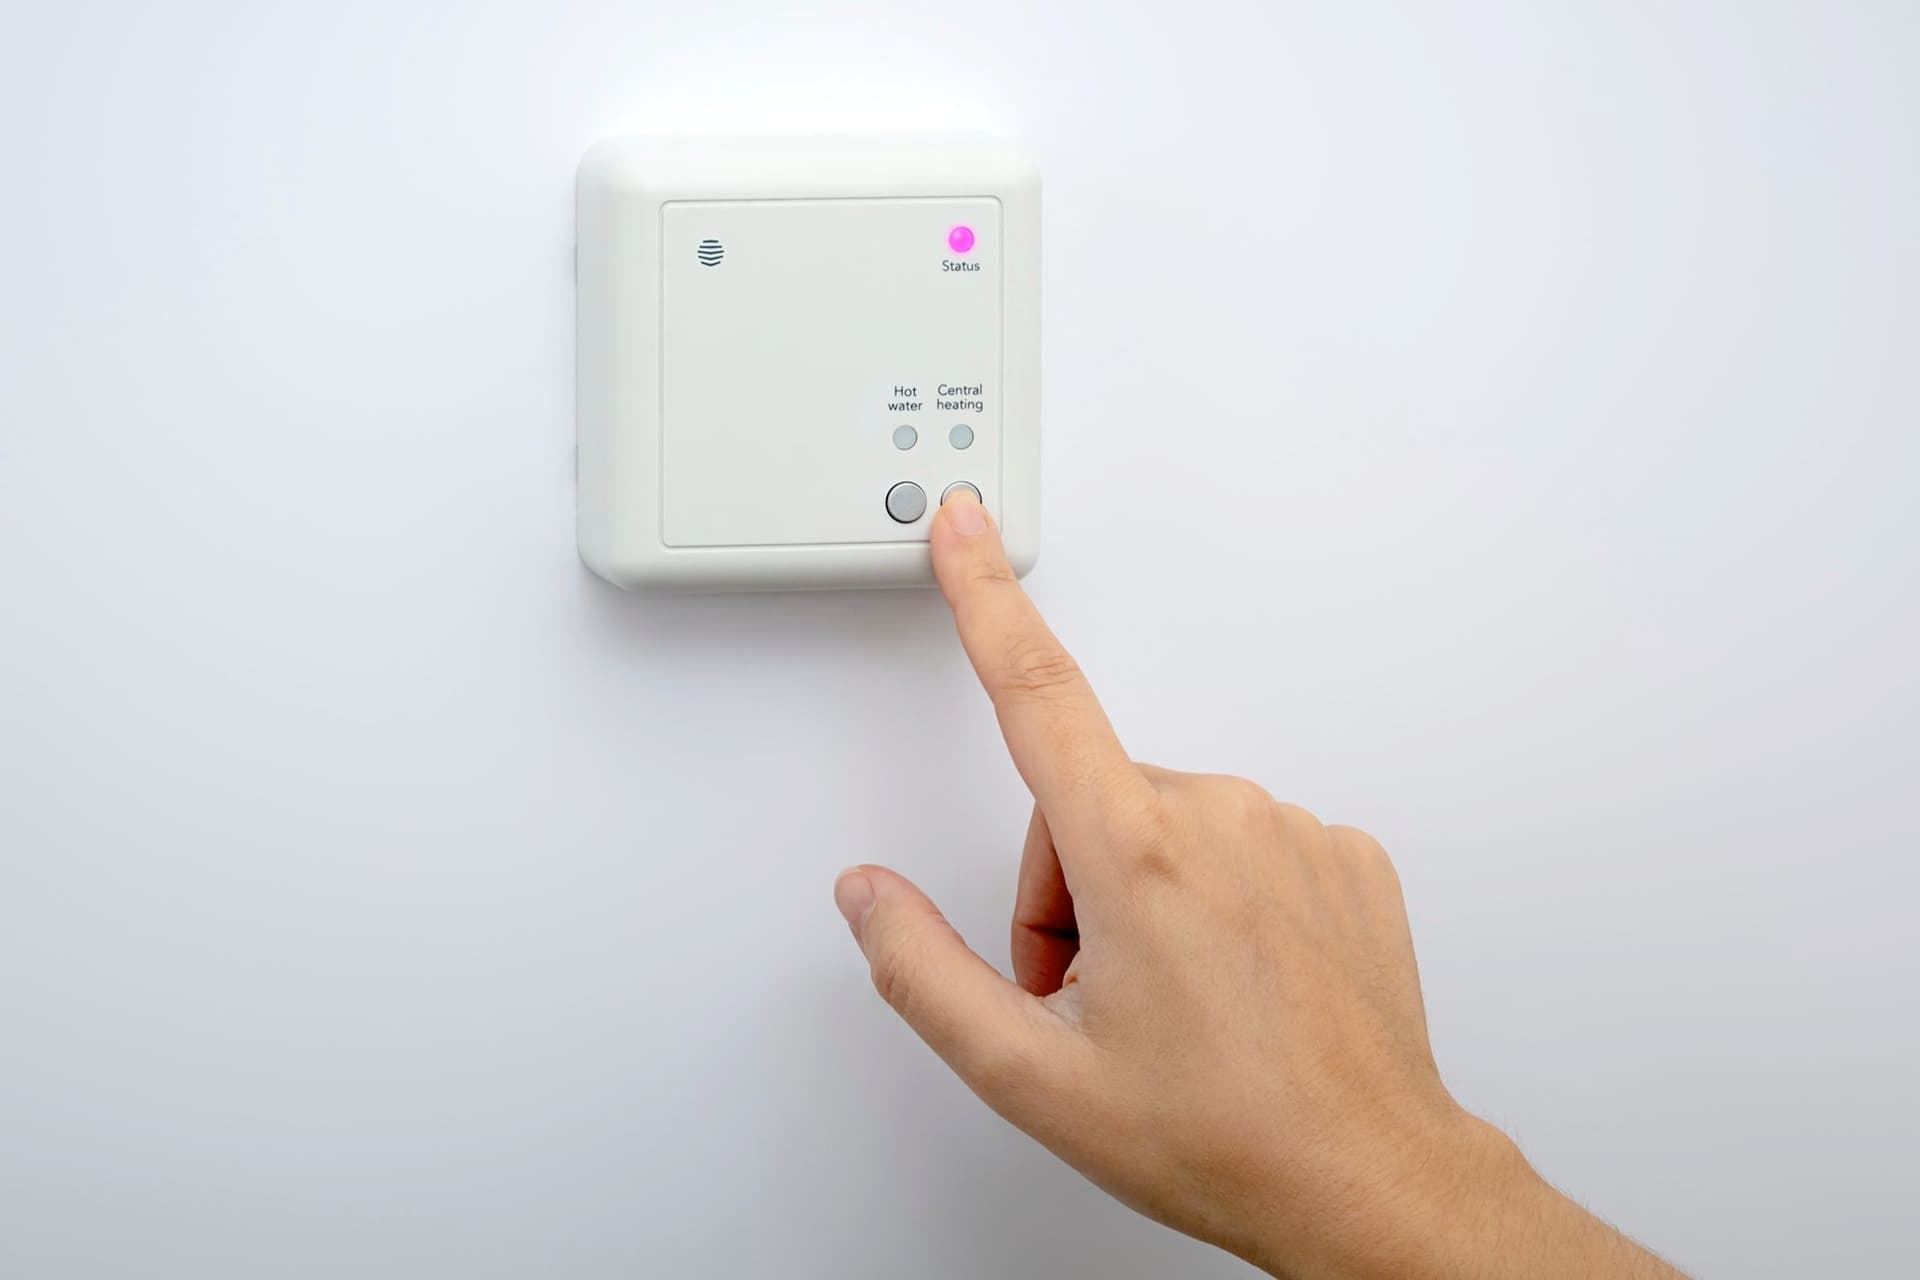
  4. Switch the boiler back on. The Receiver's status light will flash either pink or amber.
    Wait until it turns solid green.

  5. Put your Hubitat hub into pairing mode:

    Devices > Add Device > Zigbee > Start Zigbee Pairing

    Make sure the hub stays in pairing mode throughout the rest of the process. If the 90 second counter ends, click Start Zigbee Pairing again before continuing.

  6. Press and hold the Central Heating button on the Receiver until the status light is flashing pink.

  7. Release the Central Heating button on the Receiver, then press and hold it again until the status light is double-flashing amber.


    After a few seconds the Receiver will pair with Hubitat and the status indicator will change to a single-flashing amber. The Receiver is now waiting for the Thermostat.

  8. Check that Hubitat is still in pairing mode. If you only have a few seconds remaining, choose Stop Zigbee Pairing and then click Start Zigbee Pairing to begin a new countdown.

  9. Put the battery back into the Thermostat. It should display "Searching..." once again. After a few seconds the Thermostat will peer to the Receiver and pair with Hubitat.

    Once you see "Welcome" on the Thermostat screen the process is complete. Set up your schedules using the guided tour on the Thermostat.


  10. The status indicator on the Receiver should now be green.

    Name and save your devices on Hubitat.

When viewing Hubitat's Devices list you will see a "child driver" against the entry for your Receiver with the type Hive Receiver Heating. It is this device which contains the controls and states for your heating and is the one to use for creating rules and automations.

Commands

The most common commands are as follows:

  • Auto - sets the system to run the programmed schedule
  • Emergency Heat - sets boost mode for 30 minutes
  • Heat - sets the system to manual mode
  • Off - turns the system 'off', though it's really in frost protect mode
  • Set Heating Setpoint - sets the target temperature

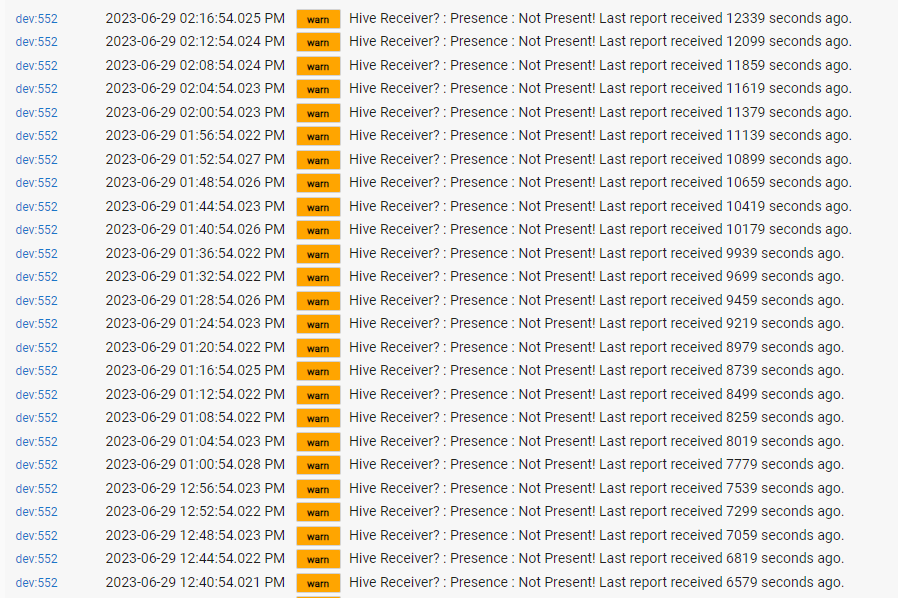
Cool and Set Cooling Setpoint mirror the actions of Heat and Set Heating Setpoint but generate a warning in the log that this is a heat-only system.

The Fan controls do nothing except generate a warning in the log that there are no controllable fans.

Things To Know

  • Hot Water
    If you have a traditional heating system with tanked hot water and you're using Receiver Model SLR2 (pictured in the instructions) there's currently no control or visibility of the hot water element within Hubitat. It will work perfectly fine, it just doesn't show in Hubitat.

    This is, so far as I can tell, a Hubitat issue to do with binding to multiple endpoints on the same device. I do plan on creating a second child driver for hot water which simply polls for updates, but that's more resource intensive (and less responsive) than just having the thing report in when something changes.

  • Scheduling
    Programming the schedule in the Receiver is only done through the physical Thermostat. There is no recreation of the nice browser-based editor from the Hive website.

    Shown as Auto mode in Hubitat this schedule runs completely independently of your Hubitat system and is The Right Way To Do Things. The fewer devices in the chain, the fewer things there are to go wrong.

    If you wish, you can have Hubitat run your schedule using the built-in Thermostat Scheduler app. Simply place your system into manual mode using the Heat command, then program your schedule in Hubitat. Be aware that you are now reliant on the operation of your Hubitat hub for your schedule to run.

    Implementing schedule programming of the Receiver in Hubitat is entirely possible, but it's likely more effort than it's worth. Somebody would need to sniff the schedule format from the Zigbee transmissions, recreate them in the driver and create a useable interface for folks to create their schedules, all of which can already be done on the Thermostat, which you already have. If somebody sees this as a challenge, please have at it! :joy:

  • Retiring Your Hive Hub
    Make sure you're not paying any ongoing subscriptions that you won't be using! If you're not using any other devices with it, unplug the Hive hub and keep it in your drawer of Interesting Things.

    Don't delete your Thermostat and Receiver devices in the Hive app. Leave them in case you ever want to switch back or in the (very unlikely) event that there's a firmware update you desperately require. Switching back is very easy - repeat the pairing steps above, but with your Hive hub in pairing mode instead of Hubitat.

Conclusion

After four months of stability testing I finally took the plunge in August 2023, retired my Hive Hub and switched to this driver full time. Which is why I've had to get development tidied up!

But still, please don't blame me when your family complain that the system didn't come on in winter. :sweat_smile:

3 Likes

Hi,

Thanks for this I've been looking for a solution for my Hive Thermostat to work with Habitat.
Has this been working for you?
I've installed all 3 items from HPM and assigned the drivers to the relevant devices ( stat & Receiver)
But i can't get the them to talk to each other or light boiler.

Yup, works well here - make sure you follow the pairing instructions carefully and that you have the drivers installed beforehand. They both need to pair up to Hubitat, then the thermostat needs to find the receiver while it's single-flashing yellow.

Did the thermostat and receiver find one another? You should be able to control the receiver using the thermostat completely independently of Hubitat. In fact, they should both work independently even with your Hubitat hub switched off. If they can't do that, you'll definitely need to reset them and try again.

All sorted Thanks you.

Just deleted all and reset up

Brilliant

1 Like

Hi great work, i'm running into a problem with the receiver in the HPM 1.8.8.

Error Occurred During Installation

An error occurred while installing the package: Failed to install driver (cant_post_links) /birdslikewires/hubitat/master/hive/drivers/hive_receiver.groovy. Please notify the package developer.. Be sure the package is not in use with devices.

I receive this error when trying to install both options from the HPM (ver 1.8.8)

Yeah, I see this too. Let me have a look.

Hmm, the library doesn't seem to be available at the GitHub URL it used to have. I've updated the repository, could you give it another try? It sometimes takes a little while for caches to clear out, so it's still trying to fetch from the old location here.

Tried again to install from HPM and it worked with no errors. Thanks for sorting.

My boiler is behind a fake wall so will wait until I next have a few hours before trying to connect.

Thanks so much for working on this. I have a hive setup and a single Hive TRv but they are too expensive to fit in every room. I have ordered some Moes ones from Ali express to trial. I was hoping for soemthing that allowed all of the heating devices in my house to better work together into a more single operating environment with the ability to have a heating schedule per room.... Hoping this will get me closer to this?

1 Like

Yeah, getting the data in and out of Hive is the limitation there. Only thing you lose with this is online scheduling, but the interface on the remote for setting up schedules is remarkably decent.

Just make sure you reset the boiler controller and get the pink flashing light, then reset again to get the pairing orange light. That is apparently local control mode, where it never needs a hub to work. It sometimes takes a couple of goes to get the thermostat / remote to pair to the controller, but it’s solid after pairing.

1 Like

Hi All,

Got this working great..... However how do i set a schedule ? I've installed "thermostat schedule" app but when i attempt to set up the routine my stat or hive heating devices are not listed in the selectable devices?

It’s mentioned in the first post, there’s no schedule setting through this driver. You need to set your schedule using the thermostat.

Ohhhh, ok sorry m8…

Thank you

No worries! I'll look into that scheduling thing, I was unaware of it. Can't promise it's something I'll tie into this driver, but always interested to take a peek.

Must take another look at how to handle the hot water side of things at some point too.

Does anybody using (or interested in using) this driver actually have the dual channel heating and hot water version?

I understand how this works now, but I think you're still better off setting the schedule with the thermostat.

The Hive receiver unit at the boiler can save a schedule sent to it from the thermostat, and run that schedule independently. The Hubitat thermostat scheduler issues the appropriate commands to the receiver but in real time, so you're always reliant upon your Hubitat hub and Zigbee network being up and working and your Hive system needs to be kept in "manual" mode.

This may not be an issue for you, but relying on manual mode and Hubitat to control the system does add more potential points of failure. But I'll be updating the driver so it appears properly in that app for those that wish to use it.

The bit this driver doesn't support is generating the schedule which is sent to the receiver for running independently. There are two reasons; it's a bunch o' work figuring out the messaging format, and there's no user interface to handle generating that message in the first place. In other words, even if I got the driver sending the schedule messages, how would anybody craft their schedule for it to convert and send in the first place?

Much better to do it on the thermostat where the interface is remarkably nice anyway.

Done, you can now use this with the thermostat scheduler app. :+1:

While in the app, "auto" is internal schedule mode, "heat" is the mode you want to be in for the Hubitat scheduler to work and "cool" is off, because there's no cooling / air conditioning function in Hive.

NB: The "cool" function now operates identically to the "heat" function, but generates a warning that there is no cooling.

BREAKING CHANGES!

The latest update, v0.60, will probably cause people some trouble. To support the hot water channel I have had to switch the driver to a parent/child model. You'll now find that the heating portion of the driver is a "child device" to the main receiver.

You can use the child device exactly as you would have done with the previous device, and it'll be named with a "(Heating)" suffix.

The parent device represents the receiver itself, while the child devices will represent the heating and hot water channels. I was trying to fudge both channels into the one device, but it wasn't going to work. Best to make this change now than later.

If you have troubles, try a "repair" install from HPM.

1 Like

Finally got most of the way through the renovations in the house and decided to have a go at getting this set up.

Took 4 goes to get it connected, the thermostat didnt seem keen to search for and find things after the Hubitat was set up. But got it sorted in the end.

My house already had an electronically controlled valve on each radiator controlled by a thermostat controller with a separate temperature sensor.

Prior to this I had to have the boiler come on and off independently of everything. But now I can turn my boiler on only when one of the valves opens and turn it off when the rooms are all at the right temp using a simple rule in Rule Machine.

Amazing! Thanks so much for this!

Steve

2 Likes

Awesome, glad it's working for you. Comically, I still haven't moved our house over to using it - I need to get the HomeKit integration working properly where it shouldn't provide an option for cooling that it clearly doesn't support.

But, my test system is still set up behind me and has been performing perfectly! :joy:

Hiya - things still working really well with this, although central heating use it much lower at this time of year.

One thing I have noticed is my Hubitat logs are full of errors associated with the device.

It doesn't seem to be affecting functionality but it would be good to understand what might be creating them? Is this something you have come across before?

Thanks

Steve

My word, sorry I missed this for so long!

The message is no big deal, I've clearly missed something there (at least in the version you have installed) which is not triggering what would now be referred to as the "health check". Every time a message is received this counter should be reset and it's obviously not happening.

I need to get this driver tidied up and released properly, I will try to do it Soon™️.

1 Like